To install SmartList Builder:
| 1. | Start the SmartList Builder Installation by running the SmartListBuilder12.msi. |
| 2. | Click on the Next button to continue. |
| 3. | Select the location where your Microsoft Dynamics GP program is installed using the Browse button. |
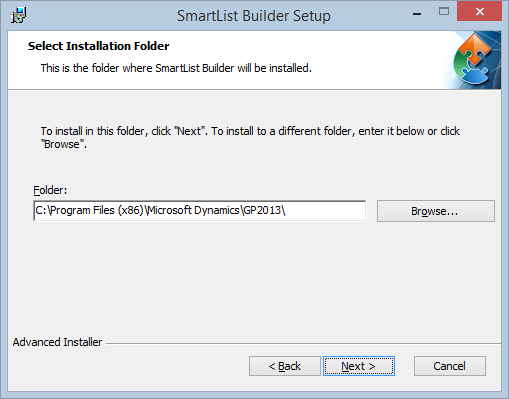
| 4. | Click on the Next button to continue. |
| 5. | Click on the Install button to begin the installation. |
| 6. | The SmartList Builder Installation will run. It may take a few minutes for this to complete. |
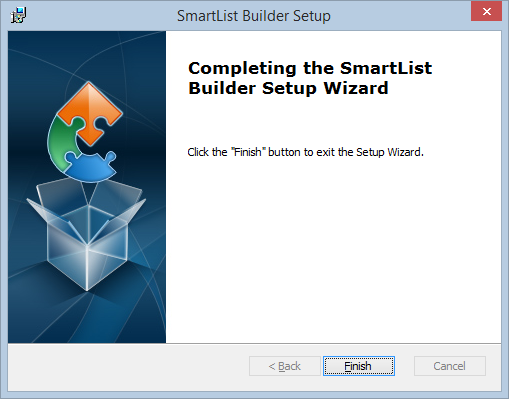
| 7. | Click on the Finish button to complete the installation. |
| 8. | Launch Microsoft Dynamics GP. |
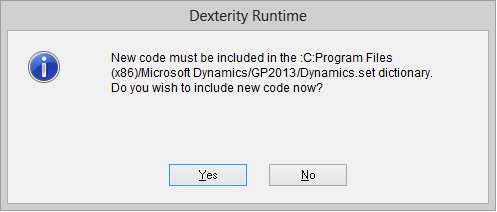
| 9. | Click on the Yes button to include the SmartList Builder code into your Microsoft Dynamics GP workstation application. If you click on the No button, you will not be able to access the SmartList Builder application. |
|
If you the User Account Control setting in Windows is turned on, you may need to launch Microsoft Dynamics GP using the ‘Run as Administrator’ option in Windows to be able to successfully include the new code. |

| 10. | Log into Microsoft Dynamics GP as the ‘sa’ user and into any company. You will then receive the following message. |
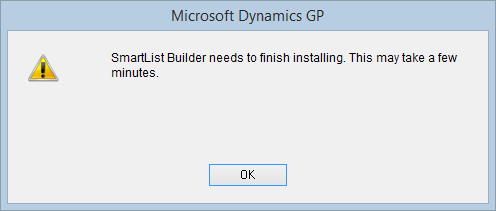
| 11. | Click OK. At this point, it will create the SmartList Builder SQL Objects needed for all companies. |
| 12. | Complete the installation process by enter registration keys. The Registering SmartList Builder section outlines this process. |
|
Steps 1-9 will need to be completed on each workstation that is running Microsoft Dynamics GP to update the SmartList Builder application files. |