Use Microsoft Dynamics GP Utilities to upgrade SmartList Builder to Microsoft Dynamics GP 2013. Once this is complete, install the SmartList Builder update from eOne.
To upgrade SmartList Builder:
| 1. | SmartList Builder first needs to be updated from Microsoft Dynamics GP 10.0 or 2010 to Microsoft Dynamics GP 2013 R2 using the upgrade process included in Microsoft Dynamics GP Utilities. If this has already been done, proceed to step 19. |
| 2. | To update SmartList Builder in Microsoft Dynamics GP, verify that Service Pack 2 is installed and then start the Microsoft Dynamics GP 2013 installation wizard. You can use either of the following methods. |
| a. | Open the Control Panel > Programs and Features or Uninstall a program. Select the Microsoft Dynamics GP 2013 installation. Click Change to open the Program Maintenance window. |
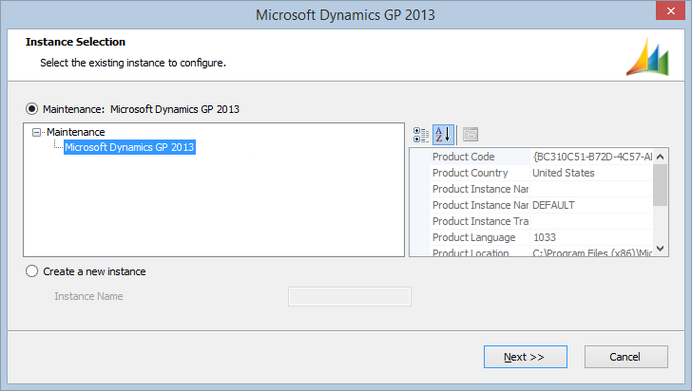
| b. | Double click the Setup.exe in the Microsoft Dynamics GP 2013 installation media. This will open the Microsoft Dynamics GP installation window. Select Microsoft Dynamics GP under the Install section. Select the existing instance of Microsoft Dynamics GP in the Instance Selection window and click Next. |
| 3. | Click Add/Remove Features. |
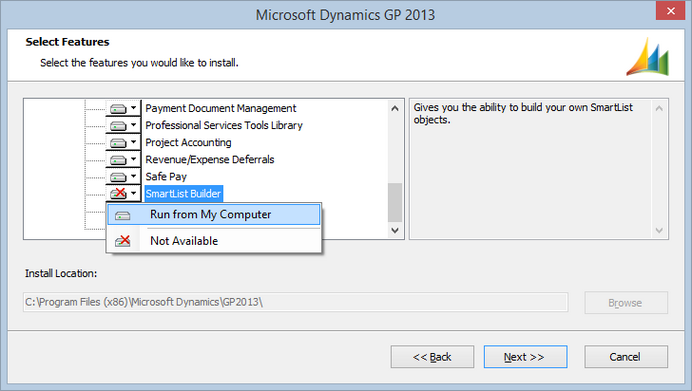
| 4. | In the Select Features window, select to install SmartList Builder using the Run from My Computer option. When you install a new feature, you won’t reinstall features that have been installed previously. Click Next. |
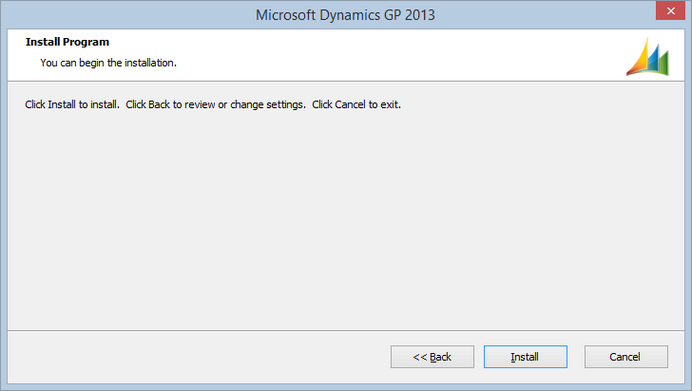
| 5. | In the Install Program window, click Install. |
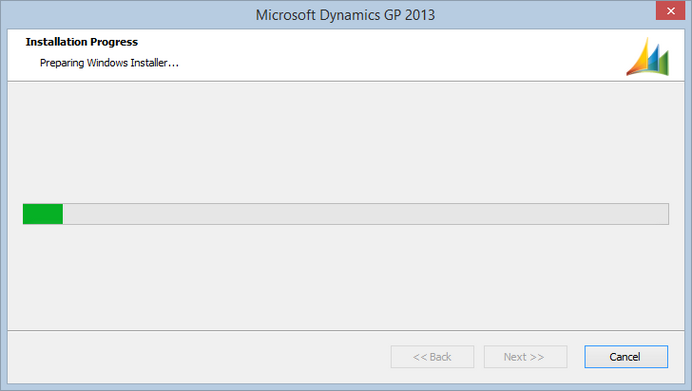
| 6. | The Installation Progress window opens so that you can view the status of the install. |
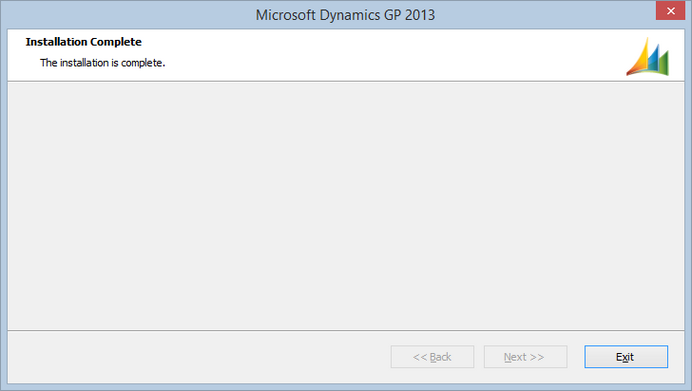
| 7. | In the Installation Complete window, click Exit to finish the install. |
| 8. | Start Microsoft Dynamics GP 2013 Utilities. Choose Start - All Programs - Microsoft Dynamics - GP 2013 - GP Utilities. |
|
To run Microsoft Dynamics GP Utilities, the appropriate user permissions are needed. Generally this requires the user to be a part of the Administrators group in Windows. If the User Account Control (UAC) enabled, you may be prompted to run Utilities as an Administrative user. |

| 9. | Log into Microsoft Dynamics GP 2013 Utilities as the ‘sa’ user or another GP user with administrative privileges in Microsoft SQL Server. |
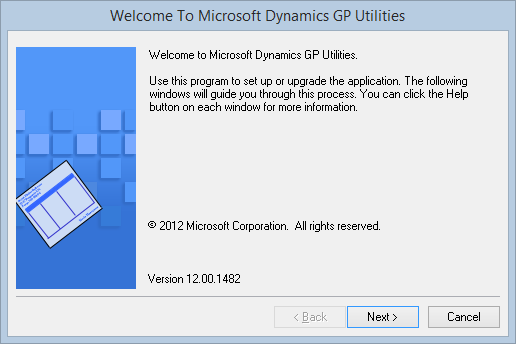
| 10. | The Welcome To Microsoft Dynamics GP Utilities window appears. Click Next. |
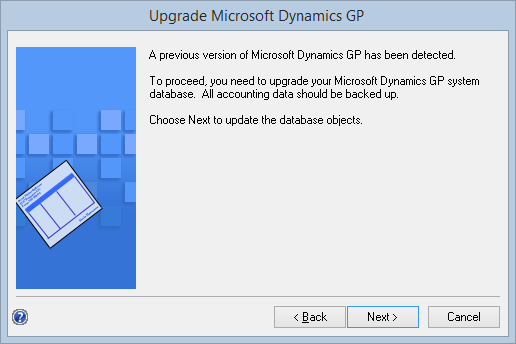
| 11. | If it detects that SmartList Builder is at a previous, you will get the option to update it. Click Next to start the update. |
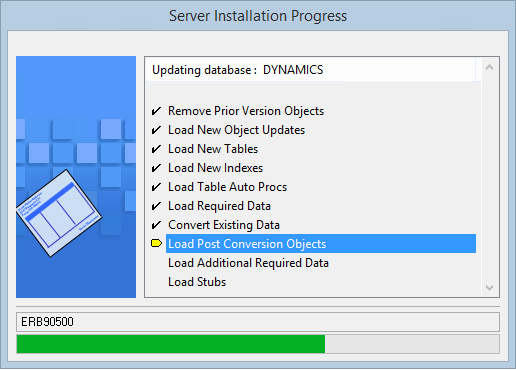
| 12. | The Server Installation Progress window opens to show you the update progress of the system database. |
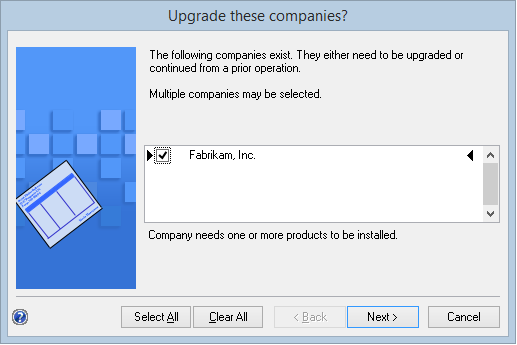
| 13. | Once the system database is complete, you the Upgrade these companies window opens with a list of the companies to update. Select all of the listed companies and click Next. |
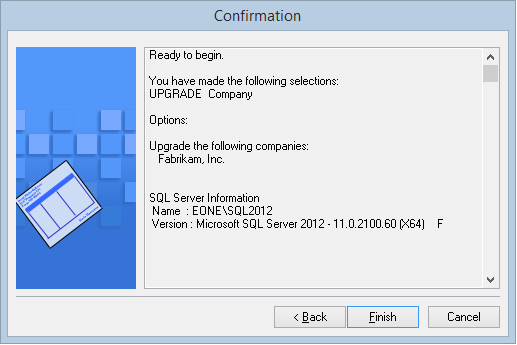
| 14. | You will receive a Confirmation window to verify the companies to be updated for SmartList Builder. If it is correct, click Finish. |
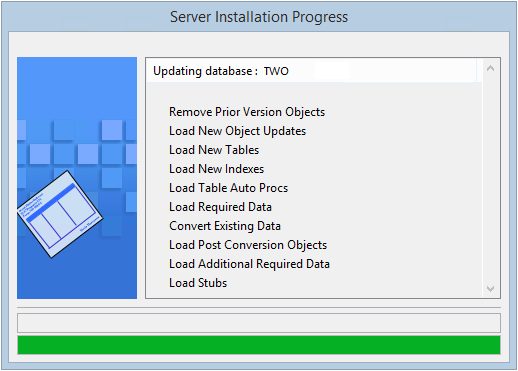
| 15. | The Server Installation Progress window will appear again and show the progress of the update for each company. |
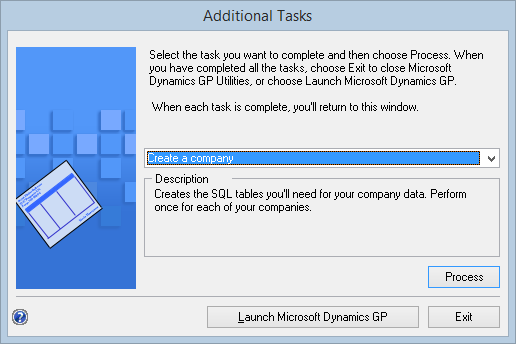
| 16. | Once the update is complete, the Additional Tasks window opens. From here you can Launch Microsoft Dynamics GP or Exit Utilities. |
| 17. | Log into Microsoft Dynamics GP 2013 and verify that SmartList Builder has updated to 2013. |
| 18. | Close Microsoft Dynamics GP 2013. |
| 19. | Install the eOne SmartList Builder 2013 update by running the SmartListBuilder12.msi you downloaded. |
| 20. | Click on the Next button to continue. |
| 21. | Select the location where your Microsoft Dynamics GP program is installed using the Browse button. |
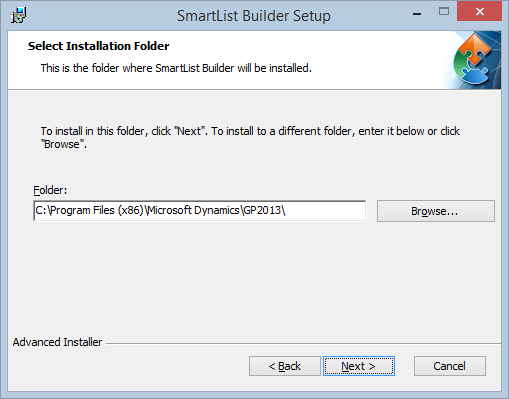
| 22. | Click on the Next button to continue. |
| 23. | Click on the Install button to begin the installation. |
| 24. | The SmartList Builder Installation will run. It may take a few minutes for this to complete. |
| 25. | Click on the Finish button to complete the installation. |
| 26. | Launch Microsoft Dynamics GP. |
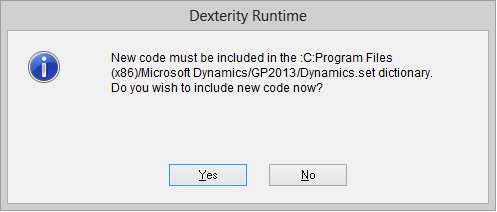
| 27. | Click on the Yes button to include the new SmartList Builder code into your Microsoft Dynamics GP workstation application. |
|
If you the User Account Control setting in Windows is turned on, you may need to launch Microsoft Dynamics GP using the ‘Run as Administrator’ option in Windows to be able to successfully include the new code. |
| 28. | Log into Microsoft Dynamics GP as the ‘sa’ user and into any company. You will then receive the following message. |
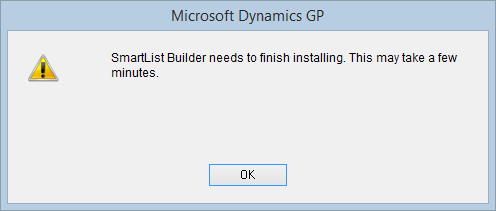
| 29. | Click OK. At this point, it will create the SmartList Builder SQL Objects needed for all companies. |
| 30. | Complete the installation process by enter registration keys. Section 5 outlines this process. |
|
Steps 19-27 will need to be completed on each workstation that is running Microsoft Dynamics GP to update the SmartList Builder application files. |