This window is displayed when the user chooses the Set Value action type from the action grid in the Calculation screen. It allows the user to set a value to any field by using a combination of other fields, functions, and/or constants.
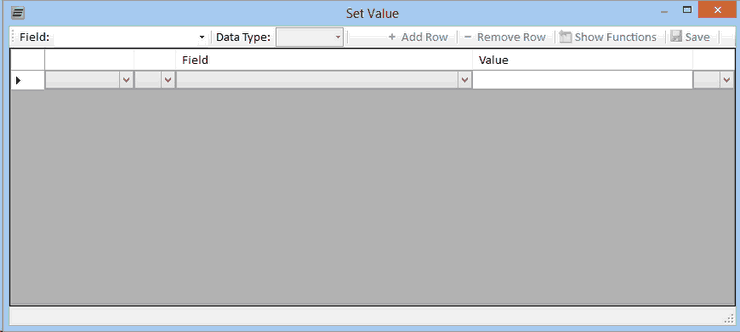
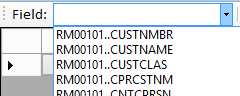
The Field dropdown list along the top of the screen lists all the fields from the current tables that have been added to this node, along with any user defined fields. The field chosen from the list will have its value set to the result when the set value calculation runs.
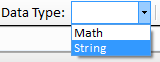
After a field is selected, the Data Type for the set value calculation must be selected. The data type chosen determines what functions can be used in the set value window. The 2 options are either Math or String; the Math option allows the user to perform mathematical operations on the fields, while the String option allows the user to concatenate fields together.
If the String option is chosen, the window will hide the non-relevant fields in the grid below and it will enable the Add and Remove Row buttons.
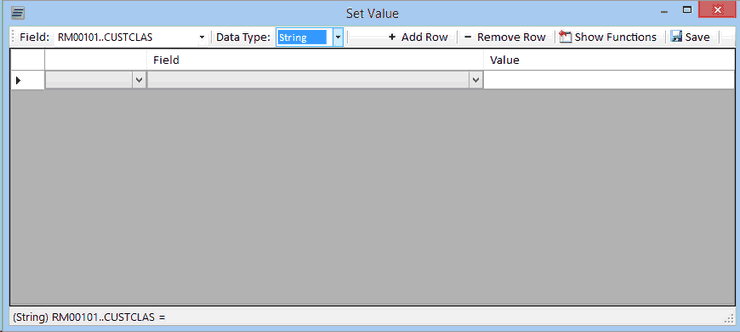
The grid in this window will allow the user to select other fields and constants, and combine them in order to set the resulting value to the field selected in the toolbar of this window. When a row is added, the user will need to select an option from the Field column.
The dropdown list in the field column only lists the fields that have been marked as input parameters in Node Builder along with any lookups that have been created. If a lookup is selected, the return value is assigned from the lookup when it runs.
![]()
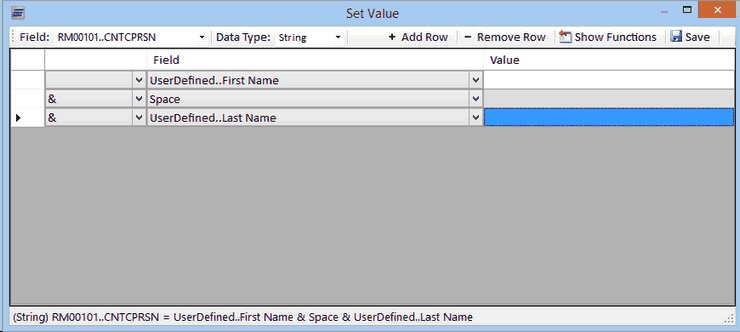
The other options are the Constant value, which allows the user to type in whatever value is needed in the Value column, and the Space value. The Space value actually inserts a space into the field. It is generally used between two rows that are returning actual data in order to put a space between them.
![]()
For example, if the field having its value set needs a full name when the input is currently being put into a first name field and then a last name filed, it can be used to insert a space between the first and last names.
The first row would be set to the field that will hold the first name, the second row would be set to Space, and then the third row would be set to the field that holds the last name. When that set value calculation runs, it will concatenate the fields with a space in between them to create the full name.
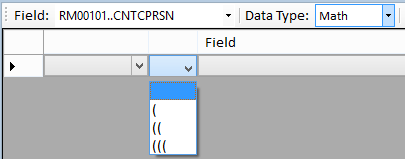
If the Math option is chosen in the Data Type field, it will modify the grid below to show the relevant fields. Also, if the Data Type is changed, after rows of data have been entered under the other data type, those rows will be removed.
There are a couple of additions to the grid when using the Math data type compared to the String type. The first change is the inclusion of 2 columns that allow use of parenthesis in the grid.
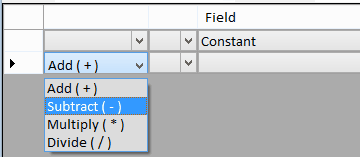
The second change is that the user will need to select the needed operator for each row as they are added. The operators available are Add, Subtract, Multiply, and Divide.
The parenthesis can be set in combination with the operators to ensure that the set value calculation executes in the desired order (i.e. two fields need to be added before dividing). The first row would need a field to be set along with setting one left parenthesis. The second row will need to be to have a field selected and one right parenthesis should be set on that row. The operator should default to addition as well.
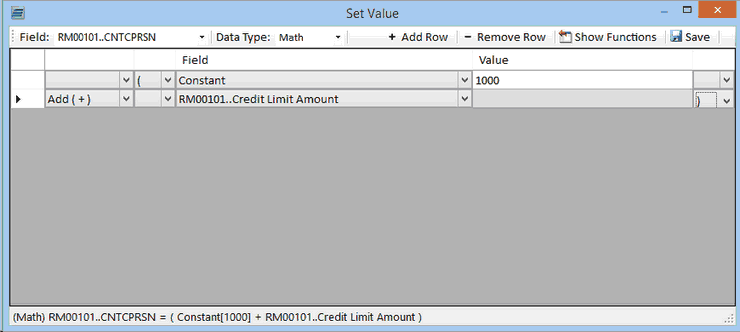
The third row will need a field to be set and the operator should be changed to multiplication. Note that the addition should occur first since the set value calculation will follow standard mathematical rules when determining the order of execution. The values within the parenthesis will be added first, and then the result will be multiplied by the other field. The end result will then be assigned to the field selected in the toolbar.
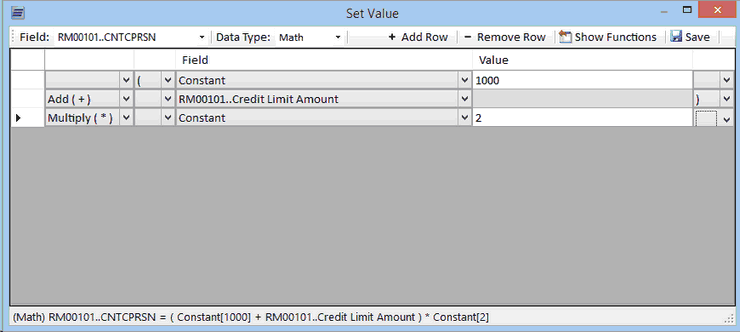
For both data types (Math and String), the status bar across the bottom of the window will display the set value calculation that is being generated. As rows are added and different fields are set, the status bar will update the calculation. This provides a quick way to see what exactly is generated by the grid above. If the calculation doesn’t fit in the status bar, a tool-tip will display the full calculation string when the mouse is hovered over it.

When the set value calculation is saved it will put the result into the Action Details field in the Calculation window. This screen can be re-opened by double-clicking on the Action Details field that needs to be modified.