Popdock’s capabilities allow you to perform developer-level tasks effortlessly and quickly.
Throughout this series, we’ve shown you how you can access historical Dynamics GP data inside NetSuite using Popdock, our virtual integration tool.
In this final article, we’re going to demonstrate the uploading process in Popdock, explain how to create custom merge lists, explore additional capabilities, and address three frequently asked questions from our customers.
Let’s get started!
What occurs in Popdock during the uploading process?
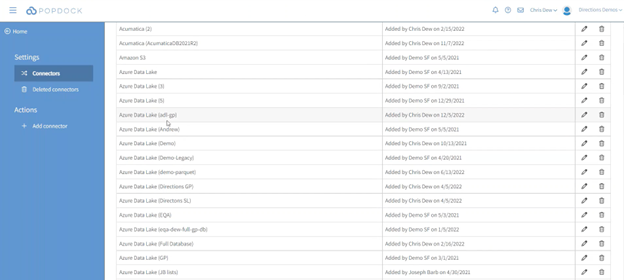
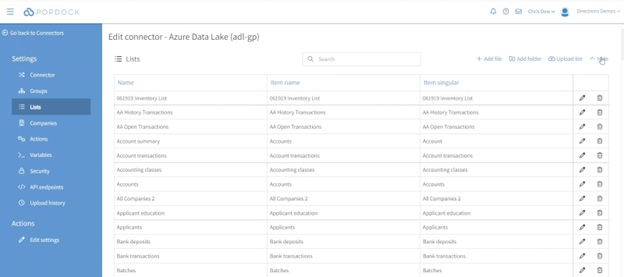
Upon logging back into your Popdock account, click into “Connectors.” On the connectors page, you will see that Popdock is populating the Azure Data Lake called “adl-gp,” which we have been utilizing in our previous articles of this series.

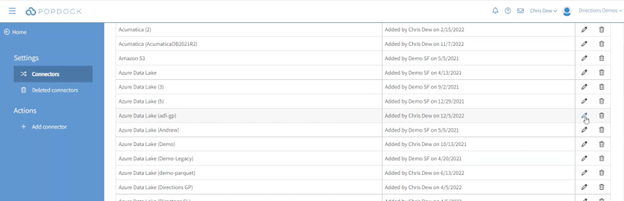
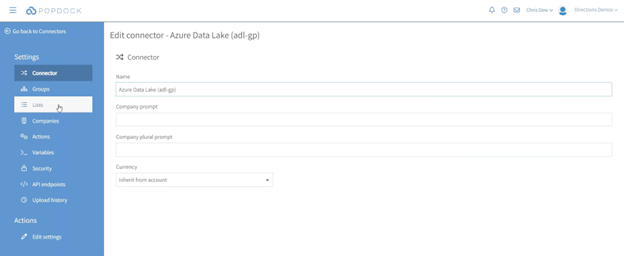
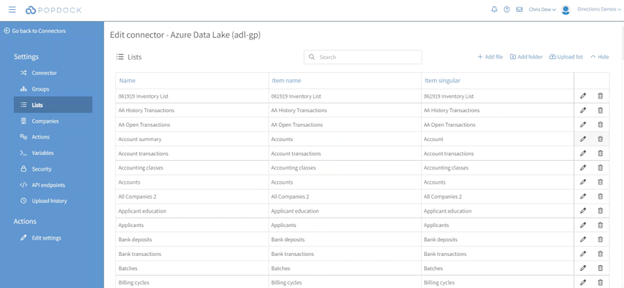
If you click on the pencil/edit icon associated with this data lake row, you can access the lists that are displayed within the data lake.
Next, click on “Lists” on the left-hand side menu.

In this scenario, some of these lists have been run prior to this demonstration, so it is re-running them. If you need to see some of this history data inside of NetSuite before fully adopting NetSuite, you can do that. The migration process can be repeated multiple times if needed.
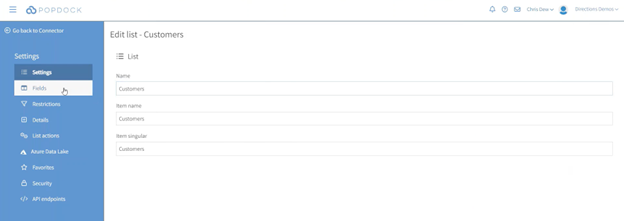
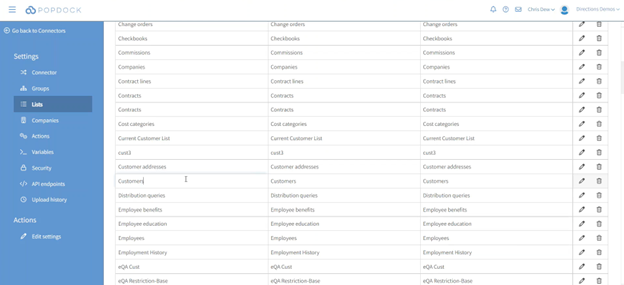
Despite these lists now existing as CSV files within an Azure Data Lake, they offer a wide range of possibilities. Let’s take the customer list as an example and examine its details.

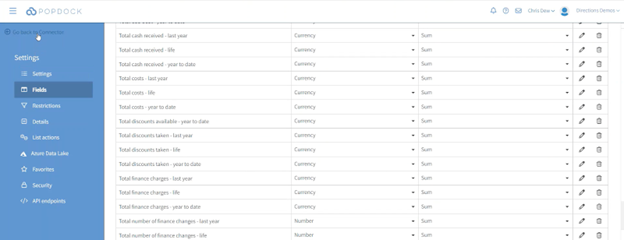
Next, click on “Fields” on the left menu.
In the middle section, we find the field types associated with our data. Since it is Dynamics GP data and we have complete information about it, we can easily identify which fields are numbers, strings, dates, or drop-down lists.

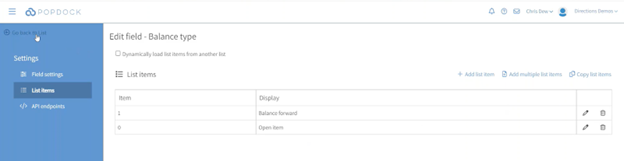
Next, click on the pencil/edit icon located on the drop-down list. Then, click on “List items” on the left-hand side settings menu.

Instead of providing generic values such as “0” and “1,” we ensure that the display name is retained, so you don’t lose that after getting rid of GP. This way, we pull over the important, readable information.
Creating custom merge lists
Next, let’s explore a few more important features within Popdock.
Click on “Go back to List” and then “Go back to Connector.”
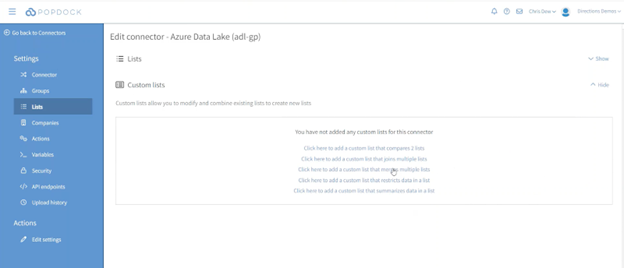
While we already have the standard lists available, we would like to demonstrate how you can create custom lists called a merge list.
After clicking on “Hide,” select “Click here to add a custom list that merges multiple lists” from the available options to add any custom lists for this connector.
Through merging, you have the ability to consolidate data from different systems into a single location. In this case, we can merge the historical GP data that’s being transferred to the data lake with the current information already inside of NetSuite using the NetSuite connector.
By doing so, we create a unified list that combines data from both places, allowing us to conveniently access and view it within the system whenever necessary.
Additional capabilities
This setup operates in a manner similar to a virtual SQL, even though neither of these systems is hosted on a SQL Server. While Dynamics GP used to be on a SQL Server, NetSuite only offers web services, and the data lake is now in the form of a CSV file. Despite these differences, this configuration enables you to join lists together from different systems, creating a cohesive data view.
Additionally, we have the flexibility to include a CRM system, whether that’s Salesforce, Microsoft CE, or another type of system.
Furthermore, Popdock allows you to associate details within a list. For instance, we can have a customer list and drill down to view all sales transactions, receivables transactions, addresses, or any other relevant data associated with any specific customer. This capability is seamlessly embedded within NetSuite, requiring minimal scripting effort.
Only a minor adjustment in the JavaScript code is necessary to ensure the correct vendor ID, customer ID, or any other relevant identifier is passed in.
The Azure Data Lake
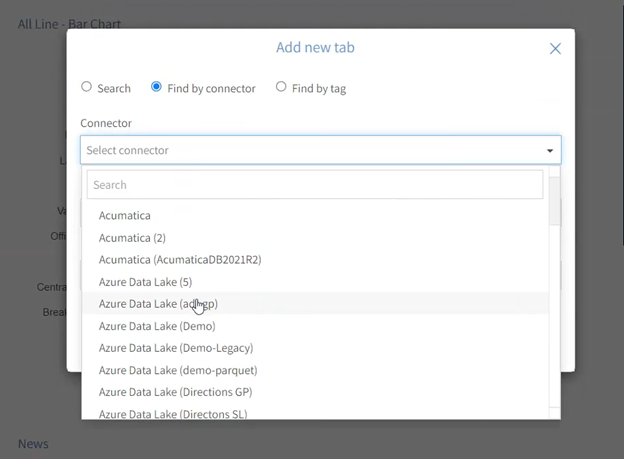
To access the Azure Data Lake tab within Popdock, click on the Popdock logo to return to the homepage. Then, click on “Add a new tab” at the top of the page.


Afterwards, select “Find by connector” in the “Add new tab” pop-up screen.
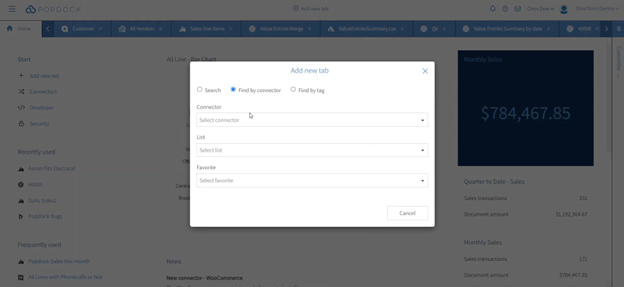
Select the connector from the list. In this instance, we will select the previously mentioned “Azure Data Lake (adl-gp)” connector.
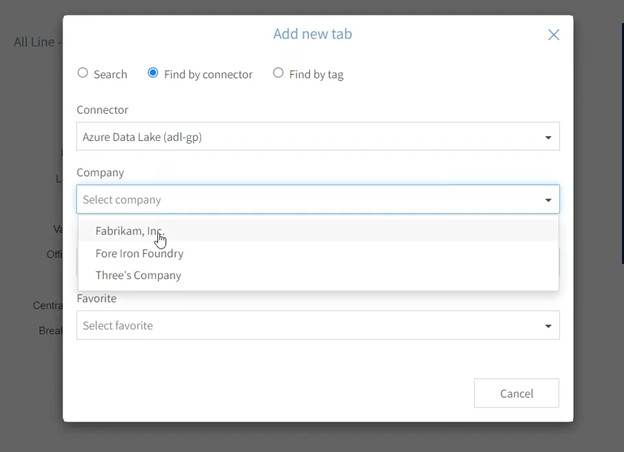
As a reminder, this is not hitting the SQL Server at all. We still have access to our companies.
Select the company. We will click on Fabrikam.
Then select the list. We will use our “Customers” list.
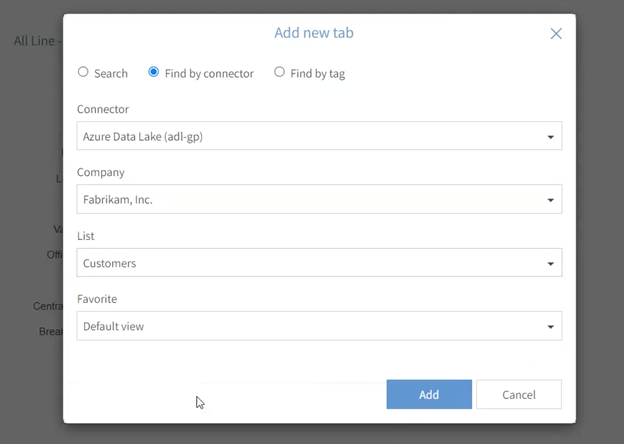
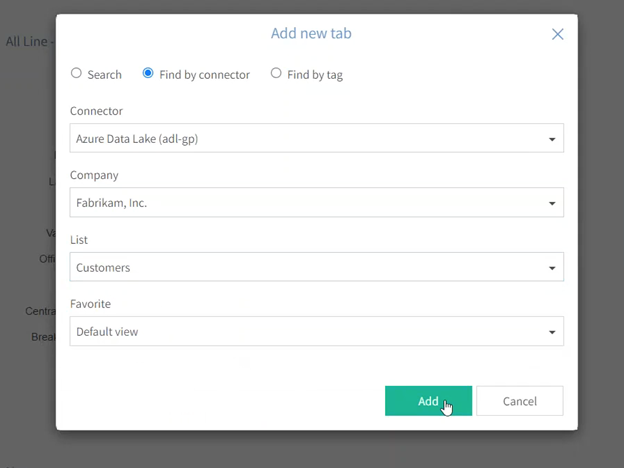
Next, click the “Add” button.
There is no longer a connection to the SQL Server. It’s just pulling this CSV file that’s stored in the data lake.
Once the loading process completes, we can observe all the customers that were previously within Dynamics GP. They are now available for us to report on. Additionally, we can also include any new columns.
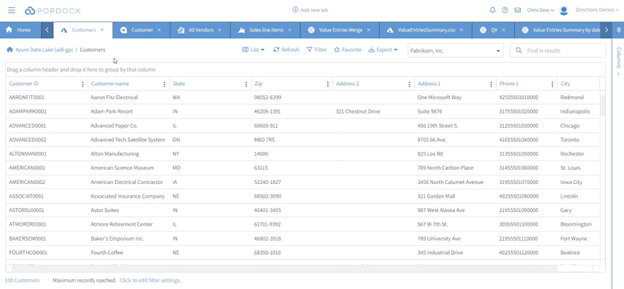
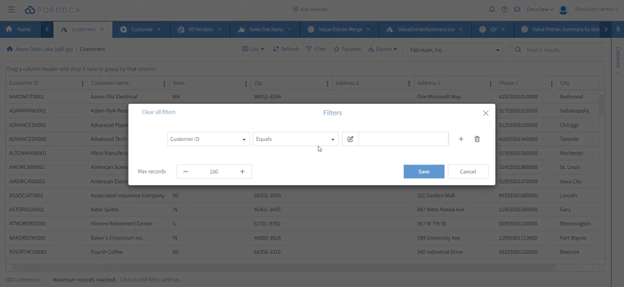
We can incorporate as many filters as we want, whether that’s by state, the date they were created, an outstanding account amount, or any other relevant criteria.
We can extend this capability across GP companies. If we wish to view all the customers across our company files, Popdock will retrieve data from both Fabrikam and Fore Iron Foundry, joining them together.

Embedding inside NetSuite
Now let’s demonstrate how easy it is to embed inside NetSuite.
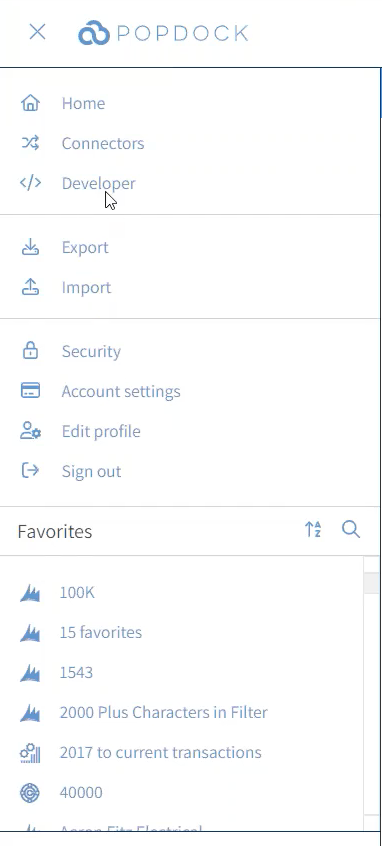
First, click on the hamburger menu on the upper left-hand side of Popdock.

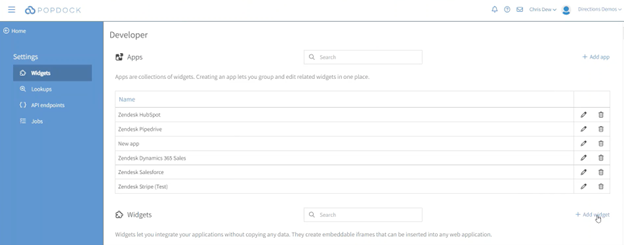
Select “Developer” from the menu.
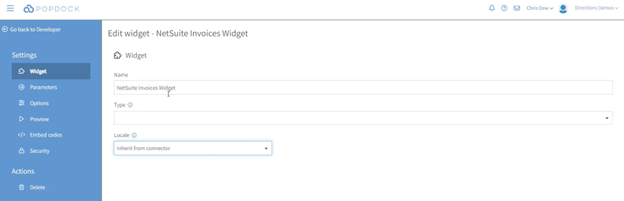
Then select “Widgets” on the left-hand settings menu. Widgets allow you to easily embed inside NetSuite. On the developer page, click on “Add a widget.”
We’ll call this widget the “NetSuite Invoices Widget.”
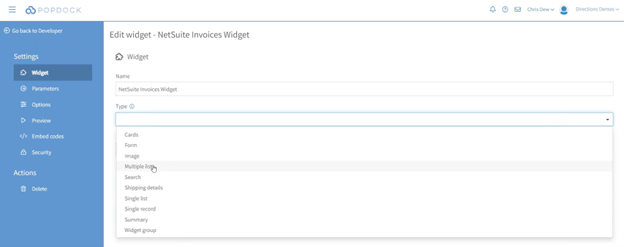
We’ll then add the type by selecting “Single record” to serve our purpose for today.

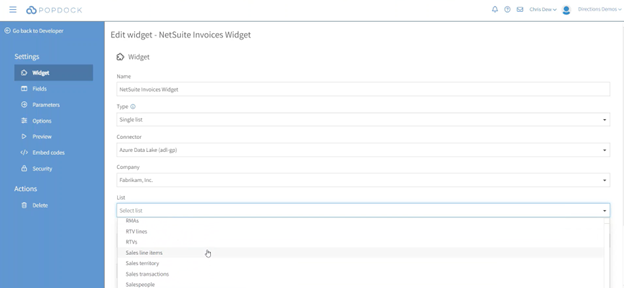
It will be associated with a particular list, although you have the flexibility to include multiple lists if desired. As we demonstrated earlier in NetSuite, for now, we will select a single list that enables us to choose our connector.
After selecting a single list as our type, it will then allow us to pick our connector.
We’ll choose the data lake connector named “Fabrikam” as the company. If we wish to include additional data, such as sales line items, we have the option to do so.
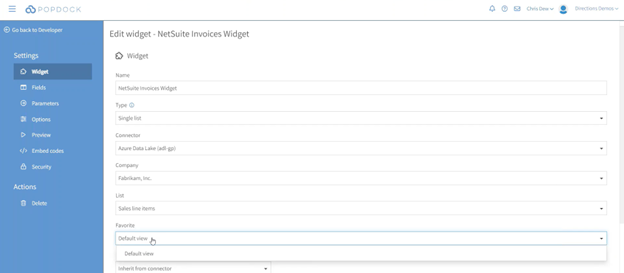
If we had previously created favorites, we could also choose one of those as an option. Favorites allow us to filter the data and include only specific criteria, such as “data from last year.” This helps narrow down the dataset into a more specific set of records.
However, in this case we will include everything without applying additional filters, since there isn’t a large number of records.
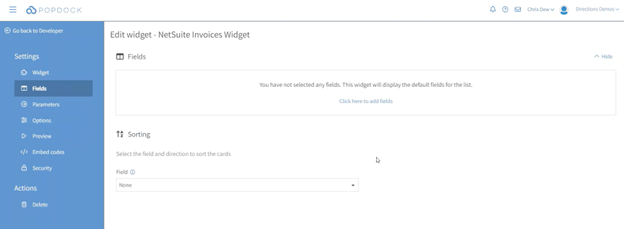
You also have the option to customize the fields by selecting which ones you would like to add, overriding the default fields. Select “Fields” from the left-hand settings menu.
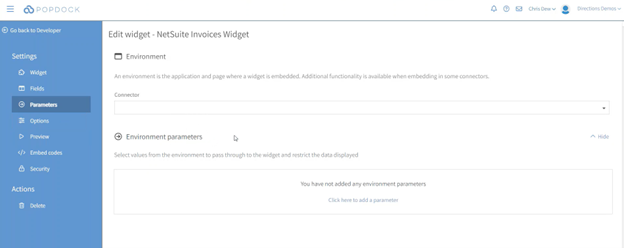
We can also define the parameters for the integration. To do so, click on “Parameters” in the settings menu. By using the NetSuite environment, we can directly read and pass in the customer or vendor information, allowing us to filter effectively.
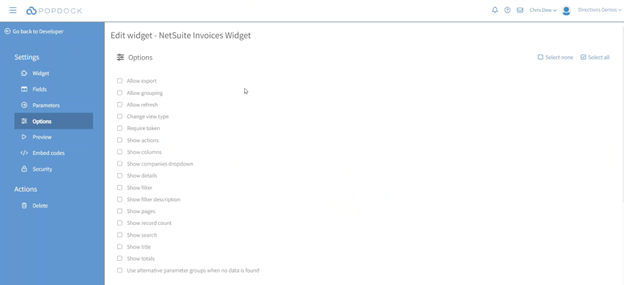
In the “Options” section, also under settings, we have a range of choices available. For instance, we can enable the “Allow export” option if we want to permit exporting to Excel. If we want utilize filtering, similar to what we demonstrated earlier, we can select “Show filter.” If we want to show related types of records, we’ll select “Show details.”
You have control over what you see and how you want to see it.
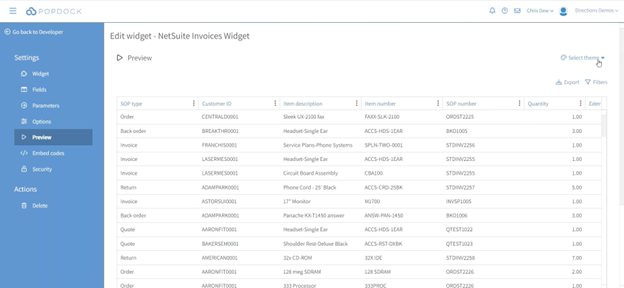
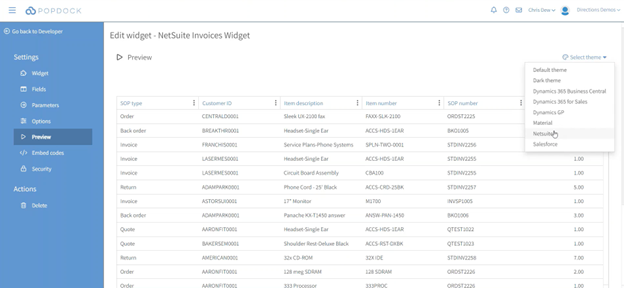
By clicking on “Preview” under the settings menu, you can get a quick glance at the data.
There is also an option to change the theme so the interface appears as it would in NetSuite. Click on “Select theme” on the right side of the screen.
Then select “NetSuite” as the theme.
By doing this, the data feels native to NetSuite. Despite being originally from Dynamics GP, Popdock ensures that it looks and feels like the NetSuite application. This cohesive interface simplifies your workflow and allows you to effeciently achieve your data-viewing objectives.
Q&A
Q: Does Popdock and the Popdock Data Upload Tool work for any version of Dynamics GP?
A: Yes, they do! We have all the versions included as options, all the way down to GP 10. For one customer, we even went as far back as GP 9. We’re able to extend it all the way up to version 18.5, which is the newest version of GP. And again, if you happen to be using an older version of GP, please reach out to us so that we can accommodate the nuances of your specific version.
Q: So you don’t have to poke a hole in the firewall?
A: This question refers to your previous method of accessing Dynamics GP data, where we used a secure gateway that required firewall configuration. We have now transitioned to a safer and faster process. Instead of pulling data from the cloud, we are now pushing it to the cloud. As a result, there is no longer a need to open a hole in the firewall, making the overall process more secure and efficient.
Q: Does the number of users inside NetSuite need to match the number of Popdock users?
A: No, it is not necessary for the number of users to be the same for both platforms. Popdock is embedded within the NetSuite system, making it simple, accessible, and easy to use!
Interested in harnessing the power of Popdock? Contact us today.
We hope this article series on accessing historical Dynamics GP data in NetSuite has been helpful to you!
If you’re ready to learn more about how Popdock can help your NetSuite experience, contact one of our Popdock experts today at sales@eonesolutions.com or 888-319-3663 ext. 1. They can answer any of your migration questions and find the best solution for your situation.