
So far, in this article series, we’ve covered the terms of migration, the costs of an Azure Data Lake, and some tips as you’re coming up with an overall migration strategy, as well as how to access historical Dynamics NAV data in Dynamics 365 Business Central.
In this article, we will go over some scenarios using the Popdock data lake upload tool more extensively; scenarios including connecting to data, moving data, connecting to a database, and merging lists.
Scenario: Connect to Dynamics NAV to move data to the Azure Data Lake
Using the Popdock data lake upload tool
The Popdock data lake upload tool allows you to connect to your on-prem NAV system, move that data to the data lake, and prepare it for use.
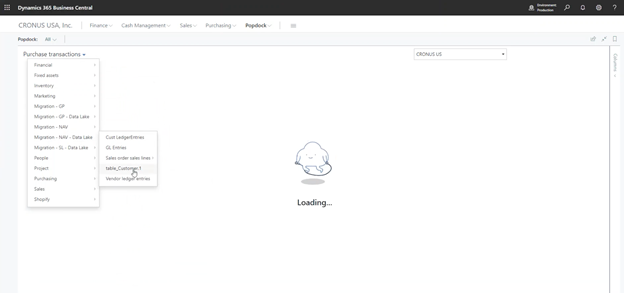
Just like you saw in our previous example, we had embedded data on the side of the Business Central interface.
This process does not require you to open up your SQL Server to the world, so you don’t have to punch holes in the firewall. You also don’t have to open that port, and you don’t have to have a gateway installed. It allows you to hook into the data and publish it straight to the data lake.
This enables you to do two different things: To use NAV lists right out of the box, and to move data quickly.
Important notes:
- You don’t need to open your SQL Server or Firewall
- The “all NAV list combinations” capability will be available soon
- You can pull all SWL tables
First off, you get several Dynamics NAV lists immediately right out of the box. Keep in mind that this process isn’t complete, but it will be available in its entirety soon. Basically, you will be able to pull any kind of NAV list combination you want, whether it’s sales transactions or anything else. We will have a list that’s already done the work for you.
You can also pull in all your tables. Although not necessary, for many people, this is really an insurance policy. It allows you to move your data, turn off that SQL Server, and still be able to access absolutely everything inside of Business Central without ever having to start up that old server again.
When we say you still get to access everything, we don’t just mean the standard Microsoft tables. We know that sometimes third parties may have additional tables or perhaps even your customer has created some entirely separate custom tables. Those may be sitting in one of your databases. We will move everything to the data lake for you, so you always have easy access to it.
Scenario: Move your Dynamics NAV data to an Azure Data Lake
After you connect, how do you go about moving data as fast as possible?
A few reminders and main points:
- It runs in your environment and no additional server is needed to set up. It does not need to run on the SQL server, and it doesn’t even need to run on a server-class machine.
- It can run from a workstation, but it will be running on your network because that’s where you have access to that SQL Server.
- It can move data as fast as it can be extracted and uploaded.
- You can easily fix any errors.
Moving Data as Efficiently as Possible
We’re going to briefly go into how you can extract and upload data as efficiently as possible.
Extracting efficiently
Some companies may have 20-plus years of NAV data to extract. But whether you have a small or large database, Popdock can handle it. However, it’s important to keep in mind that the size of the data may alter the amount of time it takes to move.
For example, moving 1.5 terabytes of data may take longer. When we talk about extracting all the data from it, we’re essentially running SQL queries to move that data from the server into a file that can be uploaded to the data lake.
If you have 10 gigabytes, you might be done in 15 or 20 minutes, whereas it could take hours as you get into moving hundreds of gigs and potentially go into more than one day if you have a system with a very large amount of data.
Upload Process
The second part is the uploading process. This is using your internet connection to upload it to an Azure Data Lake. As a forewarning, depending on whether you have a small or large amount of data to move, sometimes people’s upload speeds are not as fast as their download speeds. This is certainly something that can impact the efficiency of your uploading process.
Fixing Errors
Popdock also gives you the capability to fix any errors. When you’re bringing in lists, you might have a couple of NAV lists that fail. It’s possible that you have a list that has an old calculation that made it fail. If you still want the data from that list, you can go back and fix that calculation. After fixing it, you can run that list again.
Here is what that might look like:
Demo: Fixing Errors in a List
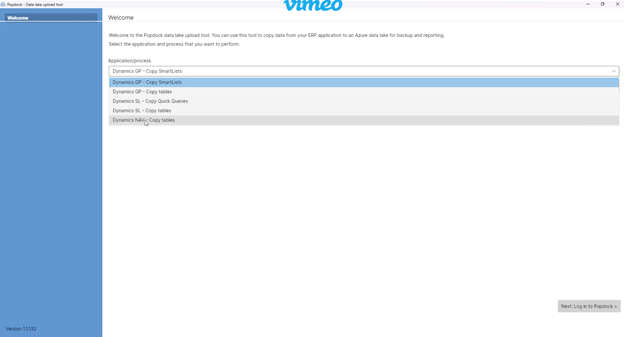
This is the Popdock data lake upload tool. It works across multiple products, but we’ll just focus on giving you a small preview of the NAV process today.
Select the list you would like to work with from your application/process dropdown menu.

Then click on “Continue.”
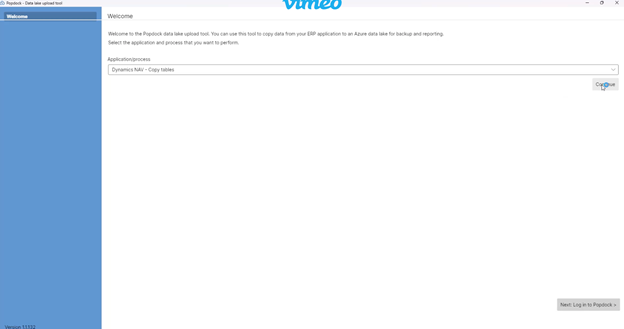
Next, log in to your Popdock account.
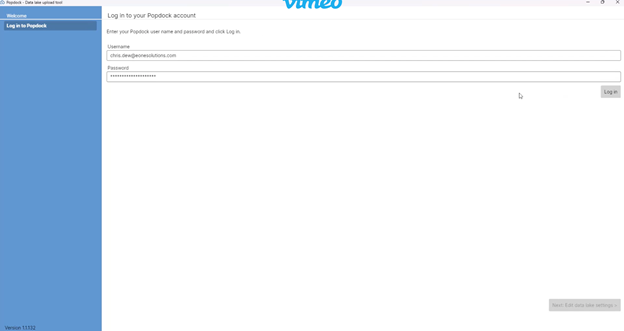
After you log in, the tool will see all the accounts to which you have access. Choose the account you want to log into.
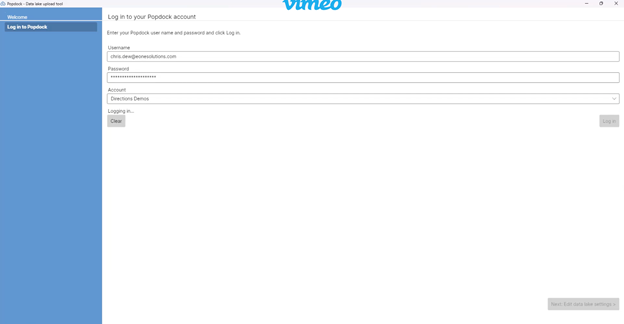
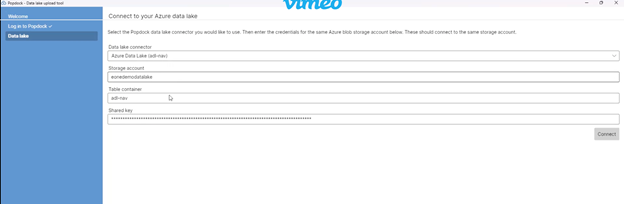
Once you log in, it will ask which data lake you are selecting to move it to. All of that is configured in your Popdock account. You just need to make sure you have everything checked out here.
As you can see, it’s going to our NAV data lake and this container. If everything looks correct, click on “Connect.”
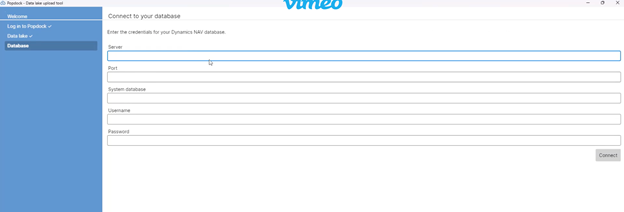
The final part is to connect to the SQL Server that houses our data. Ours has an external-facing look. For most people, it might just be a SQL Server or something along those lines. Whatever it is, it does not need to be accessible to the world because you’re going to be running this process on-prem in your network.
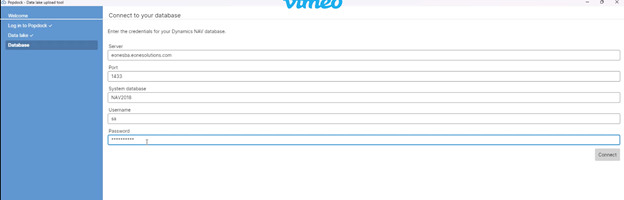
In this example where we have just the tables, this is basically the entire database backup. We would be pointing to the NAV database where we have this stored. Next, you will need to connect with a SQL user. It needs to be a user that has access to that database and the tables inside of it, and, more importantly, access to SIS objects so we can read all that metadata.
We need to know the customization you added inside and if it should be a string field, a currency, or a date field.
After you have filled all the information out, click on “Connect” and you can start the process of archiving your tables.
Connect to the Database
After connecting to this database, you can start the process of archiving the tables.
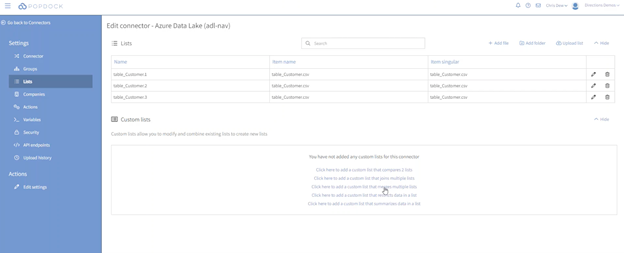
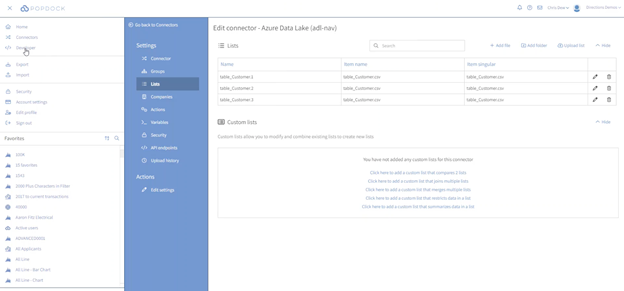
Click the pencil edit icon on your chosen list, then go to “Lists” on the left-hand settings menu.

In this example, if we choose “Add file” to go into this connector, you can see we’ve moved all these NAV files.
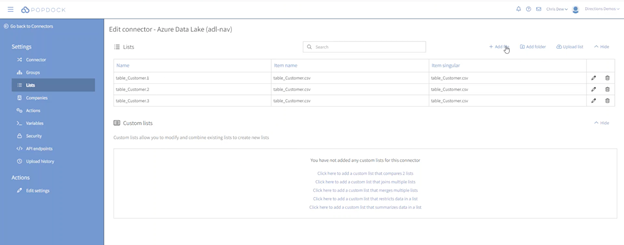
In this case, we did this for three different companies. Therefore, you can see the same files listed three times. This was the archive of everything inside, so now we have access to any table.
Most people are probably going to use the lists because those are a little more user-friendly and they already have things joined together. If you needed to pull something from the sales header, the sales line, or the customer, you have all those things joined together so you have meaningful information in one place.
The key point here is that once we have all our NAV data inside, we can do whatever we want with it.
Merging lists
Now we’re going to go into merge lists and an example of when you might want to create one. In this case, we’ll use an example of a custom list.
You can use this feature if you want to merge data from the historical NAV data sitting in the data lake, with live Business Central data.
A merge is essentially a union. It’s giving you everything from two sources. The beautiful part is that you can pull those custom lists together and then make them available inside Business Central.
We want to show just how easy it is to make this accessible inside Business Central.
First, click on the hamburger menu on the upper left-hand side. Then click on “Developer.”

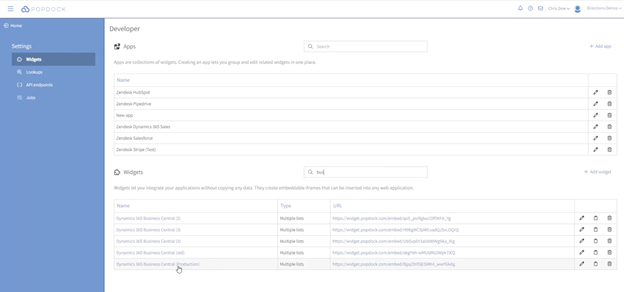
In the “Widgets” search bar, type in the connector of your choosing.
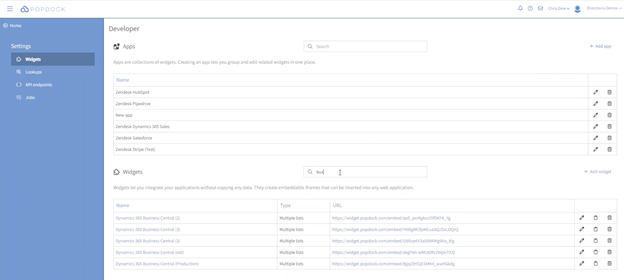
For this example, we’ll use this Business Central connector.

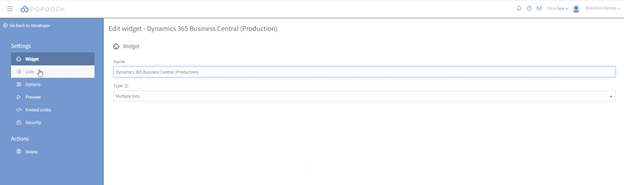
You don’t need to do anything on the “Widget” page. Instead, click on “Lists.”
You can see we have lists from all kinds of places–GP migrations NAV, migrations SL, etc.
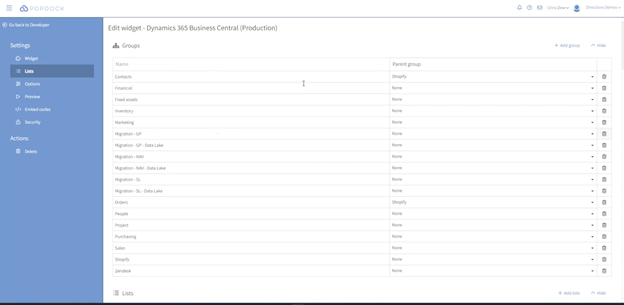
We can have any groups we want, and we can create subgroups under each of those groups.
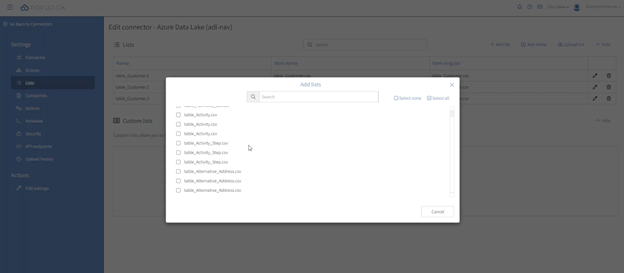
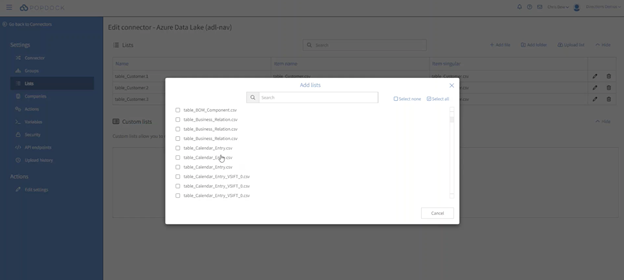
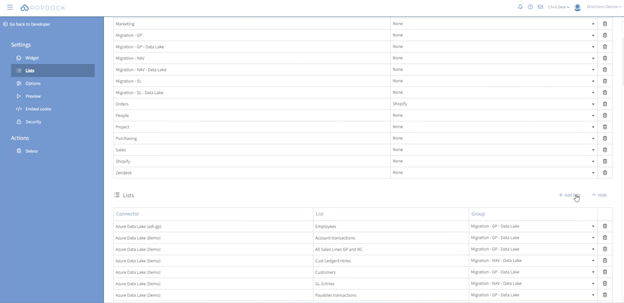
If we want to add new lists, we will go to the NAV data lake. First click on “+ Add lists.”
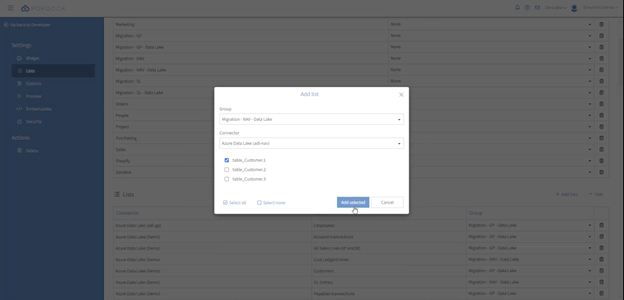
We will go to our “Migration – NAV – Data Lake,” select our “Azure Data Lake” connector, and select one of the only three lists we have in this instance. Then we will click on “Add selected.”
If we wanted to pull that particular list, it is now available to see right inside Business Central.
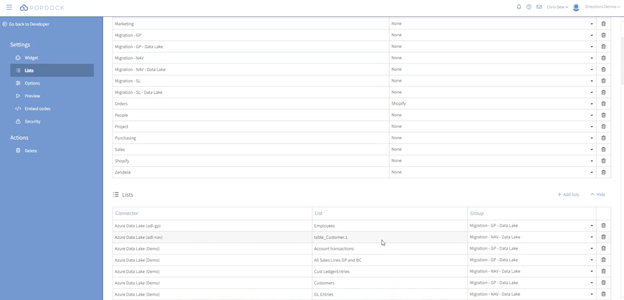
If we go back into Business Central and hit refresh, you can now see the last list we added, and it will show us the information we needed to view. In a matter of minutes, you can be displaying the historical type data anywhere inside of there.
No Developer Needed: The Benefits of Popdock
Popdock allows you a secure connection to your Dynamics NAV data without opening any part of your network to the outside world. This is possible because it runs internally and then pushes to the cloud.
You don’t even have to write the AL code that’s generated behind the scenes for embedding in any of those pages. Popdock does that for you. It allows you to quickly and easily move and access all your data to an Azure Data Lake. This allows you to access and report on the data inside Dynamics 365 Business Central, without needing a developer,
Now you have a way of accessing all your history without bogging down new Business Central tables. Storing your Dynamics NAV history in an Azure Data Lake is a cost-effective option that you can access at any time.
Still have questions? We can help.
We hope this article series has been helpful for you as you learn how to access historical Dynamics NAV data inside Business Central.
To read the prior entries in this Accessing Your Historical Dynamics NAV Data in D365 Busines Central series, click below:
If you still have questions, we’re happy to help. Contact one of our eOne Solutions experts at sales@eonesolutions.com or 888-319-3663.