
I previously wrote a Tech Tuesday about the differences between the Excel Add-in and the Excel Templates. Sometimes it would be helpful to use features from both methods.
This Tech Tuesday will walk you through the setup steps to run an Excel Template through the add-in as an alternative to using the VBA code included.
Why would we want to do this? The add-in has some features that aren’t available with the templates such as processing errors and the ability to modify maps and source documents. The templates have a nice interface for the end-users to enter data formulas that can be a hassle to recreate.
Removing links on the template file
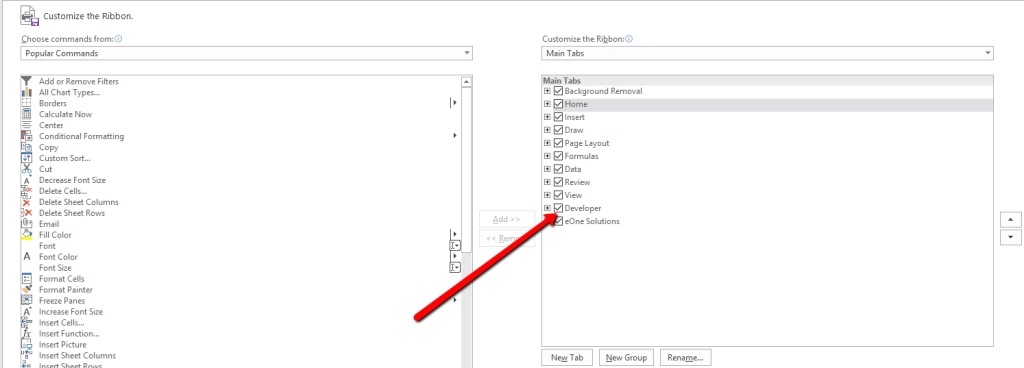
First, we need to open the file we will be editing for use with the Excel. Make sure the developer tab is available, if it is not enabled follow the below steps.
Click File >>Options >>Customize Ribbon >>Check the box for the Developer Tab
Next, on the developer tab select ‘Design Mode’
Select the ‘Update’ button on the SmartConnectConfig sheet. Then click your delete key.
Repeat the process with the ‘Submit’ button on the main data entry tab.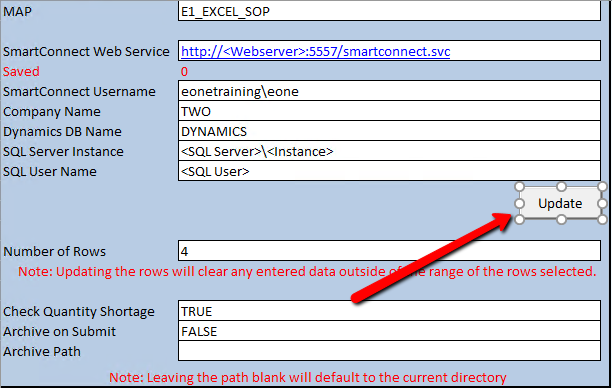
Click the ‘Design Mode’ button again to exit design mode.
Delete all rows that are a darker color on the SmartConnectConfig sheet. Make sure you delete the row completely, not just delete the data.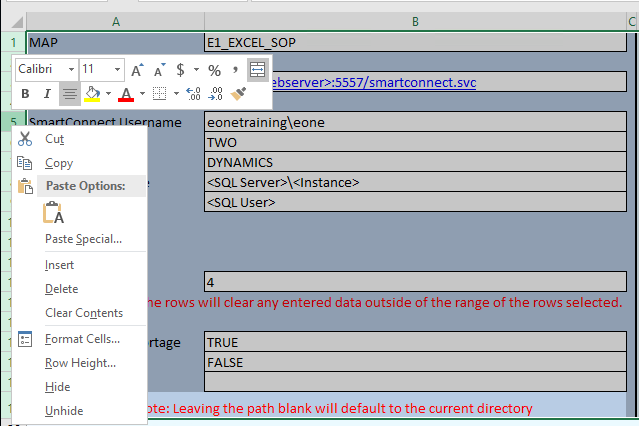
Set up the Excel Add-in
The next step is to configure the Excel add-in. If you don’t already have the Add-in installed, you can download it Here. Note: the version is based on your Excel version so if you have Excel 2016 32-bit, install that version regardless of your SmartConnect version.
Follow the steps for configuring the Add-in as outlined in the Manual.
You will now be able to run the map by clicking ‘Run Map’ in the Add-in.
Common Errors
The main error you will see is Error 400 Bad Request. This is because one of the columns is not in the correct format. Most likely it is one of the date fields.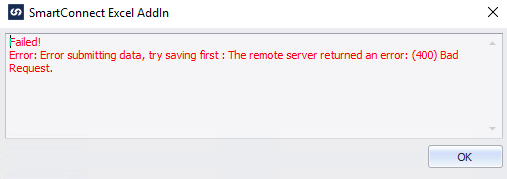
To fix this error go to the SCValues tab and change the column in question so it is formatted as General.