This week’s Tech Thursday will show you how to use a UNC pathname when you are writing your own query using the Microsoft Text ODBC driver. Normally using a UNC pathname is preferable to using a mapped drive letter, since mapped drives can vary from machine to machine. However once you are in the text ODBC setup window, it’s not apparent how you can get a UNC pathname to fill in. This is because Microsoft has not updated the Text ODBC driver in years, and it still has the older Windows interface on it.
So in my example here, I have a CSV file named customers.csv that I want to import into Dynamics GP. I want to use a UNC pathname to the file and I want to only select customers in zip code 60601. My file is located in \david-pcData.
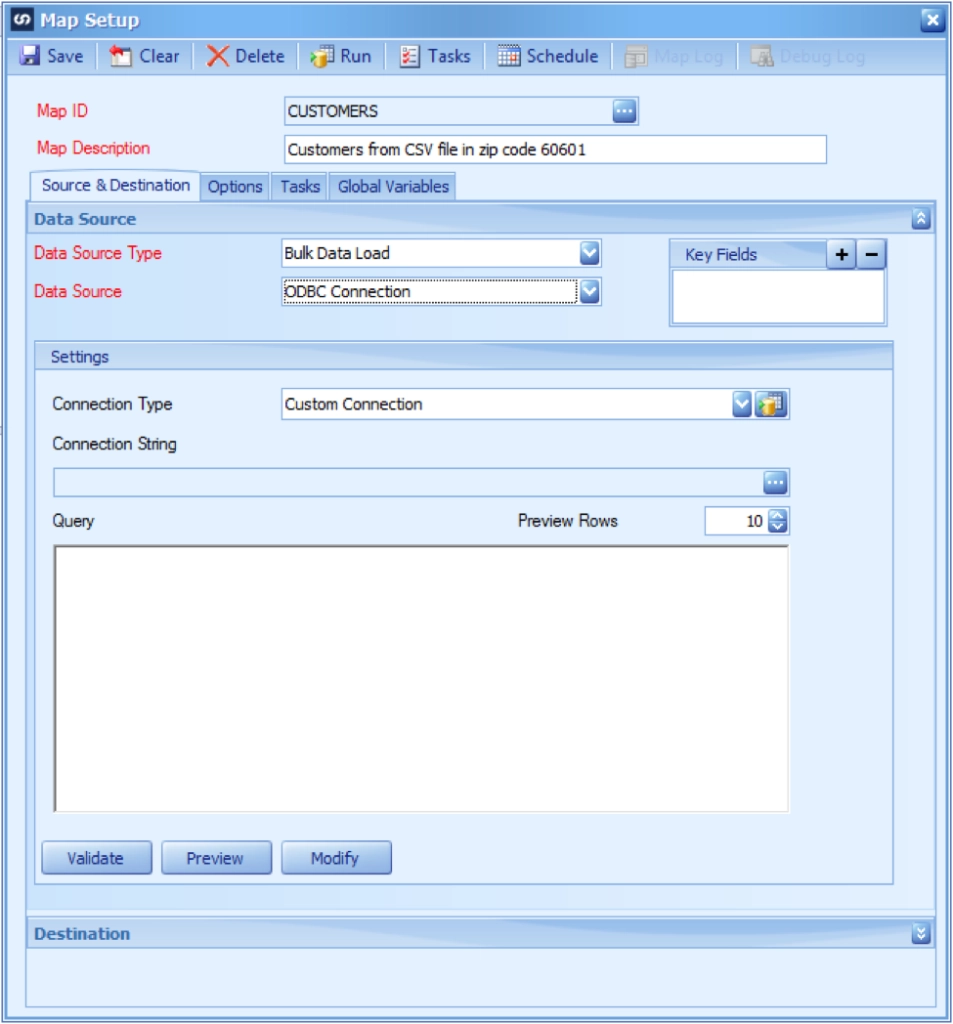
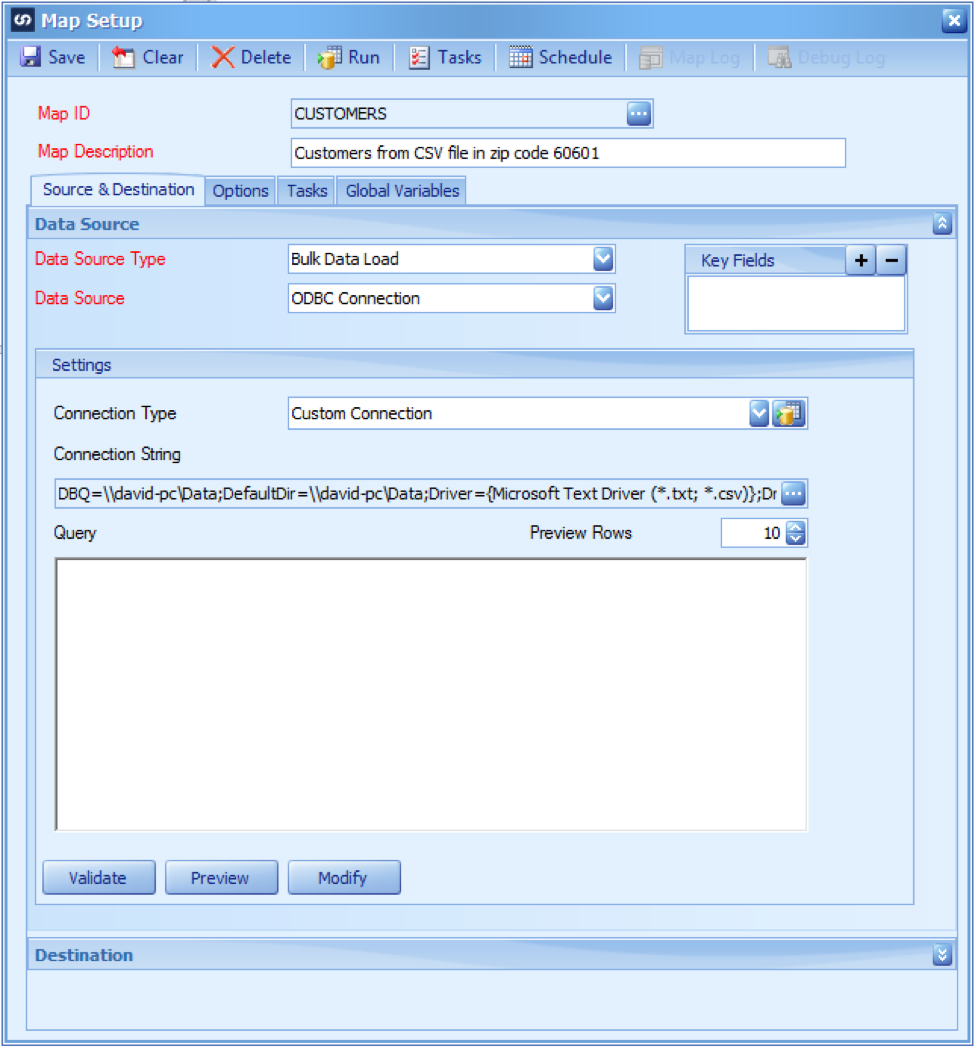
The first thing to do is start to create your map like you usually would, give the map a Map ID and a Map Description. My Data Source Type is going to be a Bulk Data Load, and my Data Source is going to be an ODBC connection.

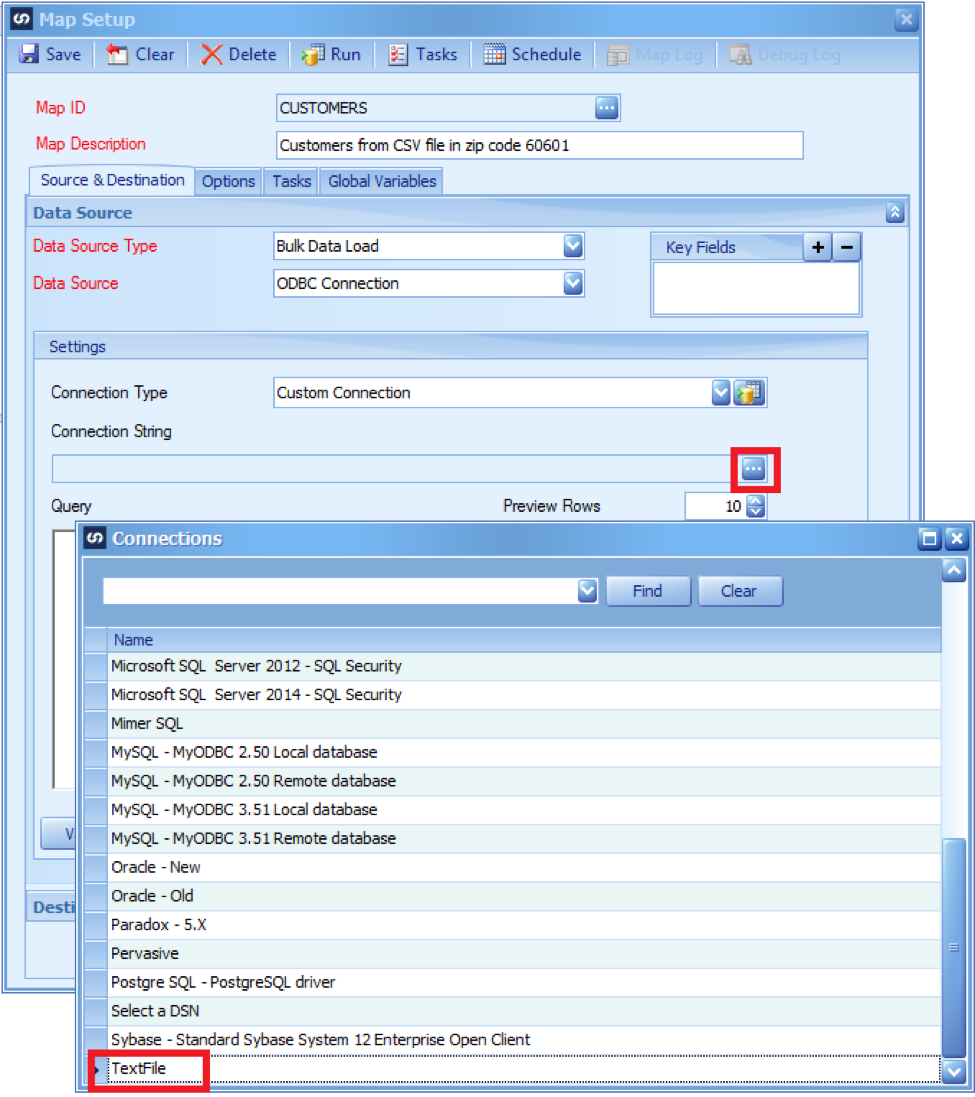
Next I am going to click on the ellipsis button at the end of the connection string and select TextFile.
After doing that the Windows ODBC Text Setup window opens, which looks like this:
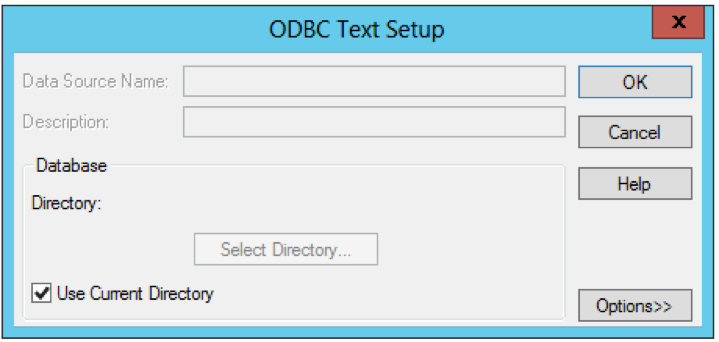
The next step is to unmark the checkbox that says “Use Current Directory” and click on the “Select Directory” button, which opens the following window. (This is where most people get stuck, the list of drives only shows mapped drives, and if you click “Network” it only allows you to create additional mapped drives.)
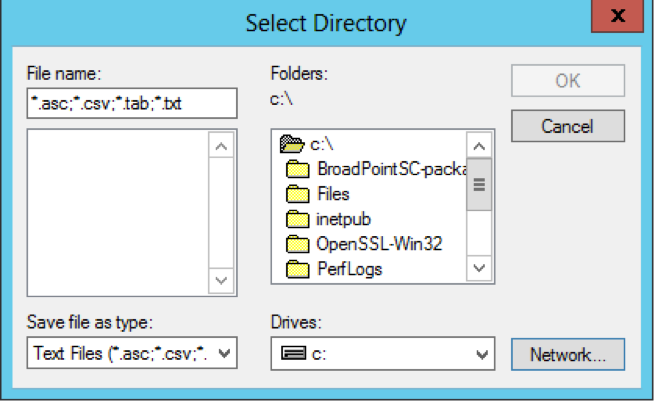
The question becomes how to get a UNC pathname in there. What you need to do is separately browse to the data location using a standard Windows Explorer window. Here you can see in this window, by data is in a “Data” folder on “david-pc”. So in this case I have browsed to the file using Windows Explorer outside of the ODBC configuration window.
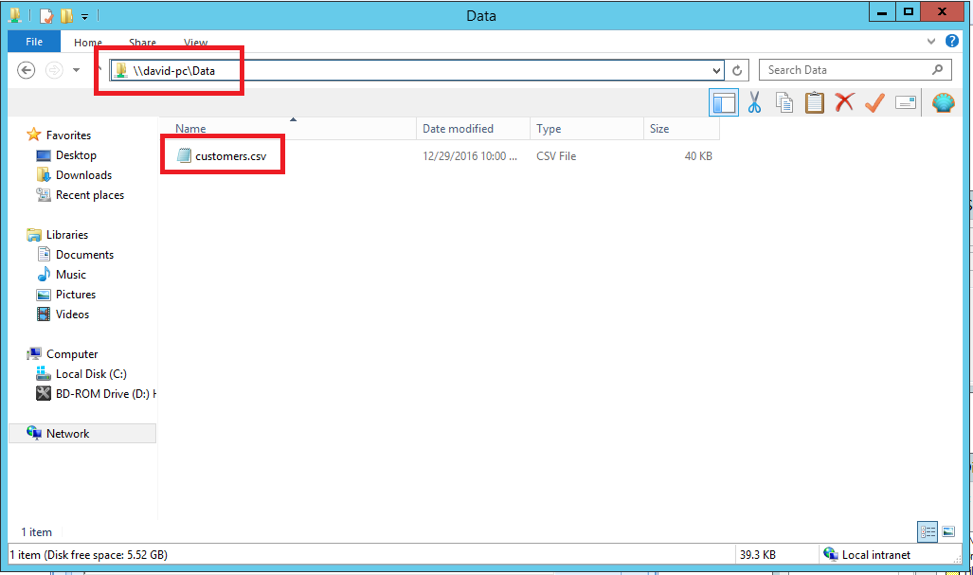
What you need to do is copy the pathname from the Windows Explorer window. So in my case, I am going into the top field in the window above, and selecting \david-pcData and copying it.
Then you switch back to the ODBC window and place the cursor into the “File name” field and erase what is in there. Paste your pathname into that window like this. Make sure you type a backslash at the end of the pathname otherwise this will not work.

Then press the return key, your window should now look like this and you will see your file:
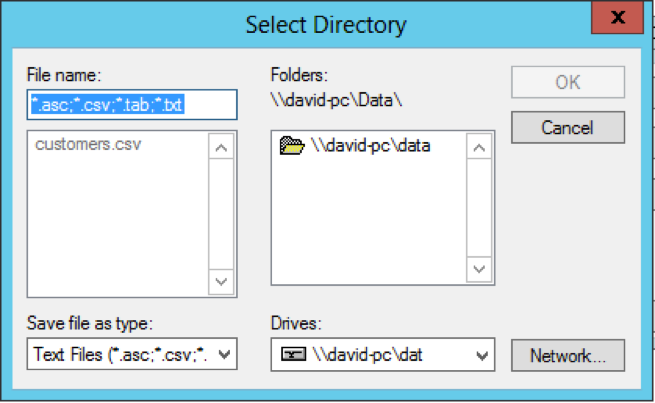
Highlight the folder on the right side, which will then enable the OK button:

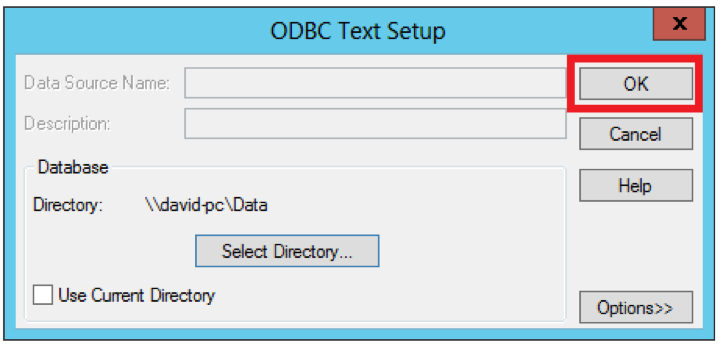
Click OK on that and it will bring you back to the ODBC setup window which will now look like this. At this point you are going to hit the OK button which will bring you back to SmartConnect:
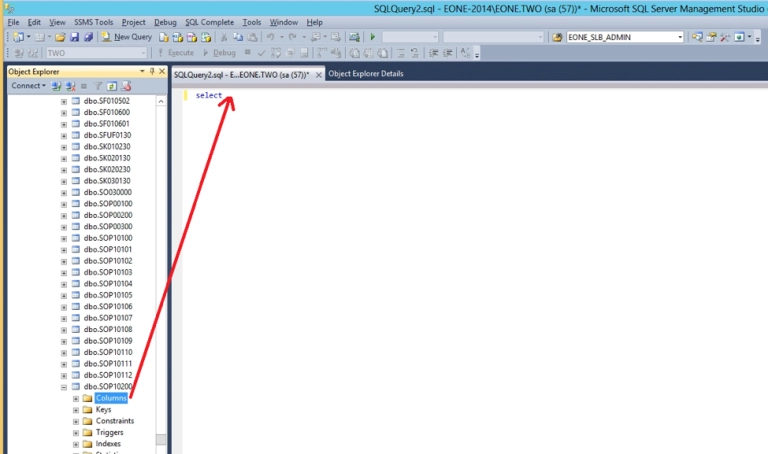
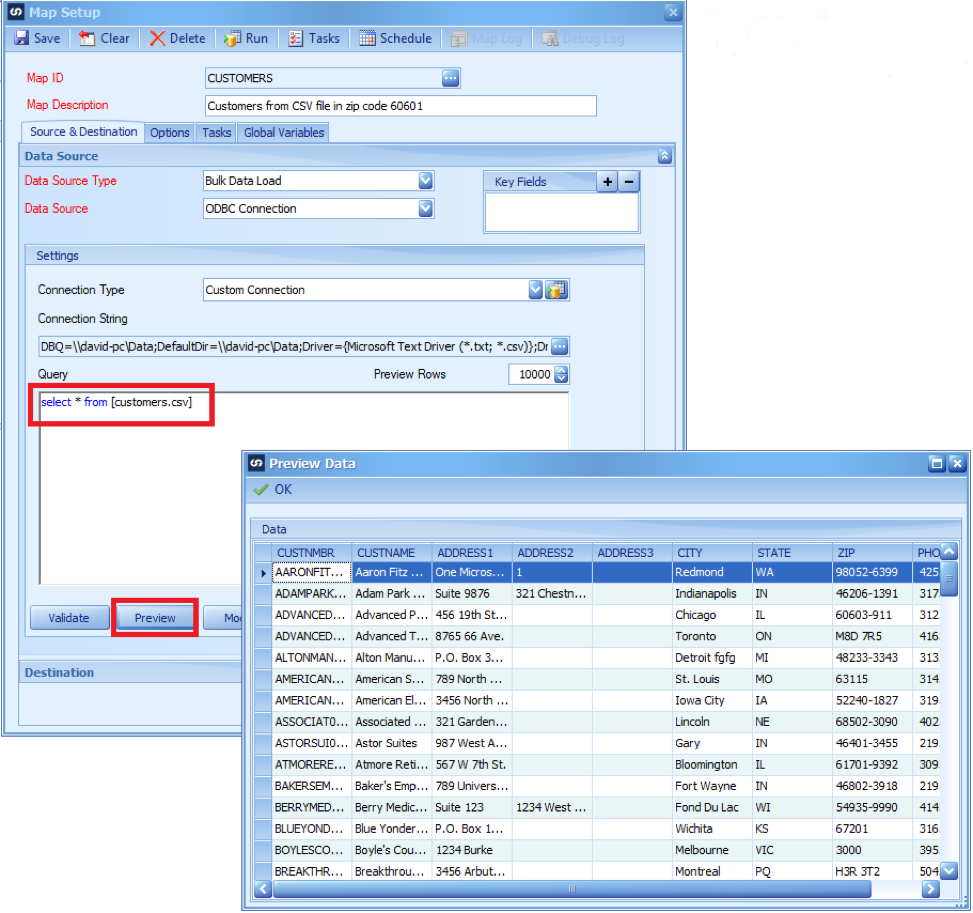
Now you can type a query into the window, the syntax for Text ODBC is very similar to Microsoft SQL with a few syntax differences. You can search the web if you need information on writing Text ODBC queries. For now, I am going to select all my customers by typing in “select * from [customers.csv]” and then hitting preview, which will show all my customers.
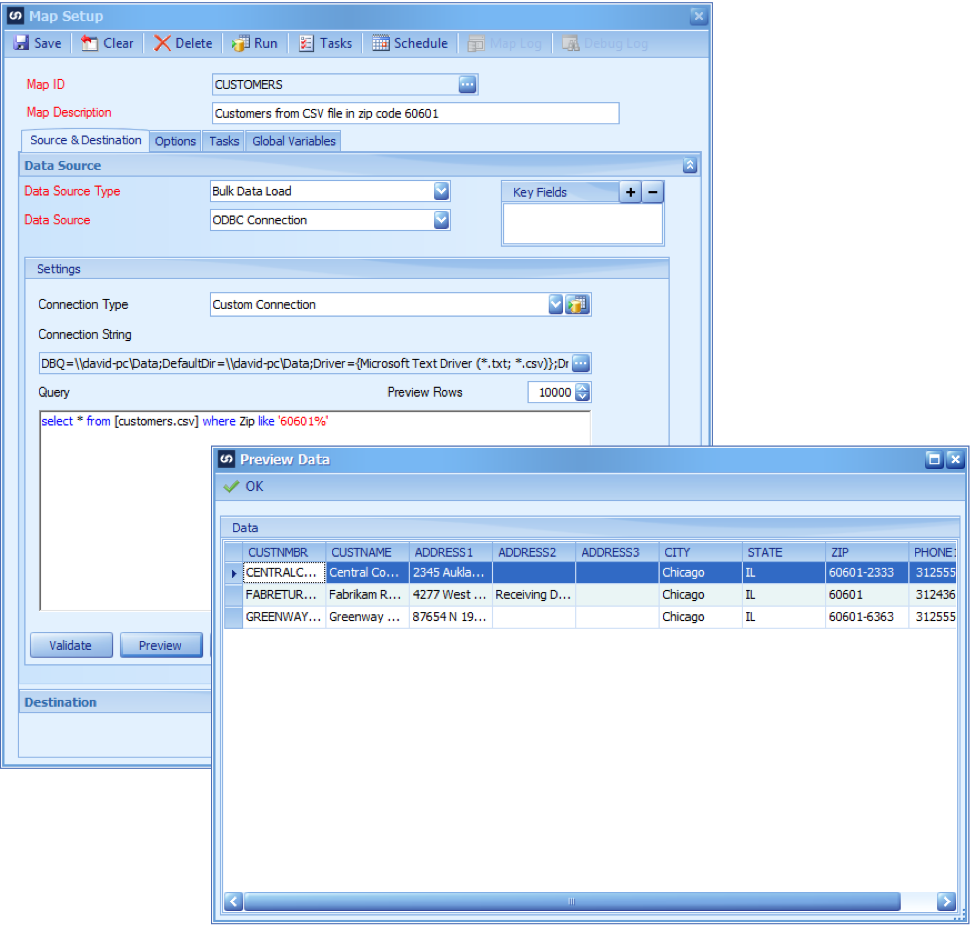
However I initially said I only wanted customers where their Zip code was 60601. So I will modify my query to: select * from [customers.csv] where Zip like ‘60601%’
Now if I preview my query, I only get the 3 records in my data source that match that criteria:
At this point you can continue on creating your map just like any other standard SmartConnect map.