Managing orders and inventory can be challenging if your business is working in multiple systems. It can be difficult for your sales team to have inventory data on hand while creating an order if your inventory is being tracked in another system. If you are using Salesforce to create your orders, Salesforce gives you the capability of customizing the user interface. This allows you to create specific sections or tabs catered to your needs.
Salesforce calls this feature a Visualforce page. Their definition is “Visualforce Pages provide a robust and easy to use mechanism to create new and exciting user experiences for your application or to enhance existing applications to optimize your users’ productivity.” What I am about to show you will take data from Dynamics 365 Business Central and add it to a Visualforce page using a Popdock widget so that you have some insight on your data from another system.
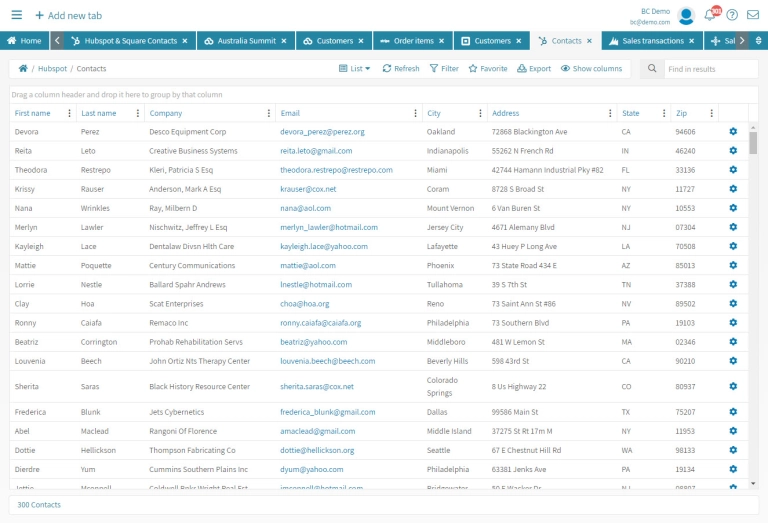
In a previous blog (“How to integrate a Popdock widget as a custom tab in Salesforce“), we show you how to add a Popdock widget as a custom tab. Now we will show you how to customize a specific page to add a section or tab with a Popdock widget. In this example, we will add a new section to the Salesforce product page that shows quantity available from your Business Central Items data.
Creating A Widget With A Parameter For Visualforce Page
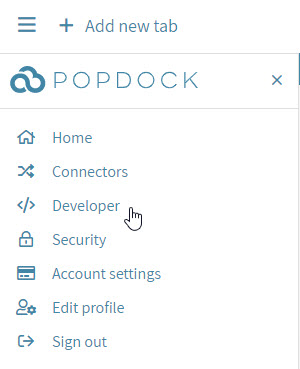
- Go to Developer from the Popdock home page or drop down menu.
- Click “+ Widget” to start a new widget.

- Give the widget a name, in this example we will call it “Quantity On Hand”.
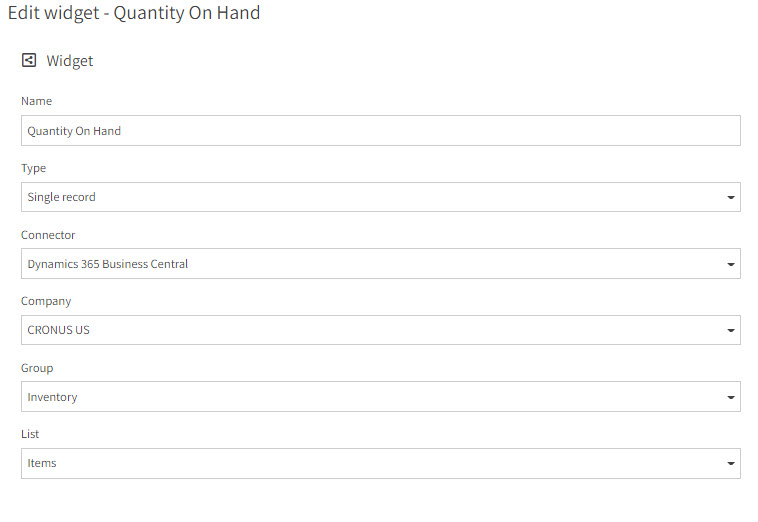
- Next choose the widget type, since we are getting data for a single item, we will choose “Single record”. Connector is Business Central, choose the company, group is normally “Inventory”, then choose the “Items” list.
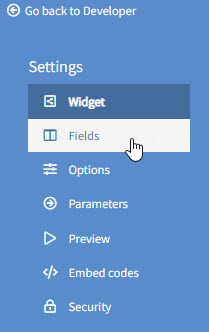
- Now you want to click on “Fields” in the left navigation menu. Here click on the link that says “Click here to add fields”.
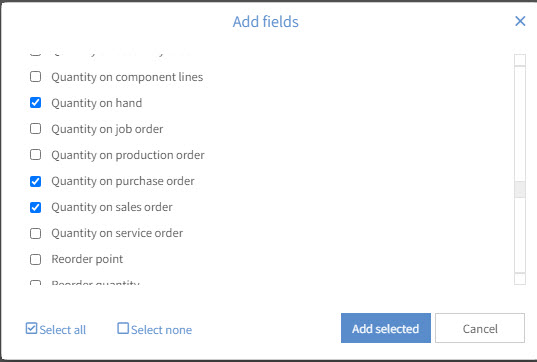
- Choose the fields you would like to see about the product. For example, here we have description, item number, quantity on hand, quantity on purchase order, and quantity on sales order. When you have all your fields selected, click the “Add selected” button. Then you can organize the order you would like to see the fields.
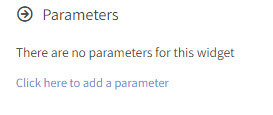
- Next click on “Parameters” in the left navigation menu. Then click on the link that says “Click here to add a parameter”.
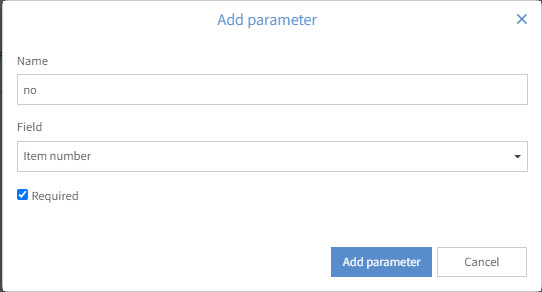
- Give the name a simple name with no spaces and all lowercase. Here we use “no” short for the item number. Then choose “Item number” from the fields drop down. Check the required box so that the widget will only show data when the “no” parameter is used. Then click the “Add parameter” button.
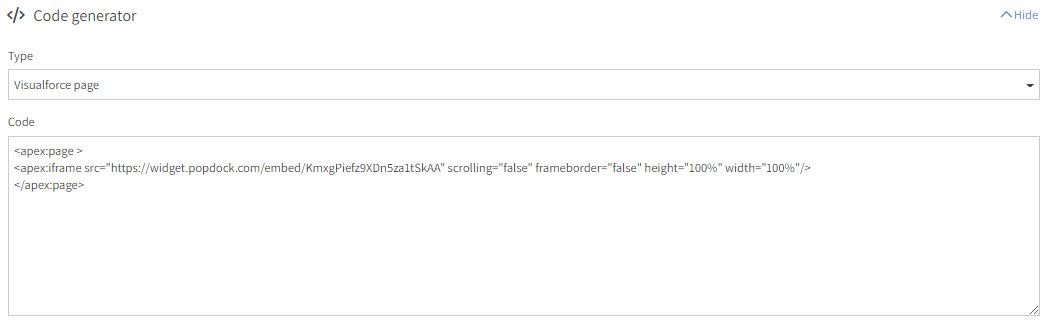
- Now click on “Embed codes” in the left navigation menu. Then click on the “Show” link to the right side next to the Code generator section. Choose “Visualforce page” from the Type drop down menu and the Code generator will generate the code you will need for the next steps of adding a Visualforce page to Salesforce.
Creating a Visualforce Page In Salesforce
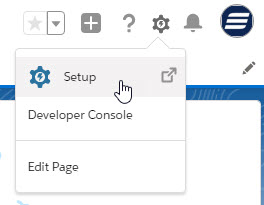
- When logged into your Salesforce account, click on the gear at the top right next to the notifications icon and click on “Setup”. This will take you to the Setup home.
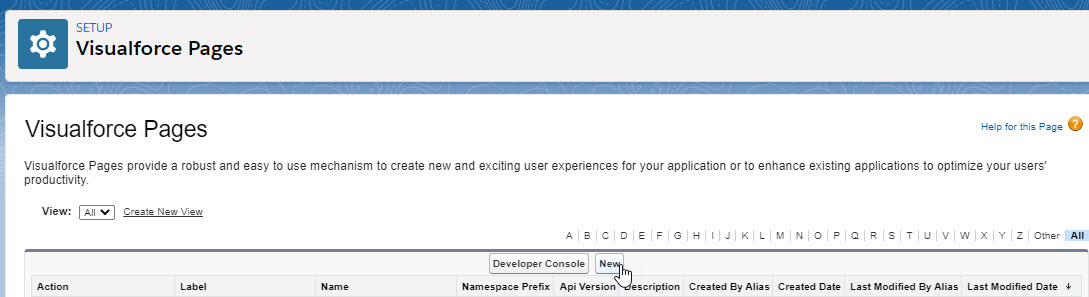
- Click the “New” button to create a new Visualforce page.
- 3. Give your Visualforce page a Label and Name, then make sure to check the box for “Available for Lightning Experience, Lightning Communities, and the mobile app”. Last there is a Visualforce Markup text box, this is where you copy the code generated for your widget and paste it here. Once you have it pasted we will need to customize to work with the parameter and sending in the Product Code from the Salesforce Product page. This is what the update code should look like, I have bolded the new important pieces to the code that should be added:
<apex:page standardController=”Product2″>
<apex:iframe src=”https://widget.popdock.com/embed/KmxgPiefz9XDn5za1tSkAA?no={!Product2.ProductCode}” scrolling=”false” frameborder=”false” height=”100%” width=”100%”/>
</apex:page>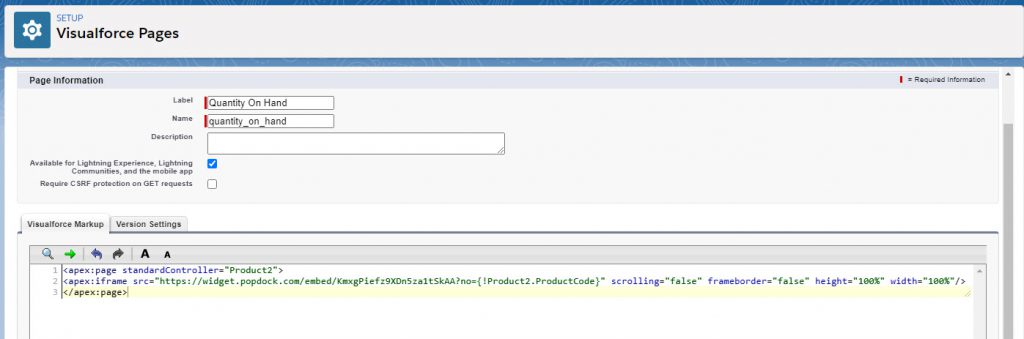
Note: These updates make sure that the Visualforce page works with the Products page and send the Product Code to the widget so that the widget filters by the parameter being sent to it. The height at 100% may need to be adjusted depending on how much data you have to show, please update to pixels instead increasing it more if you need to show more fields. (ex. height=”300px”)
- Click “Save” when you have everything updated. You have now created a Visualforce page that is available to add to the Products page. In the next section we show you how to customize the Products page in Salesforce and add this new Visualforce page.
Customizing your Salesforce Products Page With A New Visualforce Page
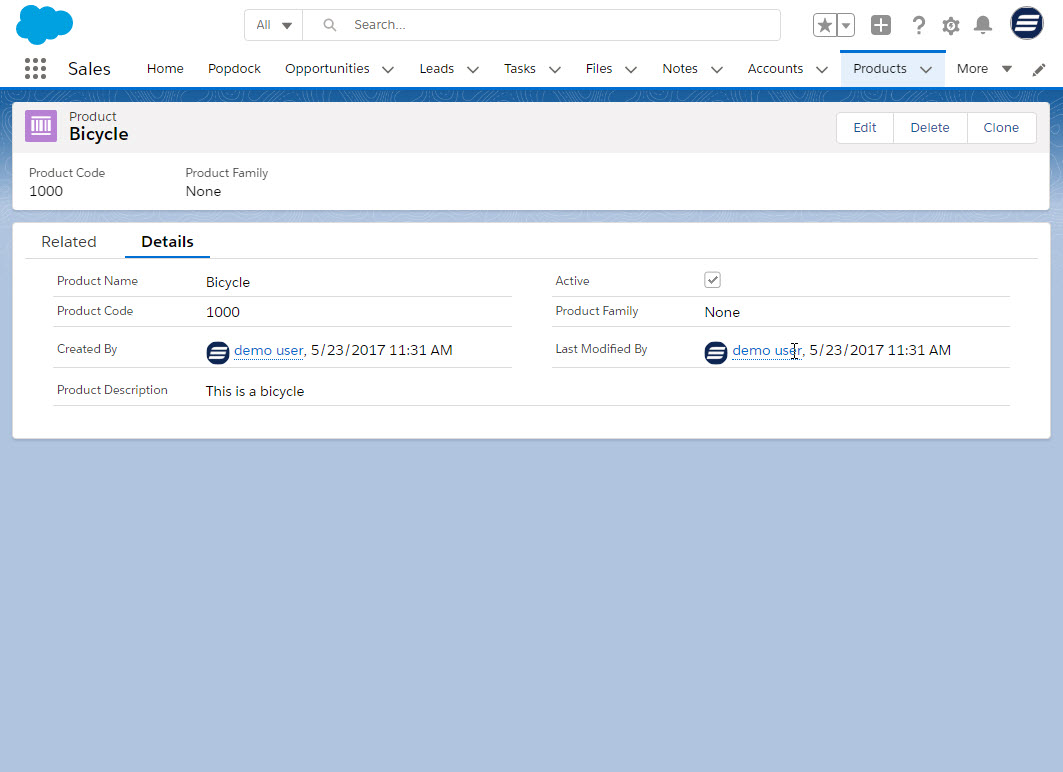
- Navigate to your Products page in Salesforce. Then click on one of your products. This will open the specific product page that we will customize.
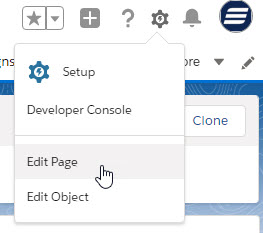
- Next click the gear icon at the top right and choose the option “Edit Page”. This will open the Lightning App Builder where you can edit the page.
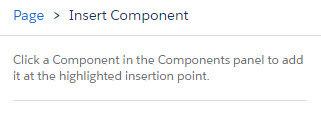
- Hover over the Product Details section until you see a “+” icon under the section. Then click on the “+” icon to add a new component section under the Product Details.
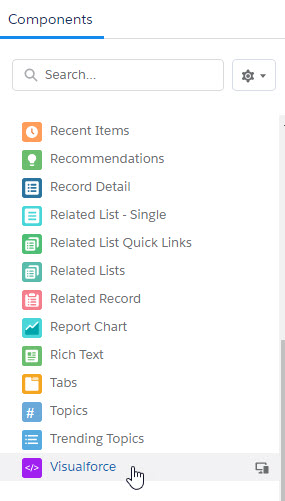
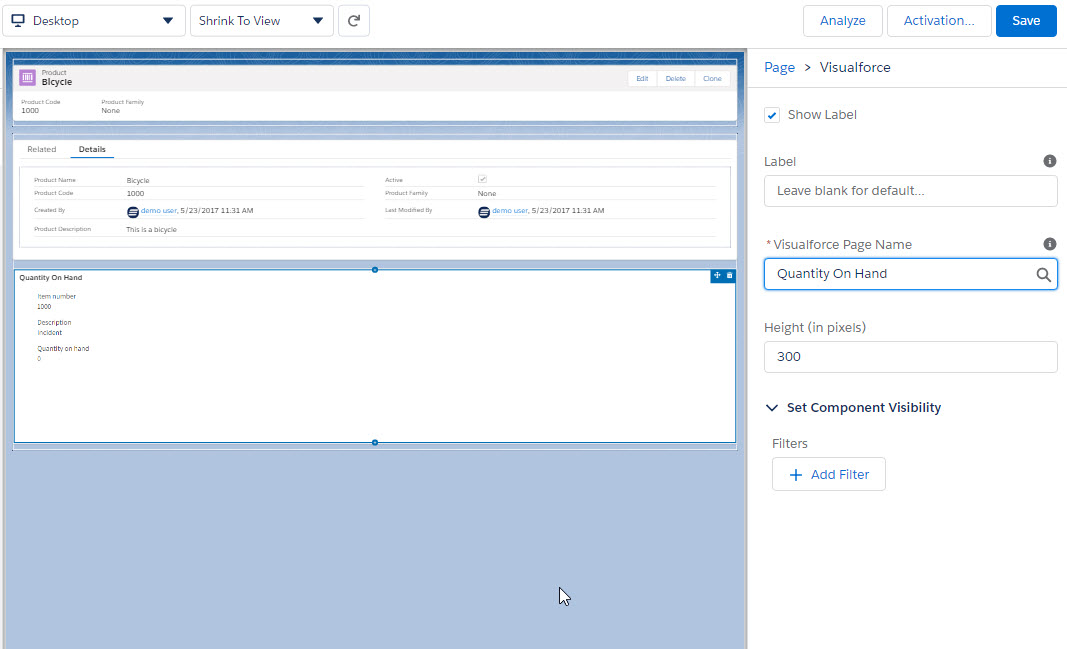
- It may default to a different Visualforce page, but go ahead and click the field and it should show you the new Visualforce page you just created and click it. Now you should see it in the preview showing the widget you created. Adjust the height if you want or leave at the default. Then click Save.
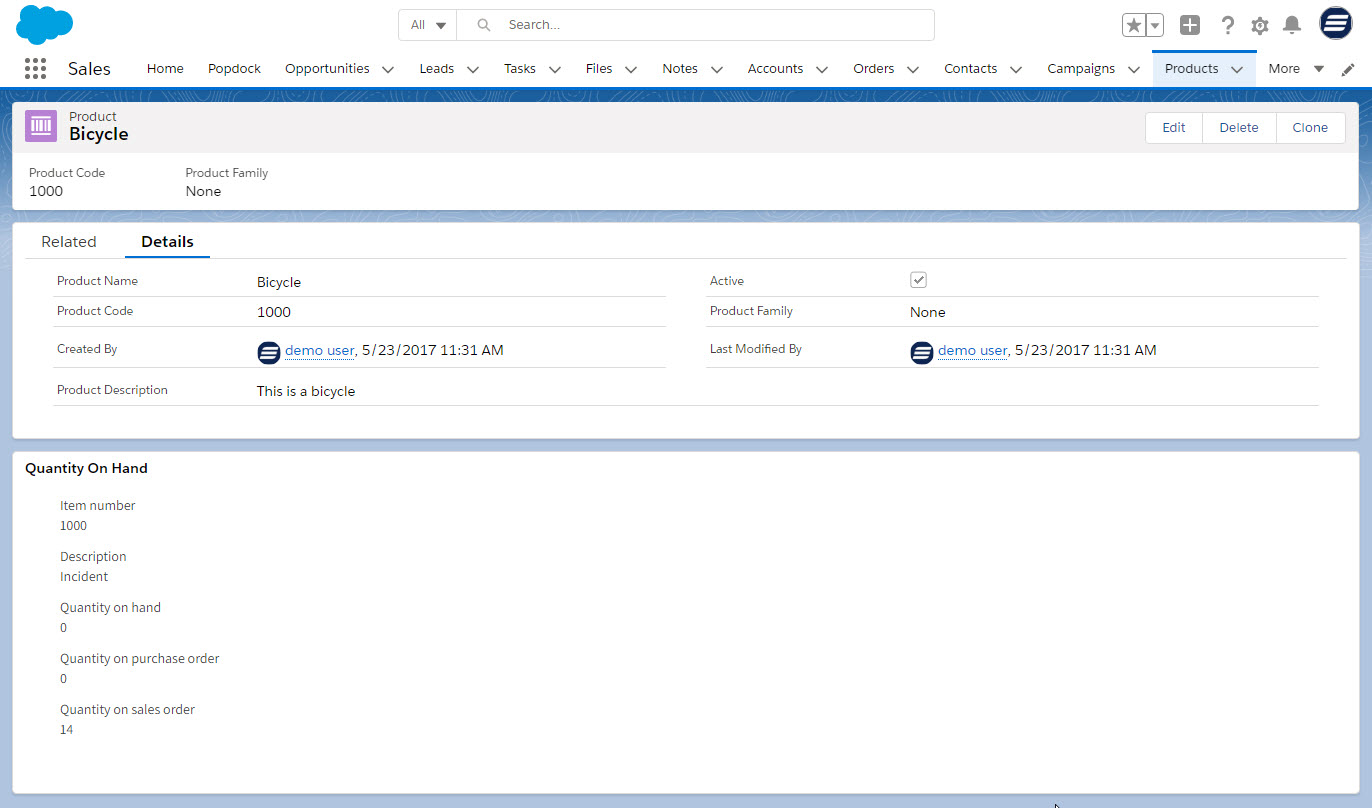
- After it has saved, click the back button at the top left to return to the Products page and take a look at the new Visualforce section that is displaying your Popdock widget and showing your data from Business Central specifically for the product that you are on.
- Go ahead and click on a few other products to check out the data returning from Business Central.
Stay tuned for Part II of this blog article that adds a new tab to a Salesforce order that shows the Dynamics 365 Business Central package tracking number for the order and displays the tracking data for that tracking number. If you have any questions regarding any of the features mentioned here or any questions in general regarding Popdock, please reach out to our Support Team at support@popdock.com.