
Today, many software companies are allowing access to their data through an API and many 3rd party applications are using this to their advantage. Most of the time you must understand their documentation and a programming language to make real use of the access they allow to their API.
With Popdock’s REST Service, you can make connections to other applications that Popdock has not already built an integration with. It still requires you to access and understand the API documentation to complete the steps needed in setting up your REST Connector.
In the following example, I will take you through setting up a REST Connector to connect with a shipping application called ShipStation. This application brings in orders from multiple eCommerce sites like eBay and Amazon and allows the user to ship the orders. ShipStation’s API allows you access to the data that they store on their servers for all your orders and shipments. I will be showing you how to retrieve the data for all your shipments you have processed through ShipStation.
Before we begin adding the connector, you will have to do some research on the API you are working with. Setting up the REST Connector does require knowing what type of authentication it uses, if any, and how to make calls to the API for the data you need. For my example, ShipStation, I found all their information for their API documented here:
https://www.shipstation.com/developer-api/
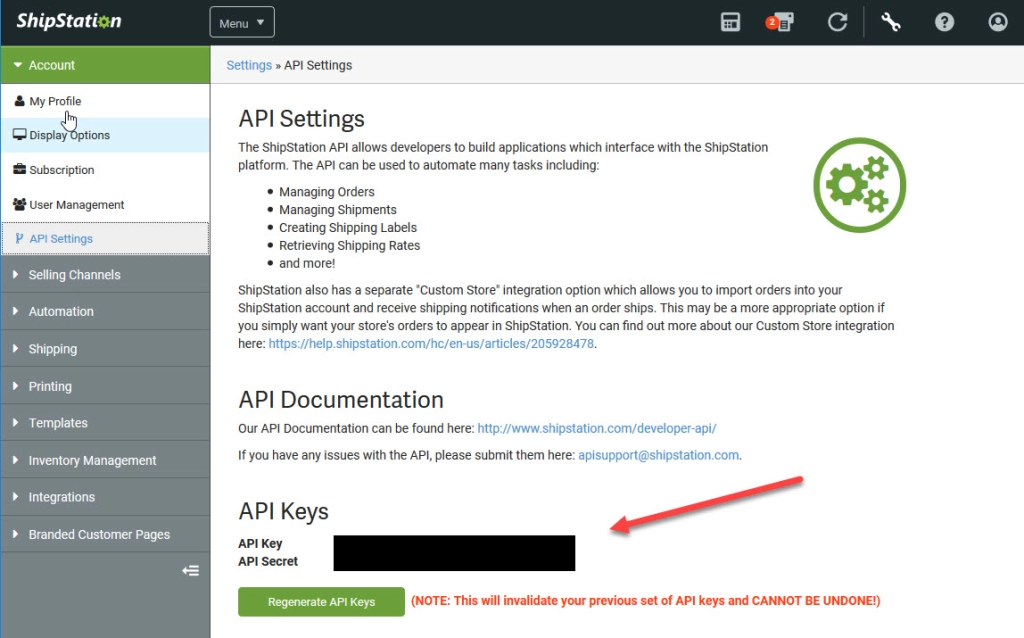
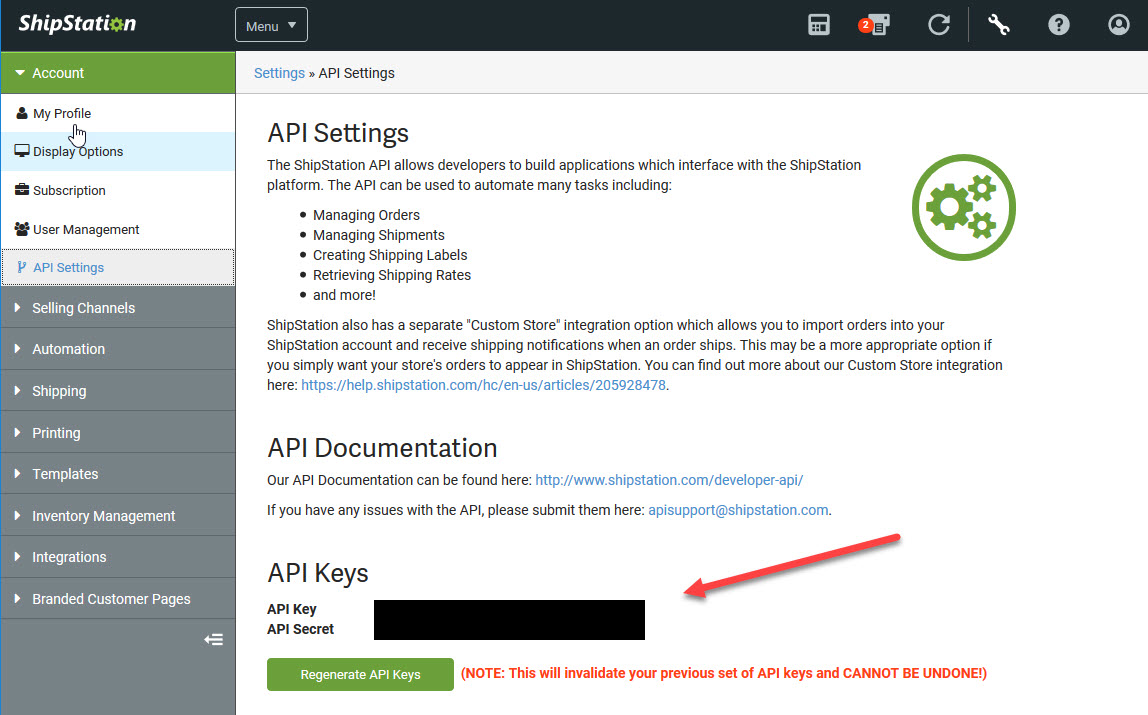
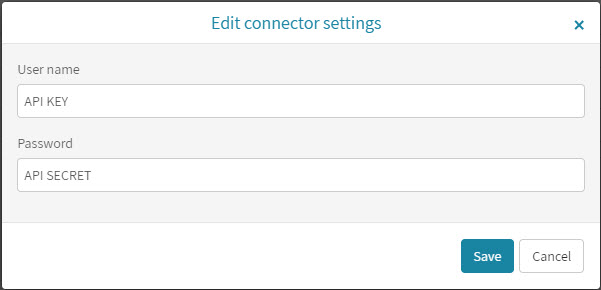
Shipstation uses basic authentication, but in place of a username and password, you create an API Key and API Secret through your ShipStation account login and going to API Settings.
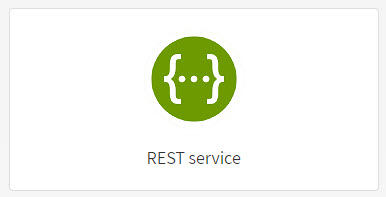
With the authentication figured out, we can start configuring our REST Connector. From the list of connectors available to add, simply choose the one titled REST Service:
You then start by completing as much information about the connection to the API that you can read from the documentation. From what I read regarding the ShipStation API, this is the configuration for the Settings page:
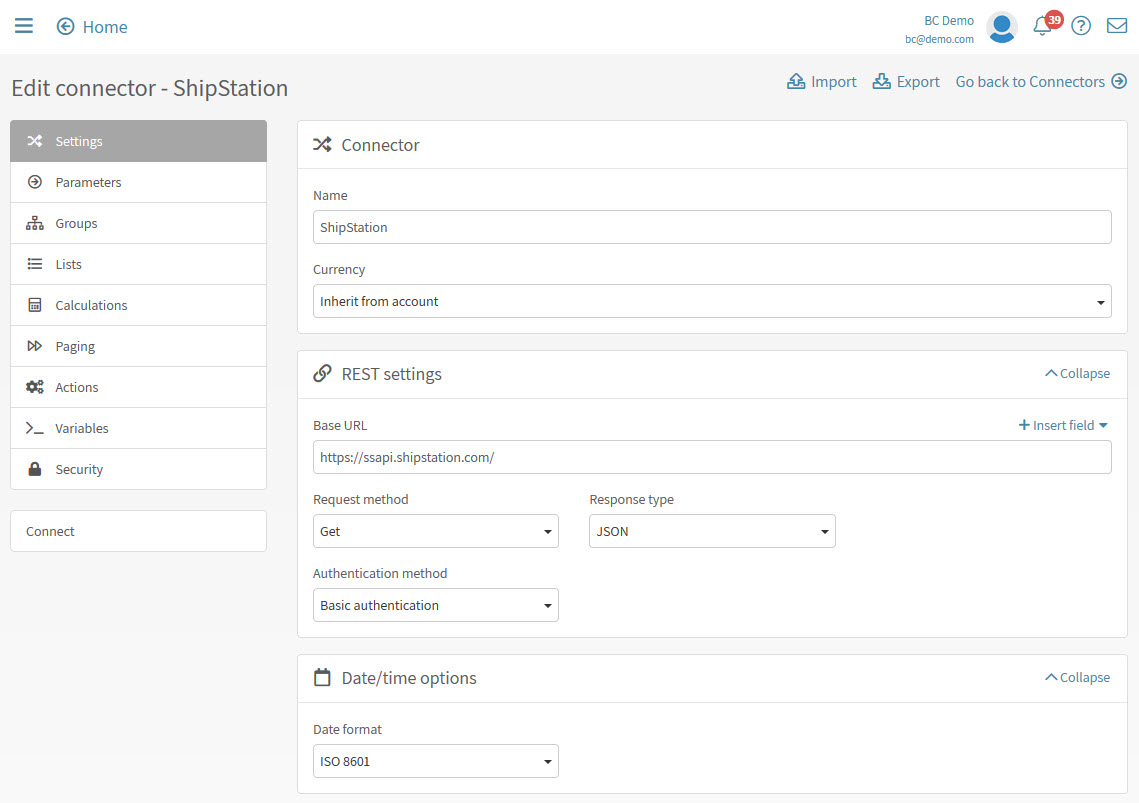
An important detail here is getting the Base URL correct. ShipStation’s API documentation makes it pretty clear that this is the base URL and you will see this in all their examples:
https://ssapi.shipstation.com/
The next section on the left navigation is for Parameters. At this level, ShipStation does not require any parameters to connect to their API, so moving on.
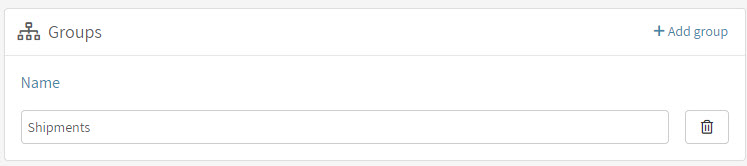
For groups, this is where I configure my lists to be in specific groups. In this example, I will put the shipments list into a Shipments group so I add that group.
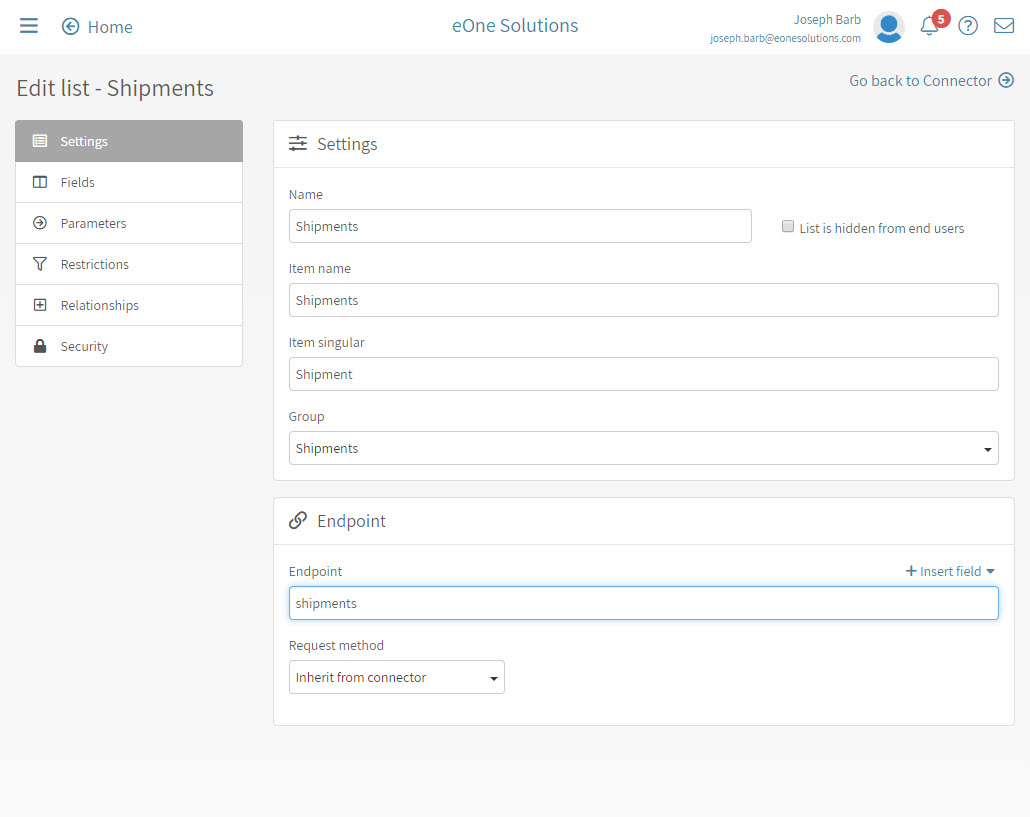
Next we have Lists. This is where we configure the call we will make to the ShipStation API to return the shipments data. I start by clicking the link to add a new list. This starts the steps of creating the list by first giving it a name, completing the settings, and at the bottom providing the endpoint. Since the base URL is already configured, and the following is documented in the API information is the endpoint for shipments:
https://ssapi.shipstation.com/shipments
The settings for the endpoint would then only be “shipments”.
Next, we want to add the fields that the shipments endpoint is going to be pulling back from the ShipStation API. Most documentation provide an example response, this is where using the option “Click here to add fields from a sample file” makes it easy. From the ShipStation API documentation, I can copy the full body of the example response and I use this to paste into the JSON text box:

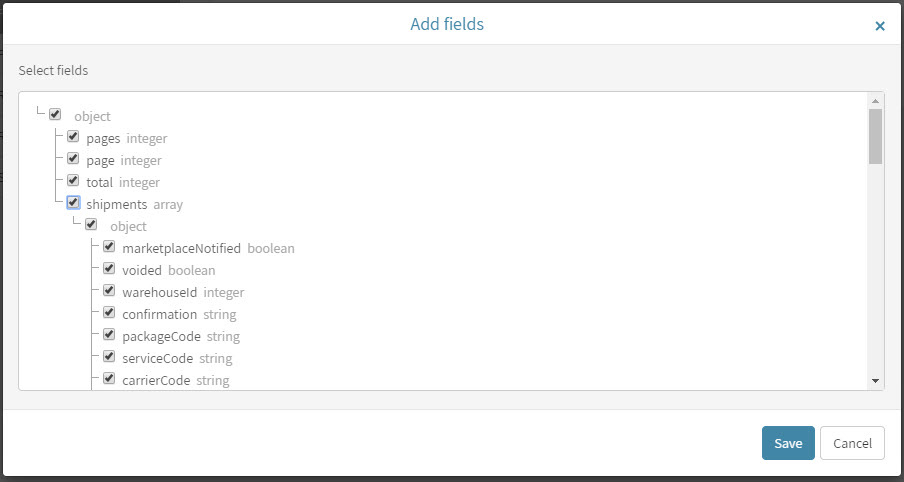
Then, clicking the Select fields button, if the JSON is formatted correctly, you should get the options to check the boxes of fields. I am going to “check all” to get all the fields, as well as the pages for pagination. This is important if the API you are working with returns multiple pages of data. I will go into the paging setup later.
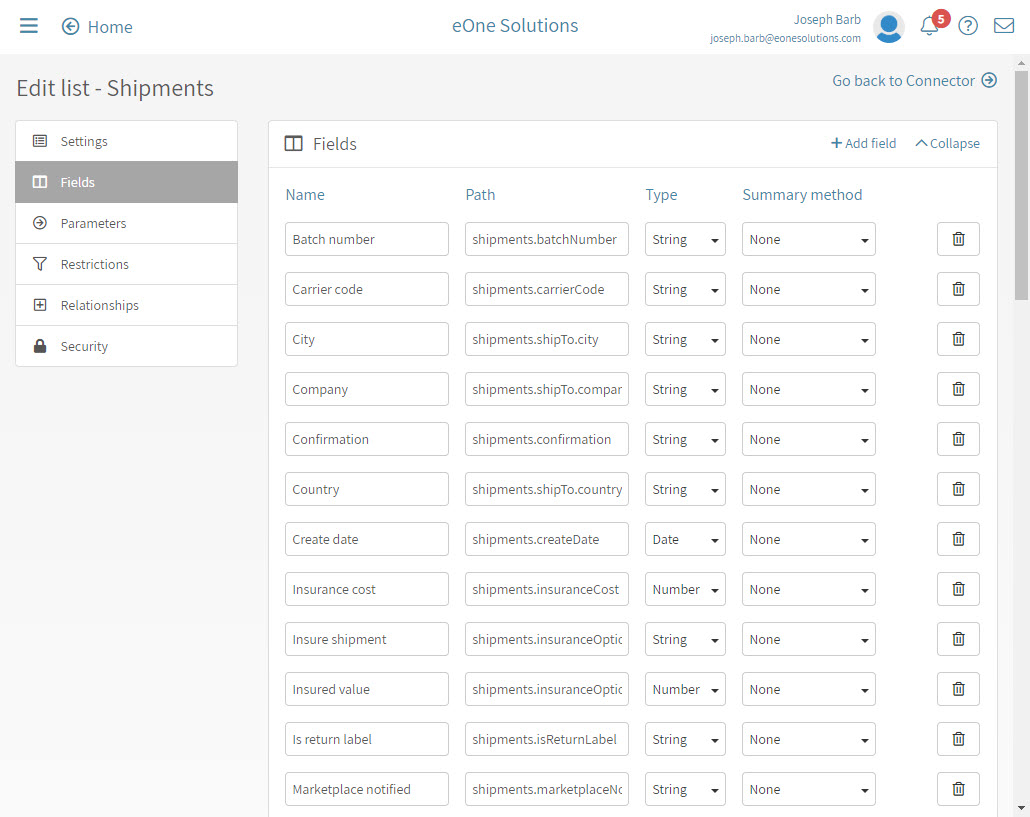
After clicking Save, you should see all the fields automatically created, like this:
For this list I am not including any parameters in the request, but this is where you would add them if you wanted to use an available parameter that the API uses. Now we can use the “Go back to connector” link at the top right to return to the main settings and configure paging.
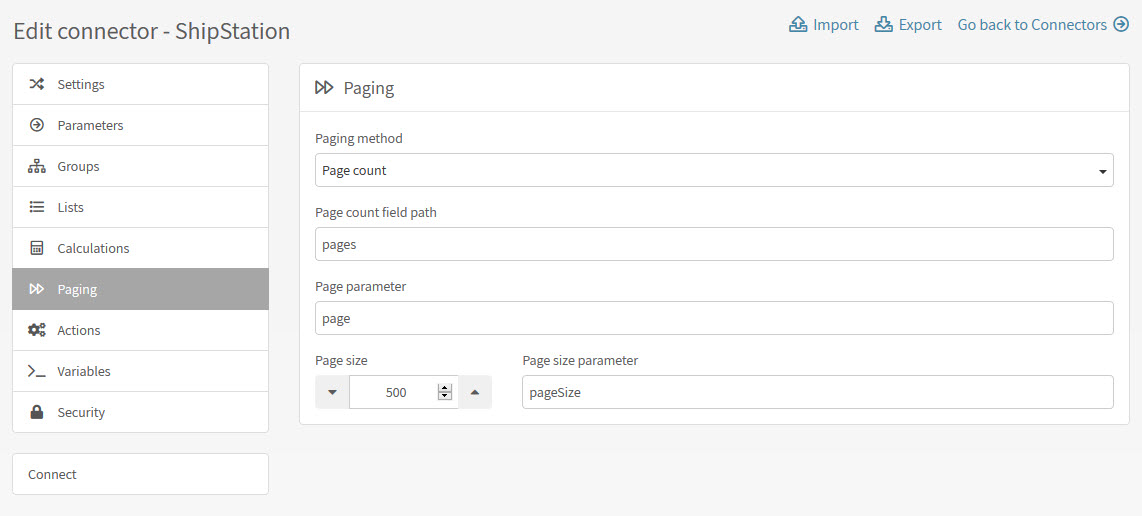
Click on the Paging option on the left navigation so we can tell the REST Service how paging is configured on the response data. The example from the ShipStation API shows the following:
“page”: 1,
“pages”: 0
This would be a page count method with “pages” being the page count field path and “page” being the page parameter. The API documentation also mentions that the max page size is 500 and “pageSize” is the parameter to use when requesting the max page size.
Now that we have everything really required, we can go ahead and go to “Connect” and enter our API Key and Secret.
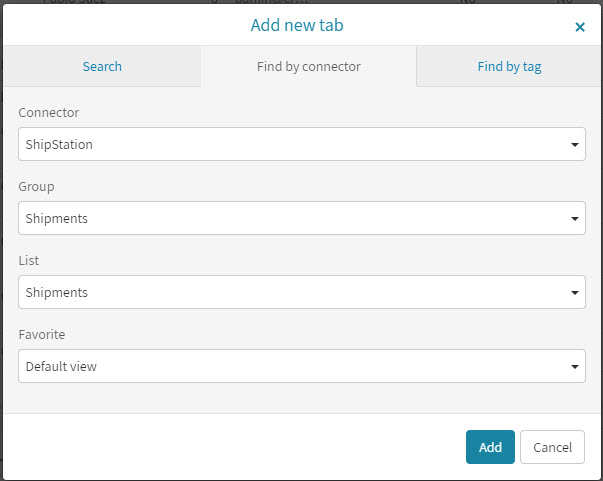
To test your new connector and list, you will need to go back to Home and then click Add new tab. Select your Rest Connector you just created, the group you put the list in, and the list. Then click the Add button.
Since I did not add any default fields yet, you will get a message that “You have not selected any fields” and it will show you the available columns to add. You can return to the connector settings and add the default fields you would like. For now I will add a few columns to see if the data is coming in. This is my results:

I have officially configured Popdock now to connect to an application’s API that Popdock does not connect to by default. Using Popdock’s REST Service and the API documentation provided by ShipStation, I was able to make my own connector and pull down my data into a list showing me all my ShipStation shipments I have created. The REST Service connector opens up the opportunity for users to make connections to almost any API they want to retrieve data from.
If you want to learn more about Popdock’s REST Service, check out popdock.com, and if you have any more questions for us, contact us at support@popdock.com