
Pre-requisites:
– Internet Information Services (IIS) installed on the server that hosts the gateway (How to install IIS)
– Install the .NET Core Hosting Bundle (Note: As of 06/06/2023 the latest version is v6.0.16)
– Have an SSL/TLS certificate (Wildcard is recommended)
– Have an externally facing URL that will be bound to the gateway for the web service (i.e., www.example.com, localhost will NOT work for this)
– Whitelist the Popdock IP addresses listed on our website here
Hardware Requirements:
– Microsoft Windows Server 2012 or higher
– 8GB of RAM
Helpful Links:
– Generating a CRS for SSL certificates in IIS
– Restarting IIS to allow changes to take effect
– Wildcard vs Standard SSL Certificates
Important Tip: IIS needs to be installed BEFORE the .NET Core Hosting Bundle. You may need to restart IIS after installing the bundle. To do so, open the command prompt as Administrator and run the command iisreset.
Installation and Setup Steps
1. Download the SQL Server Gateway.
2. Install the Gateway following the steps below:
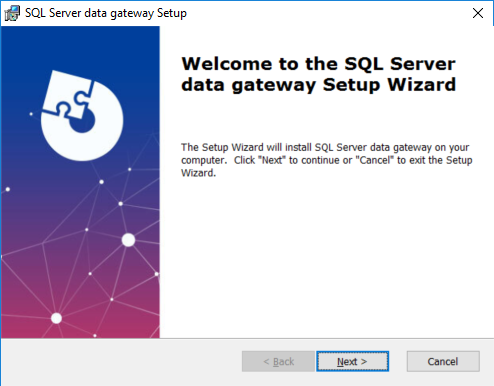
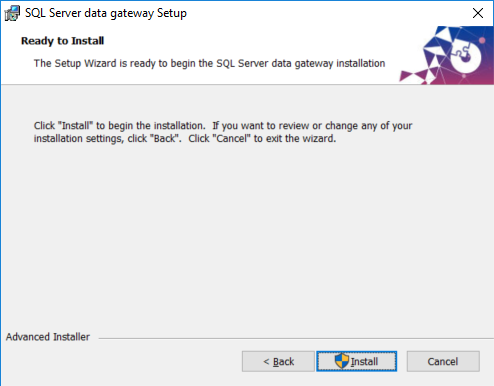
A) Select the next button in the installer to begin.
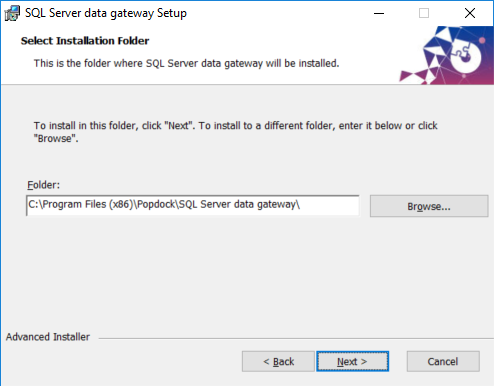
B) Select the desired folder where the files will be installed. By default, the Program Files (x86) directory will be chosen.
C) Provide the credentials to connect to the Microsoft SQL Server.
· Server: The local address and the instance to the SQL Server, and the port as necessary (ex. Demo1SQL,49721).
· Database: The name of the database you need to access.
· Username: The desired SQL Server user. This user does not need to be “sa” but they must have access to be able to read the SYS tables in order to access the metadata.
· Password: The password for the SQL Server user above.

D) Choose the Authentication type that Popdock will use to connect with the Gateway. We highly recommend using Token as it is easier and more secure, but we will cover Basic authentication as well.
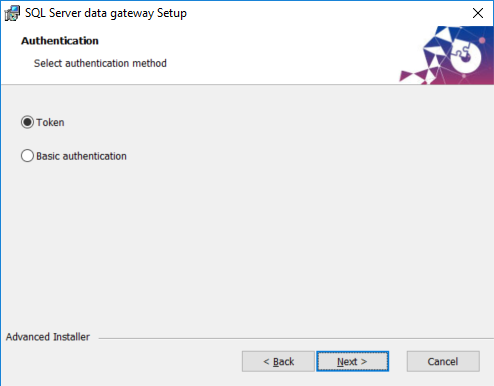
· Token (See subsection D-Token)
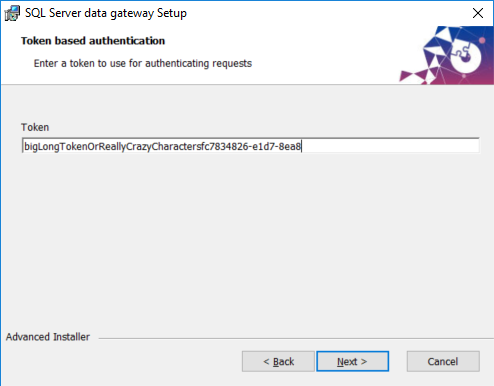
Create a Token that will be used by Popdock to connect. The Token can be created however you like whether through a random generator or a custom one. Store this value somewhere safe for later use.
· Basic Authentication(see Subsection D-Basic)
Create a Username and Password that will be used by Popdock to connect to the gateway.

E) Select the Install button to finish the process.
(Subsection D-Token) If Using Token, continue with the following steps:
Once you have finished up with the installer, go to the SQL Server data Gateway folder in your file browser and open the appsettings.json file.
(C drive -> Program Files (x86) -> Popdock -> SQL Server data Gateway-> appsettings.json)

Once inside the appsettings.json file, delete everything within the password line from the authentication section of the file EXCEPT the double quotes (The Gateway installer will automatically encrypt the blank field of the password section for basic authentication, and this will error out during the validation of the connector).
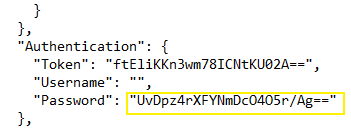
Once this is deleted, save the file, and continue onto the IIS section of the Gateway setup process.
(Subsection D-Basic) If using Basic Authentication, continue with the following steps:
Once you have finished up with the installer, go to the SQL Server data Gateway folder in your file browser and open the appsettings.json file.
(C drive -> Program Files (x86) -> Popdock -> SQL Server data Gateway-> appsettings.json)
Once inside the appsettings.json file, delete everything within the token line from the authentication section of the file EXCEPT the double quotes (The Gateway installer will automatically encrypt the blank token section for token authentication, and this will error out during the validation of the connector).
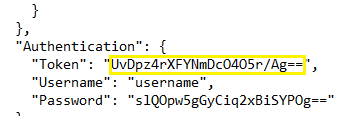
Once this is deleted, save the file, and continue onto the IIS section of the Gateway setup process.
3. Add the Gateway to an existing website within the IIS Manager.
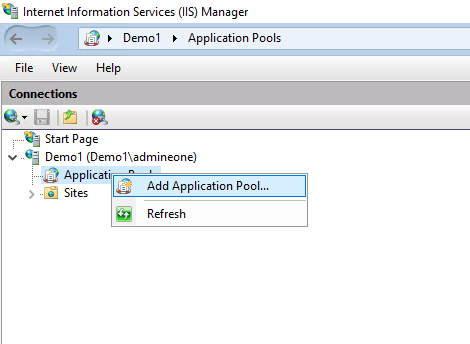
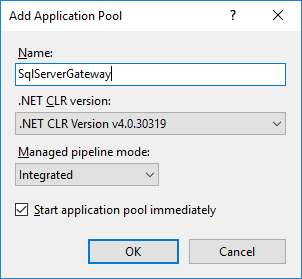
A) In the IIS Manager, Right-Click on the Application Pools tab and select Add Application Pool….
B) Name the Application Pool something related to the SqlGateway, in the example below we named it SqlServerGateway.
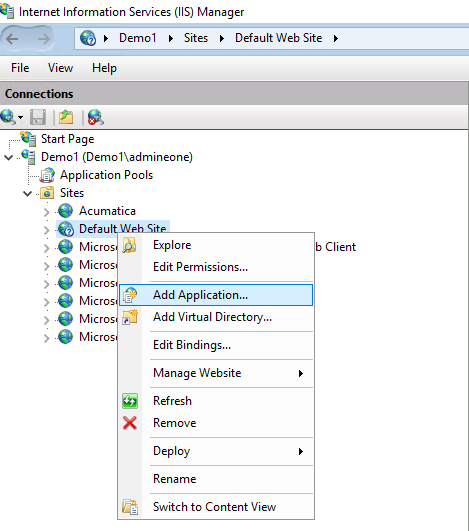
C) Now, expand the Sites in the IIS Manager and select the site in which you want to add the SqlGateway (in the example we have chosen the Default Website). Right-Click and select Add Application….
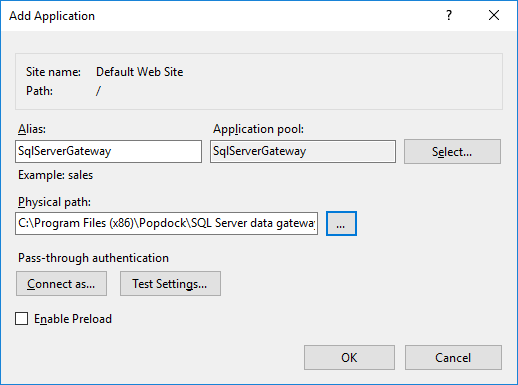
D) In the Alias field, name the application something simple (In the example we have chosen SqlServerGateway but something simpler like SqlGateway would be fine). Choose the Application Pool from the previous step and select the path used to install the Gateway in Step2B. Then click OK.
4. Ensure the Gateway is properly bound with SSL security and is externally facing.
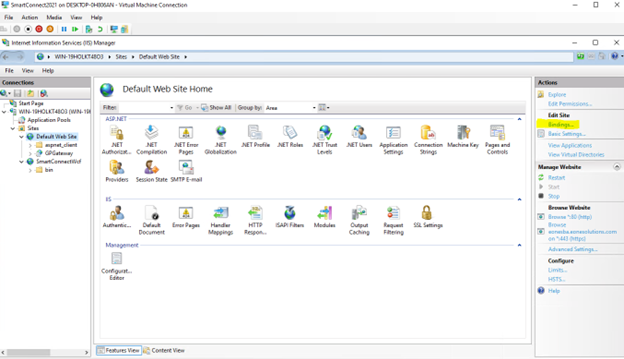
A) In the IIS Manager, go to the site that you installed the Gateway on and in the upper right-hand corner, select Bindings.
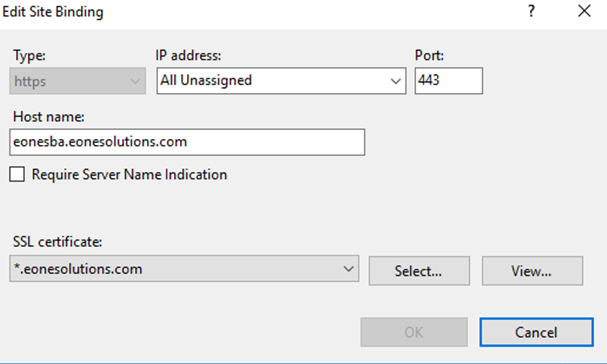
B) In the bindings menu, select Add and within the Edit Site Binding window, change the type to https, leave the IP address as All Unassigned and the default port will be set to 443 (if you are using a nonstandard port use that instead). From there, add in the Hostname as mentioned in the pre-requisites and select the SSL/TLS certificate that will be used for this binding. Once selected click OK.
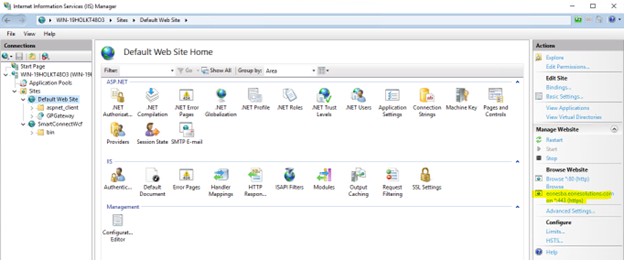
5. Once the SSL security is setup, return to the site in IIS and click on the new Web Service URL on the right-side and browse to the site to make sure the Gateway is up and running.
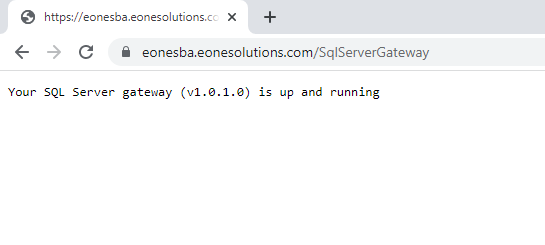
If everything is correct and setup properly, you will get this screen when you browse to the Gateway site.
6. Return to your Popdock web application and add your new SQL Server Connector.
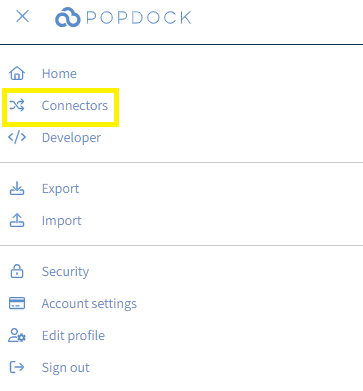
A) Inside Popdock, click the triple bar menu in the upper left corner, and select Connectors from the drop-down menu.
B) Click the +Add Connector button from the Settings Menu on the left side of the page and select SQL Server from the list of connectors.
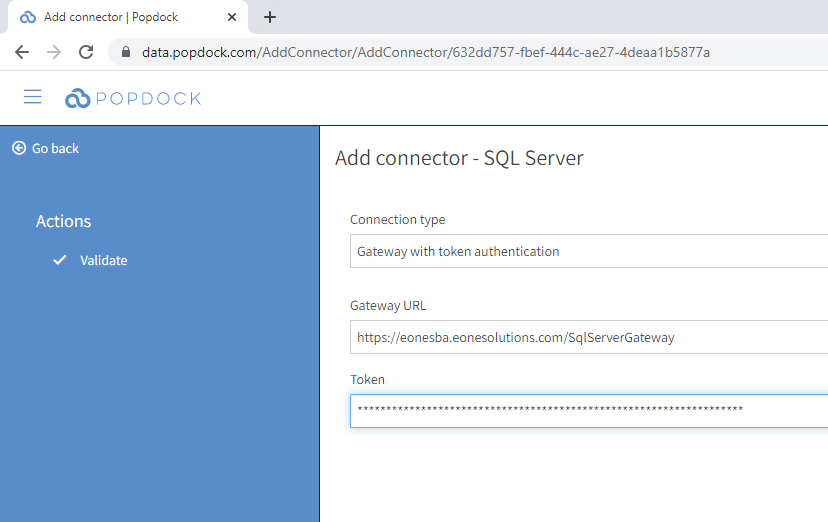
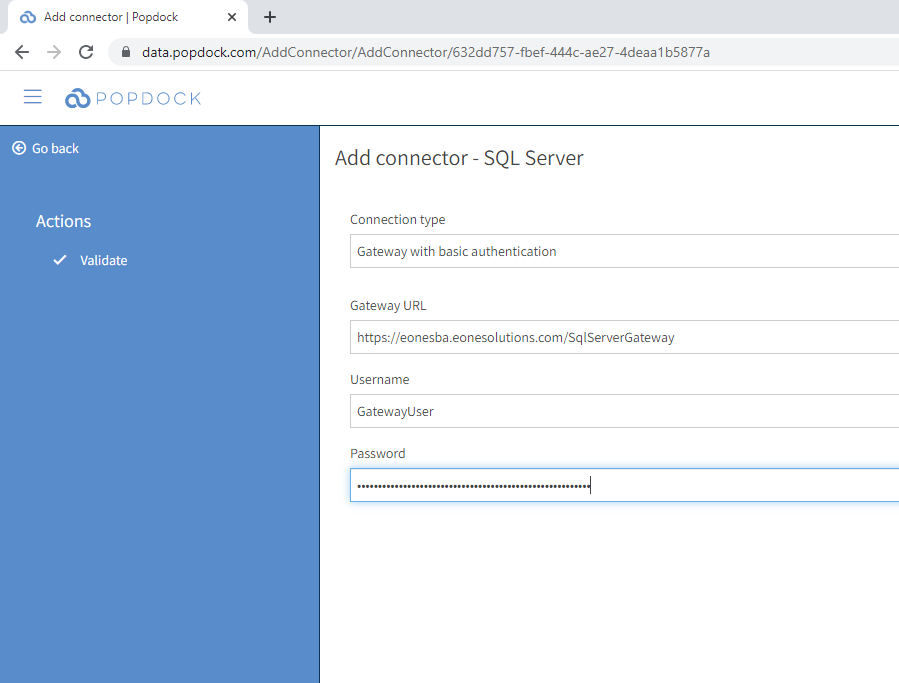
C) Use the Connection type drop down menu to select the connection type you choose during the setup (Token or Basic Authentication).
· Gateway with Token Authentication: In the Gateway URL field, choose the URL that we used in IIS, then use the Token that was created in Step 2D.
· Gateway with Basic Authentication: In the Gateway URL field, choose the URL we used in IIS, then use the Username and Password that was created in Step 2D.
D) Select the Validate button from the Action menu to ensure that Popdock can connect to the SQL Server Gateway.
E) Select the Connect button from the Action menu to start the process of creating the SQL Server lists in Popdock.
F) Select the tables you would like to add as lists in Popdock and start accessing data.
Questions on setting up your SQL Server Gateway? Contact support@eonesolutions.com.