
A while back, I wrote an article about connecting to Shopify with the REST Connector using SmartConnect on-prem. With SmartConnect.com, this process has been simplified and also has some additional features that make working with an API easier. Currently, REST Services are available as sources in SmartConnect.com. Destinations for these services will be released at a later date.
I will use Shopify in this example today. The Shopify setup will be the same as it was for the on-prem version of SmartConnect. If you’ve already done that, you can skip the Shopify Setup section.
Shopify Setup
To start, we need to setup a Shopify app that will give us access to the Shopify API. Login to your Shopify account with a user that has permissions to create an App. Once logged in to Shopify, you will need to navigate to Apps>>Manage private apps.

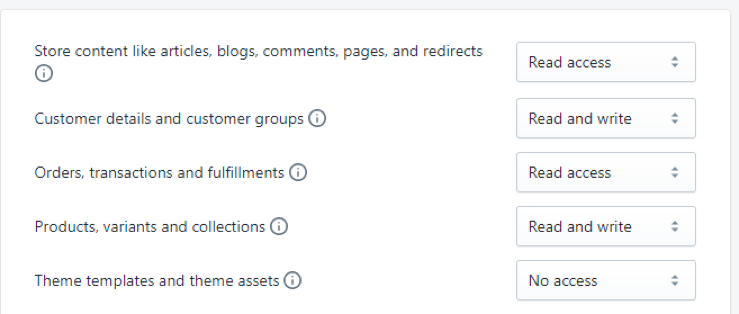
Enter a Private app name of your choice and then set the permissions appropriately for what you need to do with an integration. Since this connector will be for sources, you’ll only need to set Read access for all the endpoints.
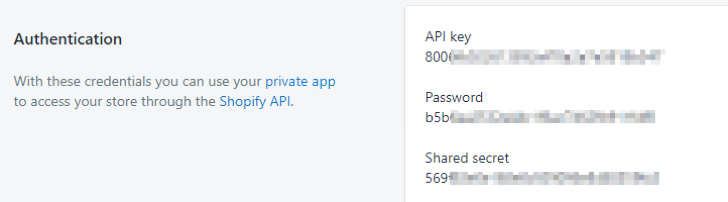
Make sure to save your App settings so an API Key and Password will be generated. We will need to use these values when setting up the service in SmartConnect.com.
Setup for the REST Definition
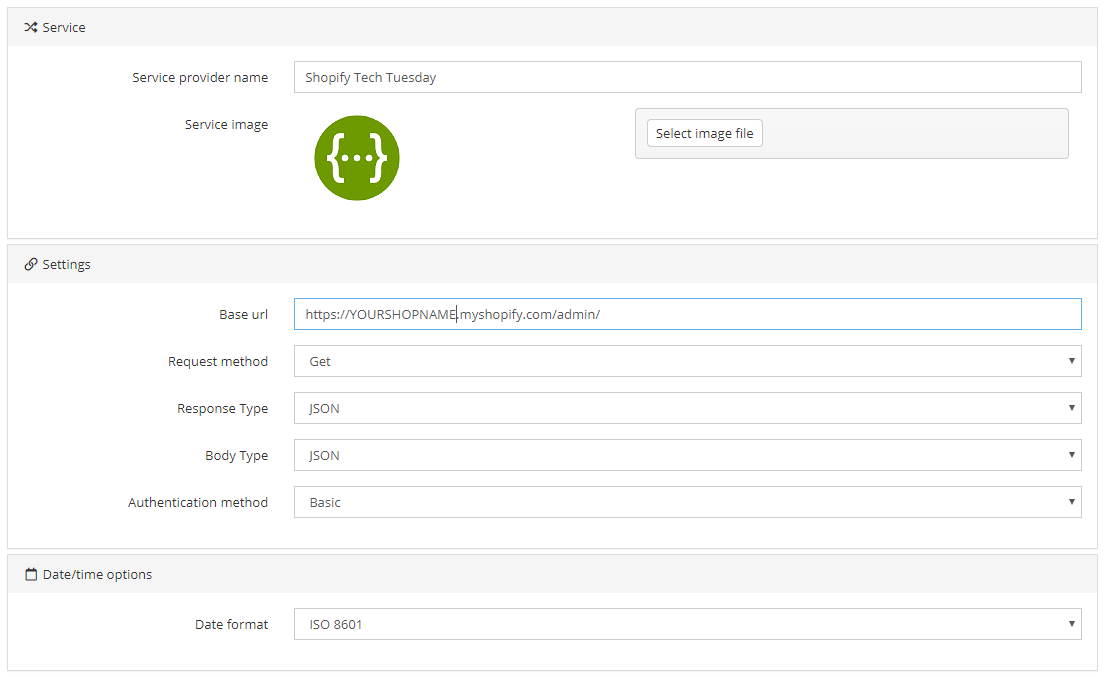
In SmartConnect.com, navigate to Maintenance>>REST Services>> Create Rest Service to begin the setup. Setup the connector as below.
Setting up a Service Entity
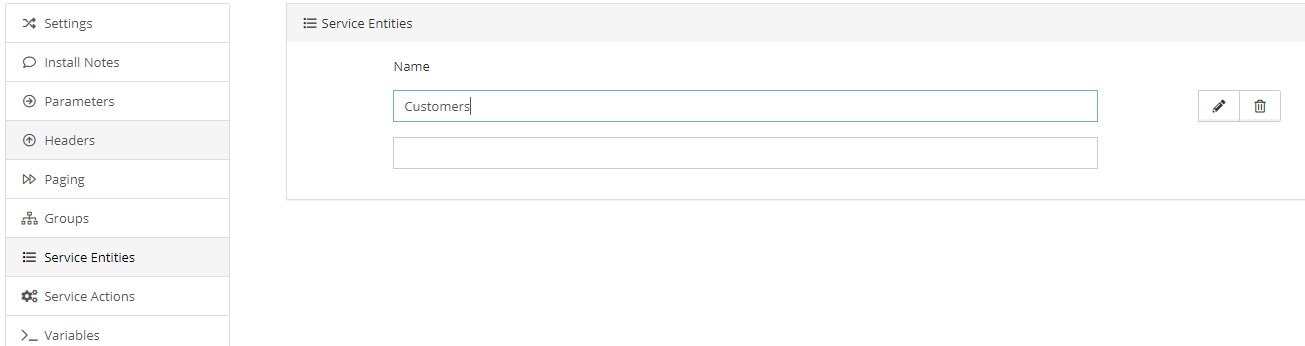
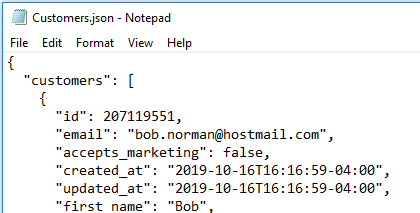
Click on Service Entities to setup the first endpoint. I am creating a customers endpoint, so I will name it Customers and then click the edit pencil.
Set the Endpoint to customers.json and then click on Fields. You can manually enter all the fields that you want in your source, or you can click Load from file to import all the fields from a json file. To load from file, you will need to copy out the json response from the api documentation for your particular endpoint and save it as json file.
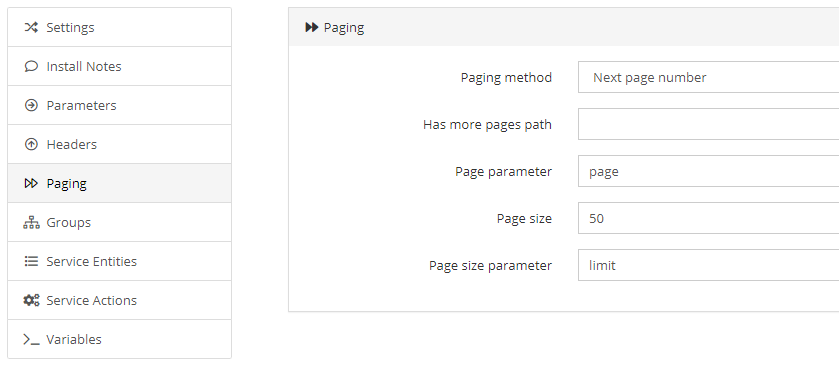
Add Paging
Paging is a new feature in SmartConnect.com that simplifies the ability to get all the records you need. Navigate to the Paging and set the options as below. The default page size for Shopify is 50, and the max is 250, so you need to set it no higher than 250.
Setup a Connector to use your Shopify service definition
Navigate to Connections>>Create Connection and choose your Shopify rest definition. Name the connection and then enter the Username and Password. These were given in the app setup from within Shopify that we setup in the beginning of the article. The Username is the API Key and the Password is the password. Save the connection.
Setup a Data Source
The last step to get some data is to navigate to Data Sources>>Bulk Sources>>Query>>Create Bulk Query. Select your Shopify source, enter a description for the data source, choose your Shopify connector, and then choose the Customers Entity that we defined earlier. Click Validate to enable the Save and Preview buttons.
After you save your data source, you can use the source on as many integrations as needed. Once you have this basic setup working, you can add additional Service Entities to get more data that you need.
If you have any questions, comments, or want to learn more, feel free to email us at sales@eonesolutions.com
