
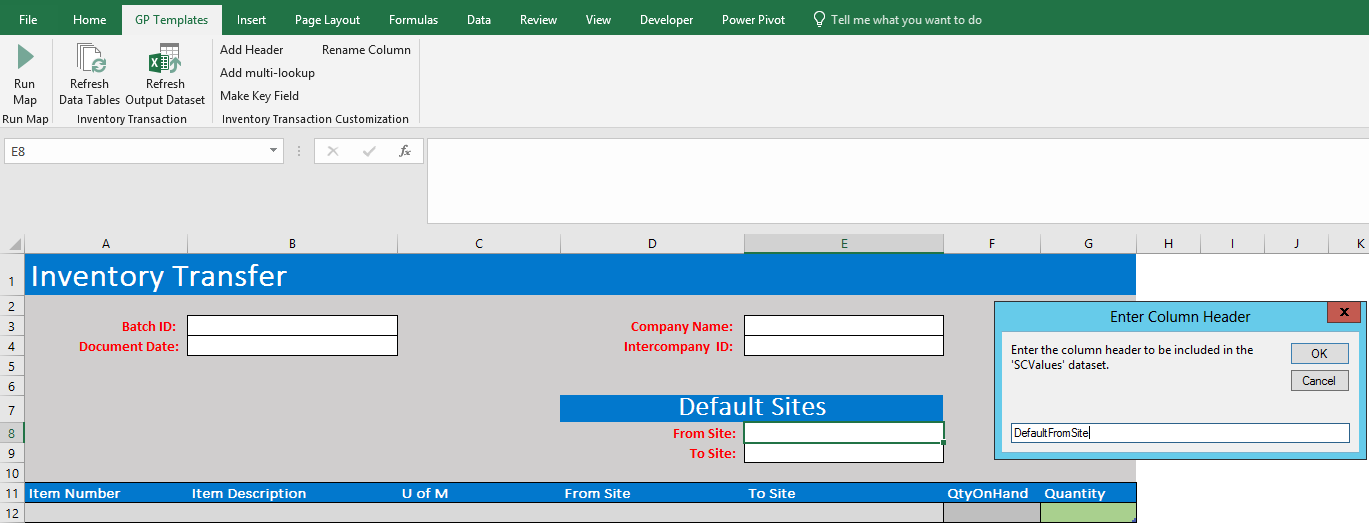
The existing GP templates were updated about a month ago to be easier to customize. Adding new columns to send to SmartConnect is one of the most common customizations, but is also one of the easiest. A new column can come from adding an additional header field or an additional column to the table. Any columns added to the table are automatically added and sent to SmartConnect, so I’ll demonstrate adding 2 new headers to the Inventory Transfer template, but all the GP Templates can be customized in the same way. Below is what the Inventory Transfer template looks like out of the box.
![]()
The template has headers for Batch ID, Document Date, Company Name and Intercompany ID, but it does not have a default “From Site” or “To Site” like it does in Great Plains. You would be able to set the same site for each row, but let’s pretend we want to have a default set up instead.
We need to send 2 more headers, so let’s add them! To add the two header fields:
- Insert about blank rows above the table to give us room to work (moving cells around on this worksheet won’t break anything, I promise!)
- Copy the formatting of any of the other header fields and paste it where you want the new headers to be
- Label the headers
It should look something similar to this:
![]()
Now that the interface looks the part, we need to make it work. To add a new header:
- Click ‘Add Header’ button from the ‘GP Templates’ ribbon
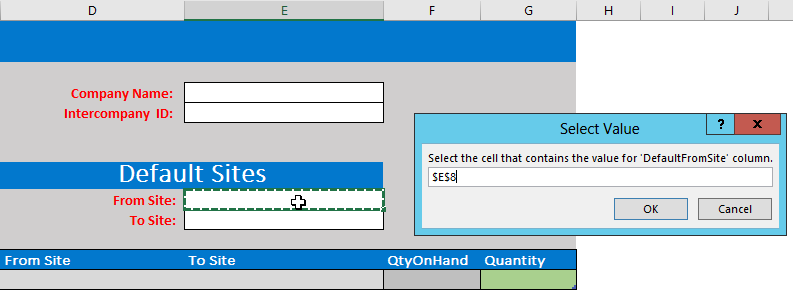
- In the dialog box, enter the name of the new header. For the from site, I’ll name the header ‘DefaultFromSite’.
- The second dialog box wants to know where the header exists, so click the cell you want to be the new header. Make sure you click the cell where they will actually enter information and not the label! For my example, I clicked E8.
Now when I run the template, a new ‘DefaultFromSite’ column will be added and filled with whatever is entered in E8. I’ll do the same steps to add the ‘To Site:’ header, adding a ‘DefaultToSite’ heading to cell E9. After adding, we can enter a location into the From Site or To Site and it will send those columns to SmartConnect. We still need to make both new headers as location drop-downs and modify the map so SmartConnect knows what to do with the new data.
We already have a table being used for locations elsewhere in the map, so let’s add a named range to the column and add it into the data validation. To do this:
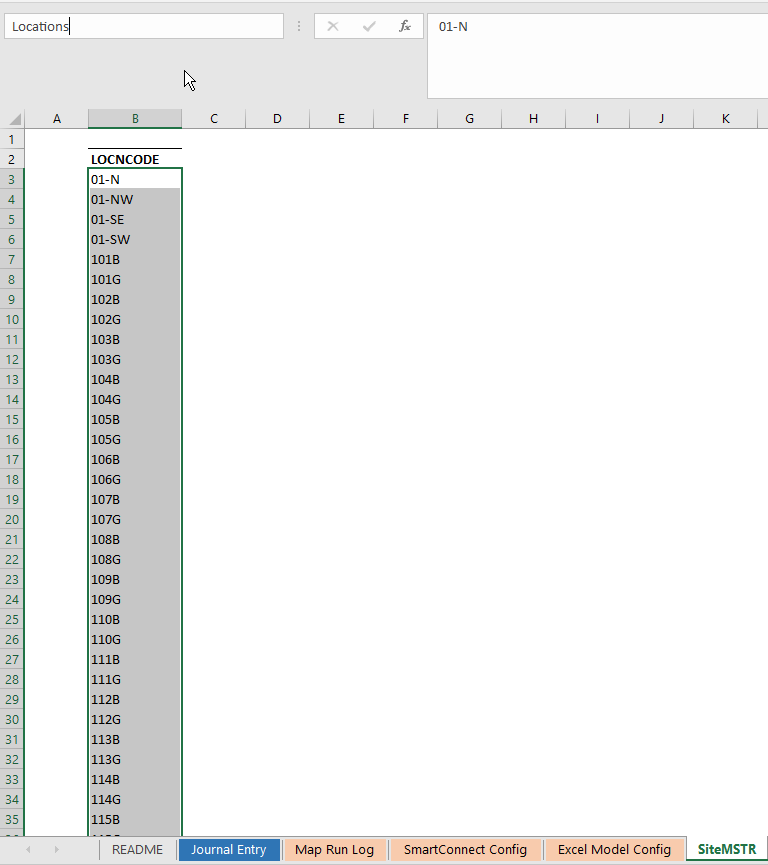
- Unhide the ‘SiteMSTR’ worksheet
- Select the entire column in the table, leaving off the header
- Enter ‘Locations’ into the named range box.
Next, add the ‘Locations’ named range to the data validation drop-down for each of the two headers. 
Set the ‘Allow’ drop-down to ‘List’ and the ‘Source’ formula to ‘=Locations’.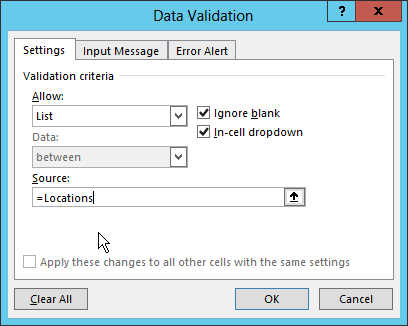
Now we have a working drop-down for location.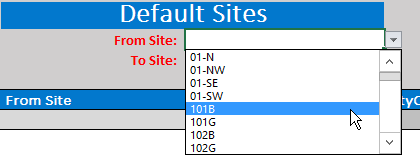
Add the same data validation for the other header. To test, fill out the Journal Entry with any type of data and 2 rows in the table, then click ‘Refresh Output Dataset’ in the ribbon. ![]()
Now open the SCValues worksheet to see the two new columns: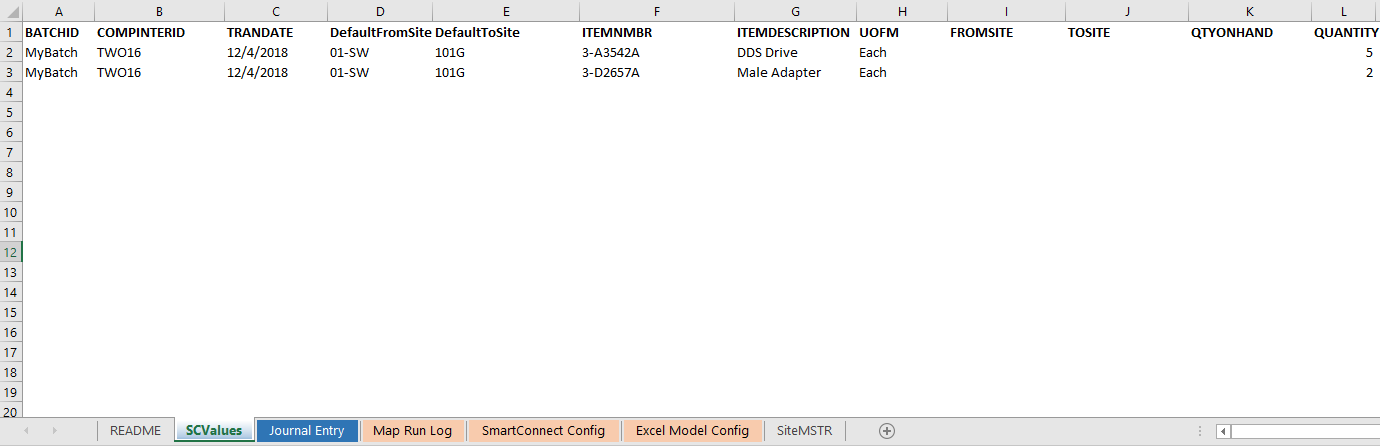
And below is the preview window from within SmartConnect with the 2 new columns: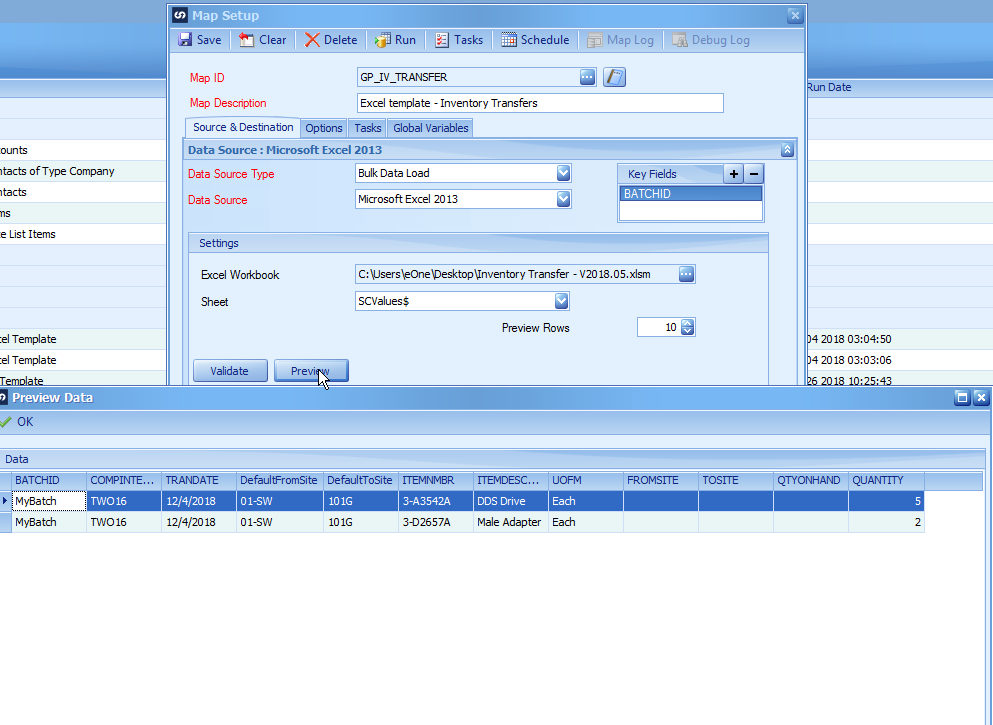
We see the same data between, including a ‘DefaultFromSite’ and a ‘DefaultToSite’ field added to each row. For the SmartConnect map to actually use these columns, you have to map the new columns in the SmartConnect map the same way every other column is mapped; this article is just to show you how to set up the workbook portion of the Excel template. Hope this helps!