Recently, we have added the option to export to file destinations in Smartconnect.com. This option allows for us to send data to an excel or text file. There are also options to include headings, overwrite files, append data/time, create separate files per key field, append the key field to the filenames, and enclose column values in quotes.
We will go through the setup process for the export to file destinations and explain each option in a little more detail.
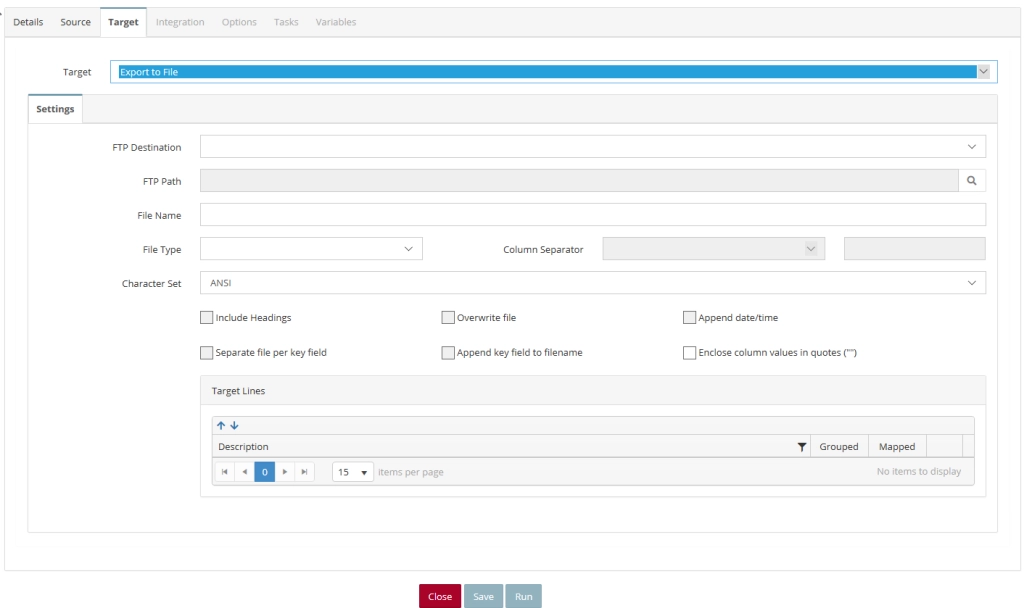
Export to File Destination
- Click on the Target tab.
- Select Export to File as the Target.
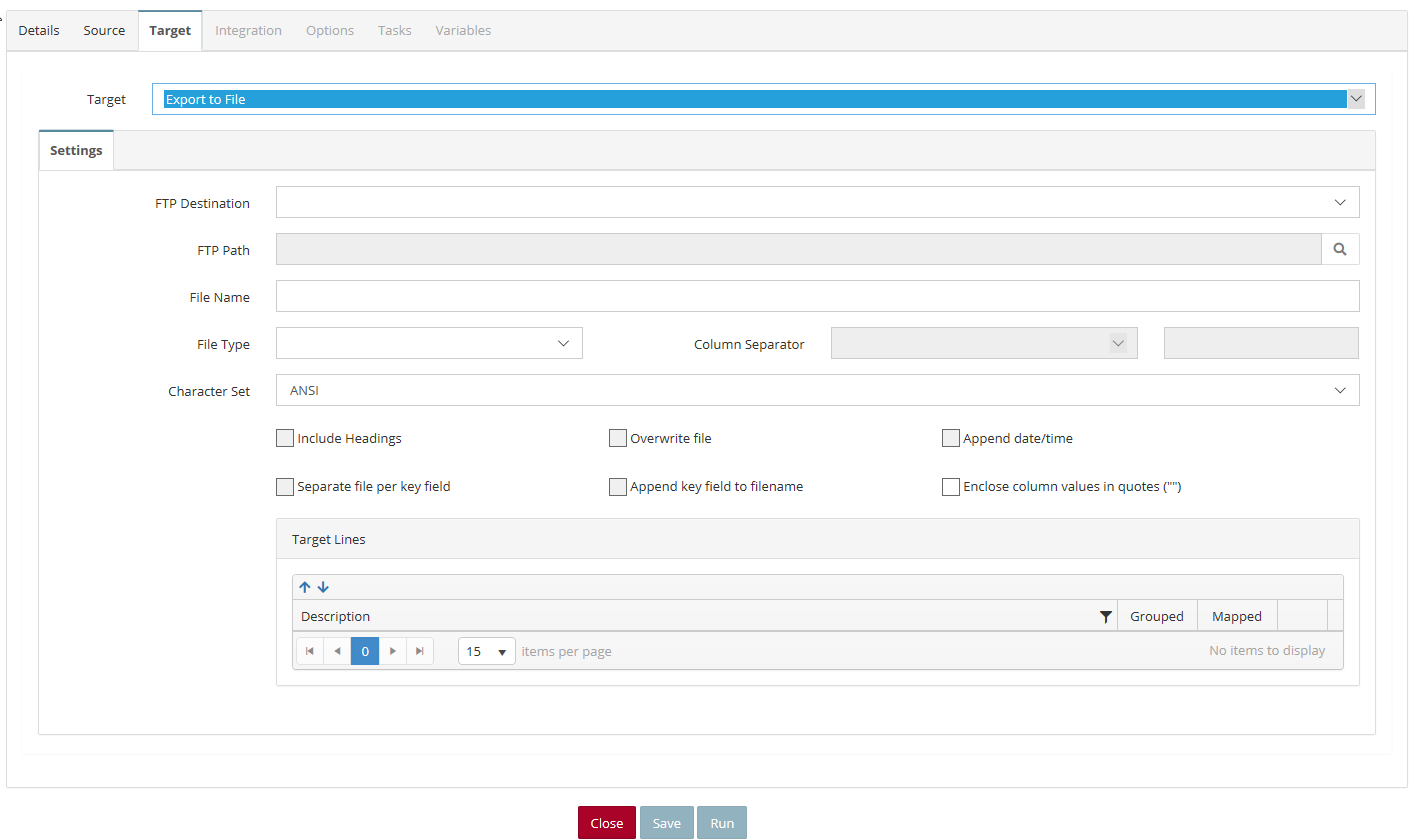
- If we want to send the file to an FTP Server, then we will need to select our FTP connector (which would need to be setup in the Connections) for the FTP Destination and select the FTP Path.
- Otherwise if the FTP Destination is left blank, the integration will output a local file.
- Enter the File Name
- Enter the File Type, either Excel or Text file.
- If we selected Text File, then select a Column Separator. The options are Csv, Tab, Pipe, or Custom Delimited. Enter the Custom delimiter in the textbox shown below.
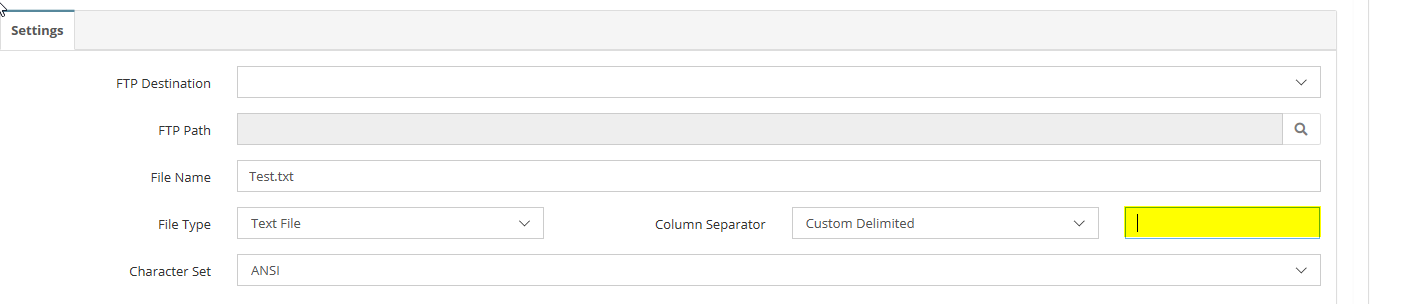
- Select the Character Set, either ANSI or OEM.
- Select which options you would like to add to your file.
- Include Headings – This option will include the headings from our source file in the exported file.
- Overwrite file – The option will overwrite any file given the same file name.
- Append date/time – The option will add the date/time to the exported file name.
- Separate file per key field – This option will create a separate file for each key field in the source.
- Append key field to filename – This option will only become available if the “Separate file per key field” option is selected. It will append the key field to the file name.
- Enclose column values in quotes (“”) – This option will enclose each data value in quotes in the exported file, not including the file headers.
Mapping and Running the Integration
- Click on the Integration tab.
- Select Export to file as the Target Lines.
- Under the Source Grouping tab, select any fields to group by.
- Select the Target Integration tab.
- Map the source fields that you want to the columns in the file destination.
- Save and run the integration process.
If you have anymore questions about exporting file destinations in SmartConnect, feel free to email us at sales@eonesolutions.com