SmartConnect 21 now comes with the feature to use an OAuth connection for your Salesforce connector which is a great way to keep your data and connection secure.
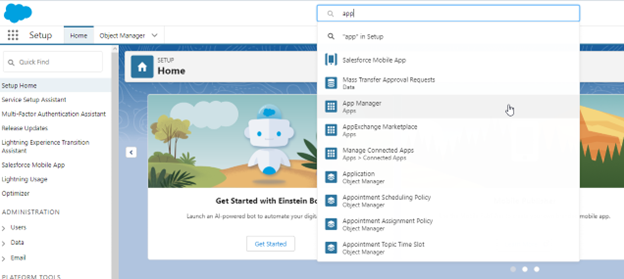
1. In Lightning Experience – In the Setup, enter App in the Quick Find box and select App Manager. Click New Connected App.
2. In Salesforce Classic – In the Setup, enter Apps in the Quick Find box and select Apps. In Build > Create, under Connected Apps, click New.
Note: This is all done using the lighting Experience.
After selecting the New Connected app this screen will appear.
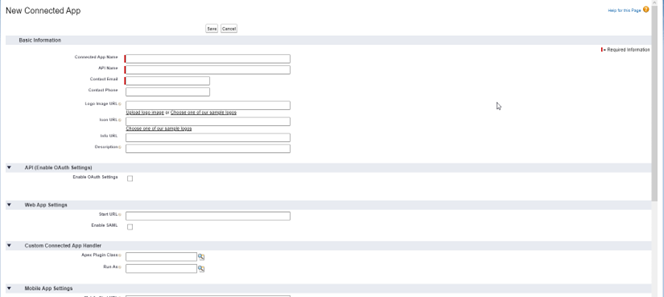
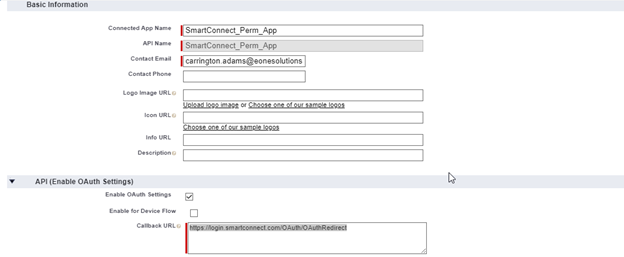
3. Enter a name for the app
4. Enter your Email and phone number
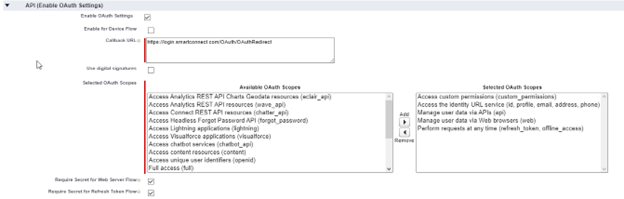
5. In the API Box > select Enable OAuth Settings
6. In the callback URL, enter the SmartConnect callback URL here.
- You can grab the SmartConnect call back URL from inside the salesforce connection.
- For SmartConnect on-premise version use this callback URL – https://login.smartconnect.com/OAuth/OAuthRedirect
7. In Selected OAuth Scopes, select these options:
- Access the identity URL service (id, profile, email, address, phone)
- Manage user data via APIs (API)
- Manage user data via Web browsers (web)
- Perform requests at any time (refresh_token, offline_access)
- Access custom permissions (custom_permissions)
8. Save changes you’ve made.
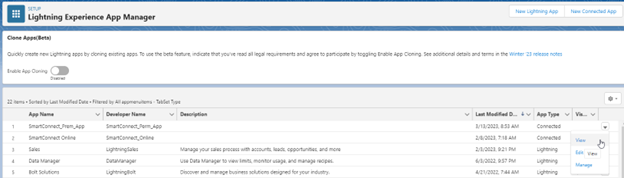
After creating the app, you should be able to retrieve the Client ID and Secret now.
To retrieve the client ID and Secret, go back into the App Manager> Navigate to Connected App> Find your App and click on the drop-down and select View.
After selecting View, click on Manage Consumer Details. This will send you a confirmation code to the email entered above. Enter the code and the Key and Secret will be displayed.
Copy the Client Key and Client Secret and save it somewhere for use with SmartConnect when setting up a Connection.
You must enter the Service URL if you are using the Sandbox Tab.
In the lighting experience, go to Setup>Company Settings> Company Information
Look for Instance.
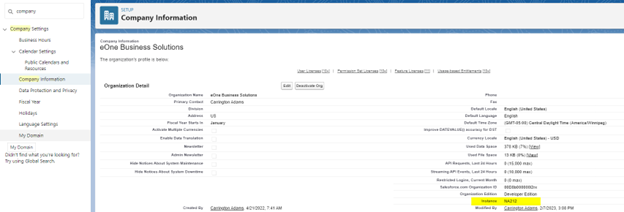
After finding the Instance Name change the ORG_ID to the instance name inside the URL
The above link should look something like the link below when the instance is added to the service URL. Creating a Connection in SmartConnect
Login to SmartConnect and create a salesforce Connection.
Note: We will be using the client ID and Client Secret you obtained from Salesforce earlier.
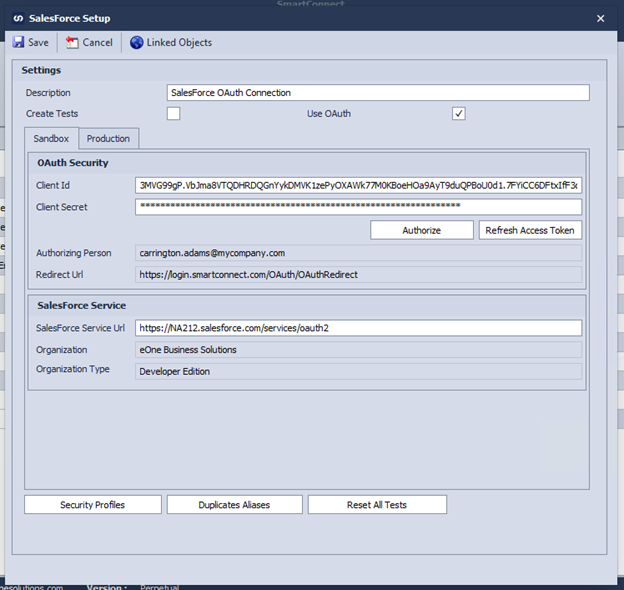
Select the Use Oauth Checkbox under the Description.
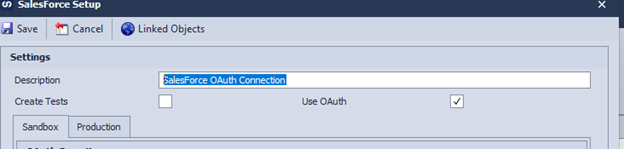
Then Fill in the details.
- Description
- Service URL
- Client ID and Client Secret
If you’re using the production Tab in SmartConnect, the default service URL will be filled in automatically.
After filling in the client ID and Client Secret select the authorize button. This should bring you to a salesforce login.
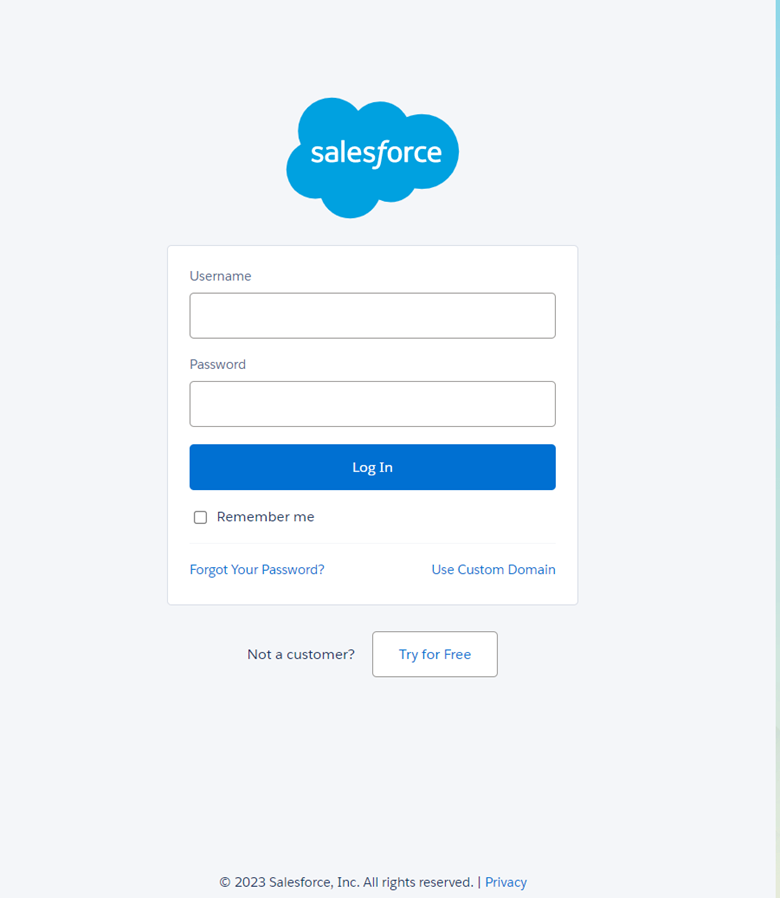
Log in with the Salesforce username and password you used to set up the Oauth Connection.
After successfully logging you will see this screen
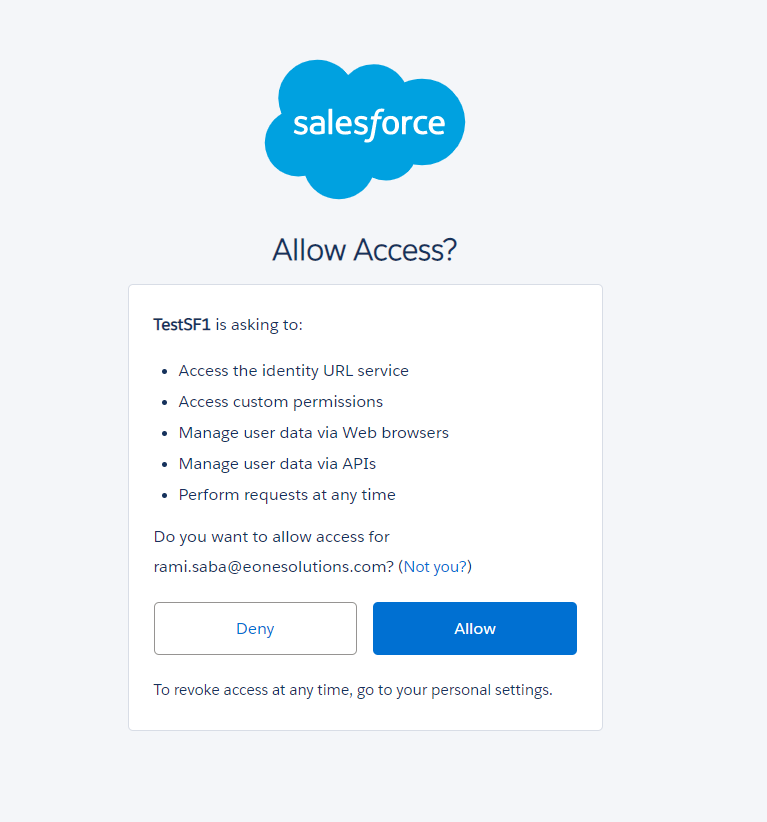
Note: You will only see this screen once.
Click ‘allow’ and you will be taken to this screen.
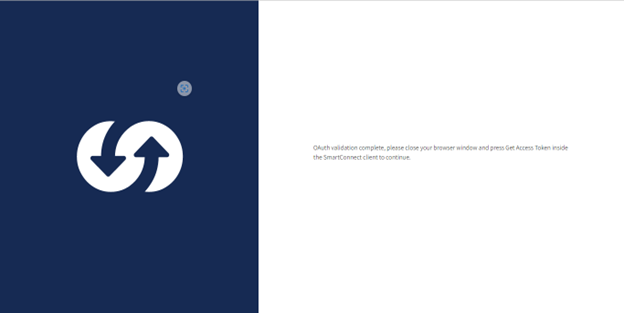
After returning to SmartConnect all information should be filled out, select save in the top left corner and you should be all set.
If you have any further questions, feel free to reach out to our support team at support@eonesolutions.com.