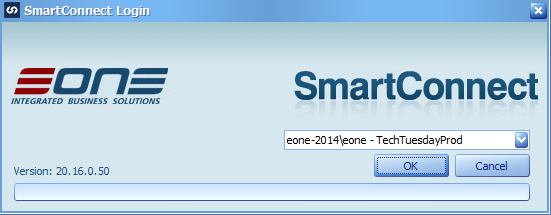
A new feature on SmartConnect 2016 is the option to connect your SmartConnect install to two databases. During the initial install of SmartConnect the first database and SmartConnect user will be created for you. This article is not going to go through installing SmartConnect. Please refer to the installation documentation for these steps if needed. Once the install has completed you will be set to use SmartConnect with the primary database. On the SmartConnect Login screen you will be able to see in the dropdown the database that was created during the installation (server – Database Name). For this article I named my SmartConnect database during the installation as TechTuesdayProd. At the moment this will be the only database available to select.
To add a second database we need to create a new database and user on the SQL server manually.
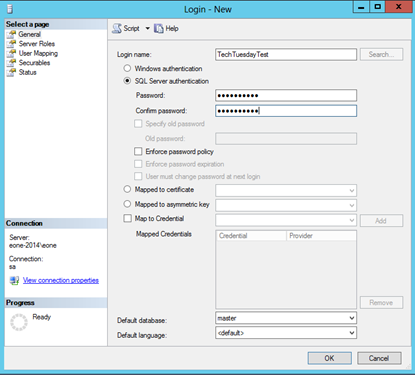
Create a new Login on the SQL server first that you will want to use for the SmartConnect user on the second database. If you already have a SQL user setup that you would like to use you can skip this step. I am creating a new Login called TechTuesdayTest.
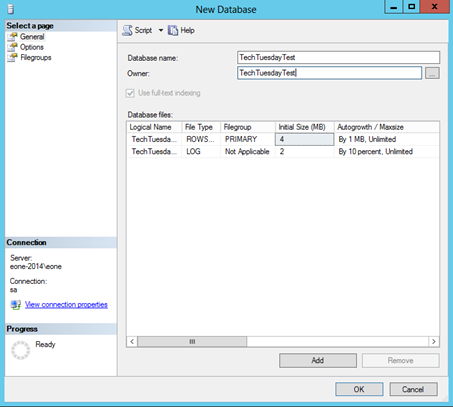
Create a new database that will be used for our second SmartConnect database. My second database will be named TechTuesdayTest. Be sure to make the new login we just created the Owner of this database.
Once the database and user have been setup on the server we need to configure SmartConnect to use the new database. Navigate to C:Program Files (x86)eOne SolutionsSmartConnect and launch eOne.SmartConnect.Config as an administrator. This is the SmartConnect Configuration which will allow us to setup SmartConnect to have access to both databases.
On the Production tab enter the information for the database that was setup during the SmartConnect installation and then click the Test Connection button. Once successfully connected we will need to choose the location of our WCF Web Config and Web Service Web Config. All the other settings will be automatically setup. By default the WCF Web Config path is C:Program Files (x86)eOne Solutionswcfweb.config and the Web Service Web Config path is C:Program Files (x86)eOne Solutionswwwweb.config.
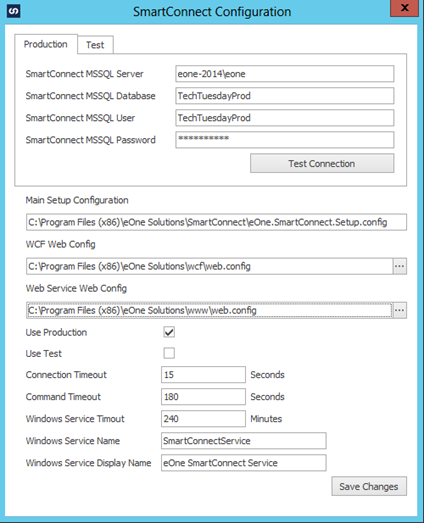
On the Test tab enter the information for the database we manually setup on the server and click the Test Connection button to verify the credentials.
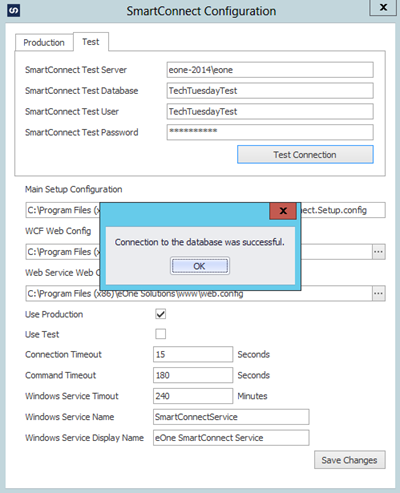
At this point we can click the Save Changes button to finish setting up SmartConnect to connect to two databases. When SmartConnect is launched at this point we will have the option to select which database to connect to.

Each database will need to be setup individually, have system maintenance ran and will need to be registered. Anything done in one database will not be available in the second database unless you export it out and then import it back in. One limitation you may run into is the web services will only work for one database at a time. This is controlled by the Use Production and Use Test checkboxes in the SmartConnect Configuration tool. If you want the web services to link up to your production database you would need to mark the Use Production check box (marked by default) and vice versa.
With this feature in place users can develop maps in a test SmartConnect database and not have to worry about changing anything with any live maps. Once the map is ready it can be imported into the production SmartConnect database and begin processing data.