The import process for SmartConnect 21 is a bit different than it was in SmartConnect 2018. This article will show how the import process works in SmartConnect 21.
NOTE: You can NOT import exports of SmartConnect 2018 integrations into SmartConnect 21. Only exports from SmartConnect 21 can be imported.
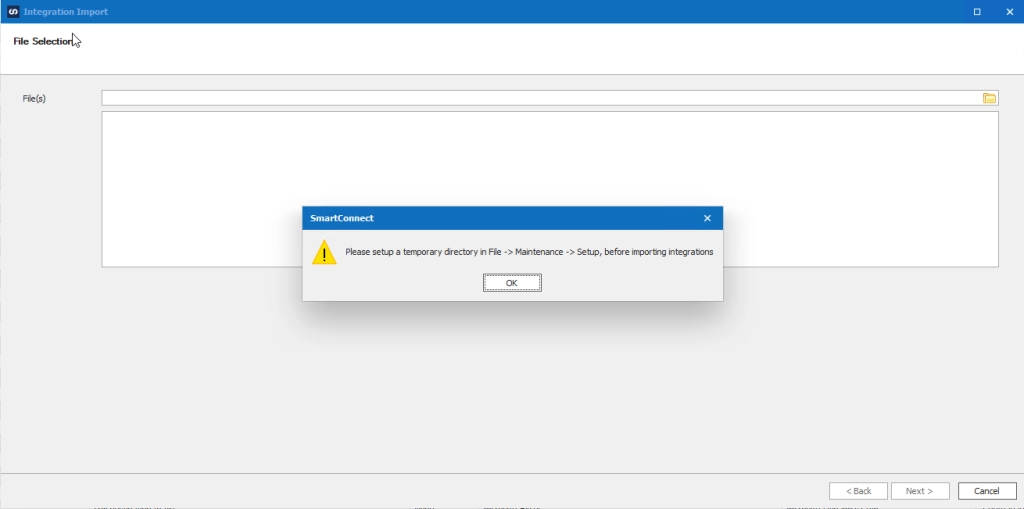
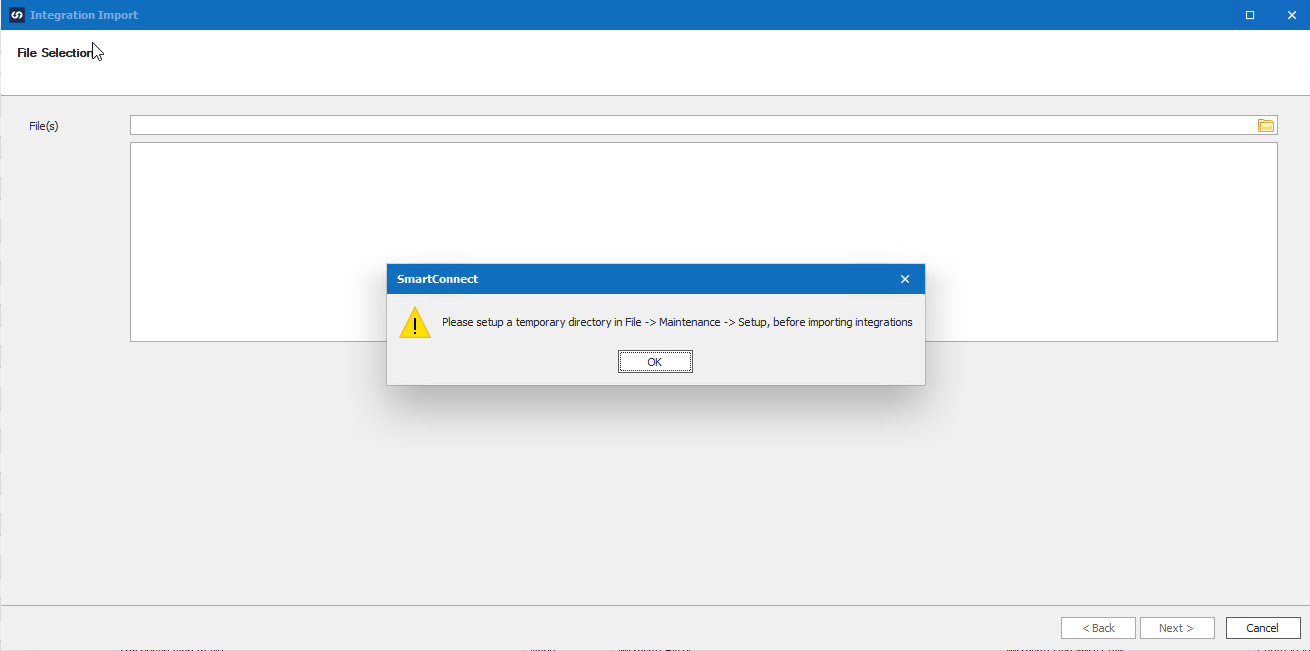
The first step to importing in SC 21 is to enter a SmartConnect temporary file location. This can be found under File > Maintenance > Setup. If you try to import before you have this temporary file path entered, then you will receive the below message.
Once a temporary file location has been entered, then you are able to import integrations. Navigate to the integrations tab and select Import.

This will bring you to the file selection window. Click the file icon on the right to select your exported integrations. You can select as many integrations as you would like to import. Once they have been selected, click “Next”.
The next window allows you to select and deselect any integrations before importing. You can uncheck or check any integration that you may not want to import. All your integrations will be checked by default.
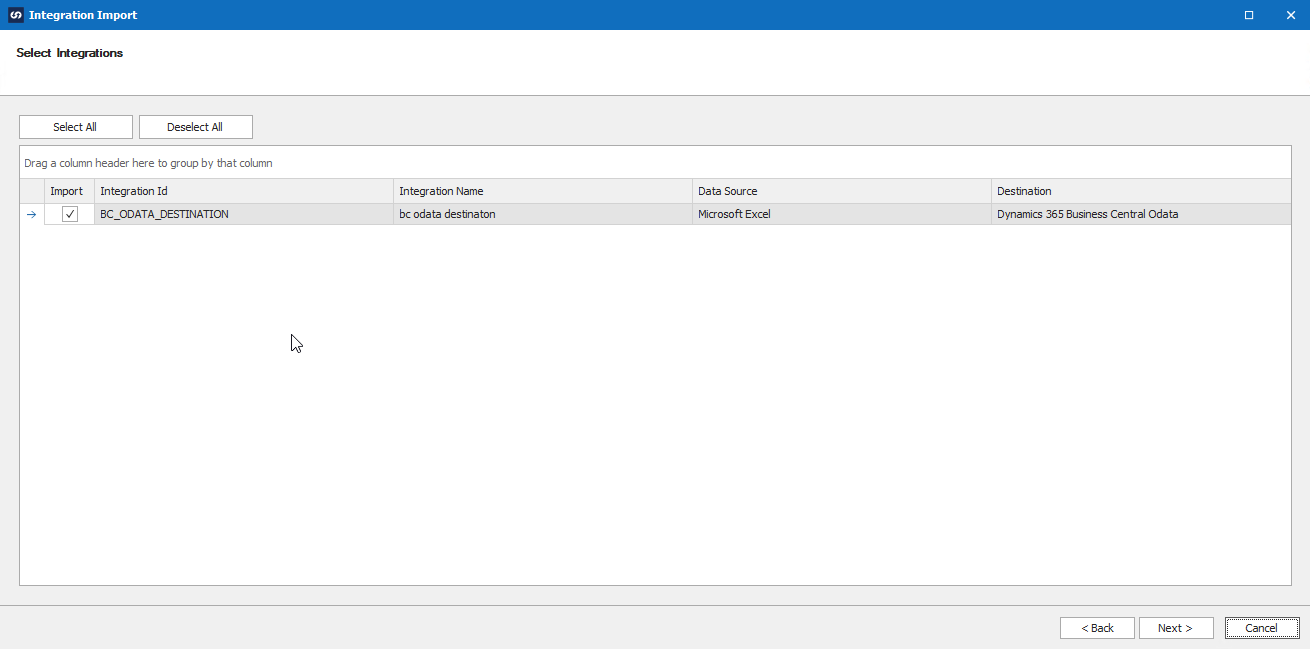
Select “Next”.
The Setup Integrations window is where you configure each import. There will be a red “x” next to any integration that still needs to be configured. If you hover your cursor over the red “x”, then you will get a detailed messaged about why it can’t import yet. Double click each import to open the setup window.
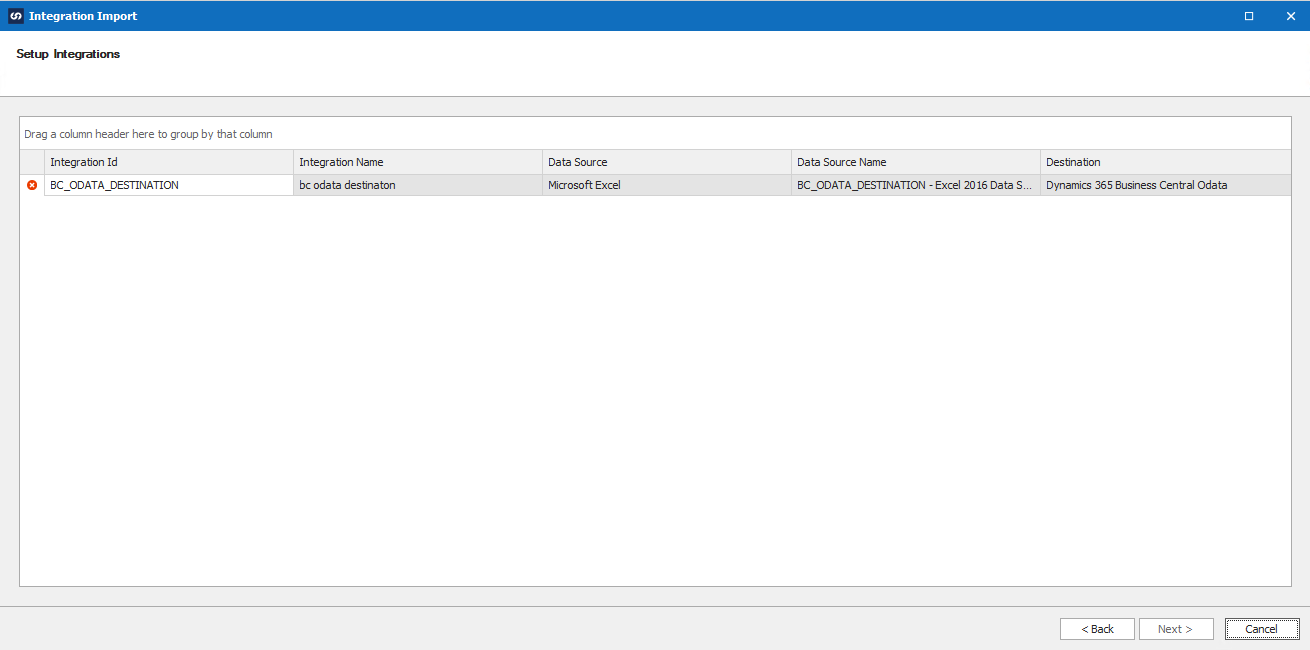
The setup window is where you setup the Data Source, Destination, and any additional setups.
NOTE: Connections will need to be created before importing any integrations that plan on using that connector. You will need to select the connection during the import process.
- Data Source – This is where you enter info on where you want your source stored (if it is a file source) or what connector you would like to use for the source. You can check the “Use Existing Data Source” checkbox if you already have the data source created in SmartConnect. Otherwise for file data sources, you will need to select the file path to where you want the file to be located. If the data source is not a file data source, then you will need to select the connector being used for the new value.
- Destination – This is where you need to enter the new values for the destination. Select the connector instance that is setup in SmartConnect and then select the correct entity that the integration is using. If the destination is a file destination, then you will need to enter the file path for the new value.
- Additional Setups – This is where you enter any additional info that the integrations may have from any additional fields. Some of these values may populate themselves after selecting a destination and other times you may need to select the new value manually. If you had a SQL lookup additional column, then you would need to select the SQL connector that you would want to use.

Hit “Save” when all your new values have been entered.
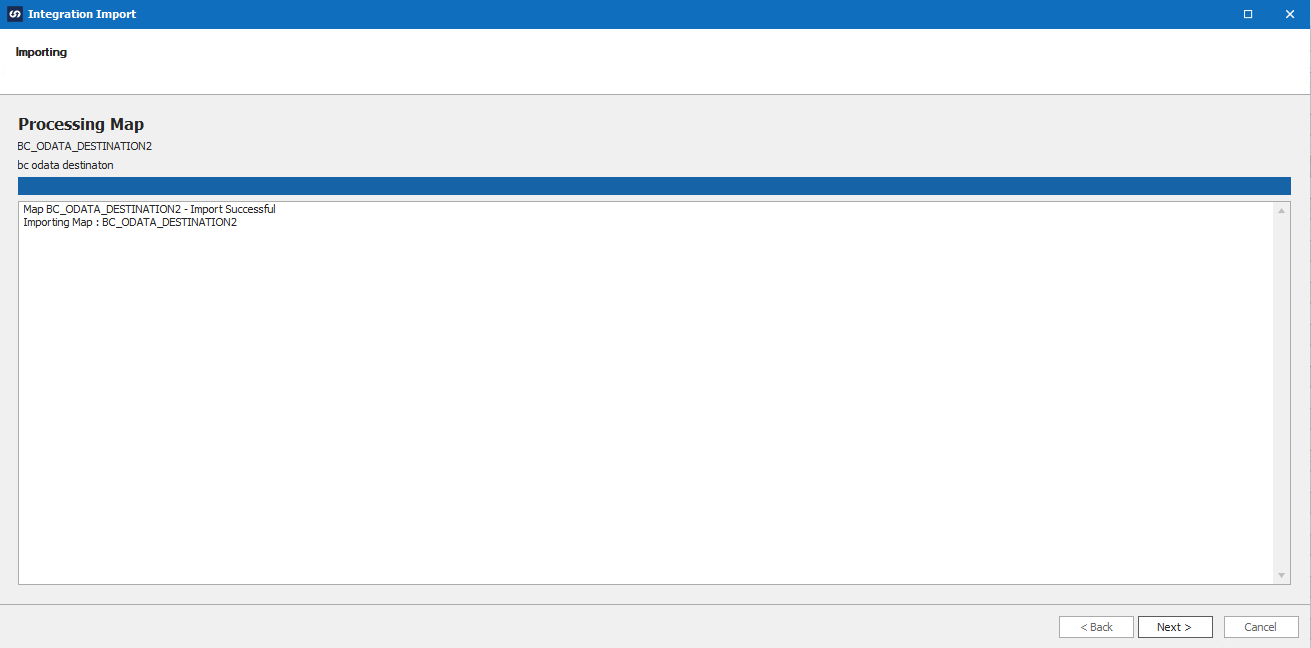
The red “x” should be gone when the integration is ready to be imported. If the red “x” is still there, then make sure to hover over the “x” with the cursor to see the error message as to why it cannot be imported yet. Click the “Next” button to start the import.
Once the import has completed, you will receive a message saying it was successful or it failed. If the import failed, then hit the “Next” button and that window will explain why the import failed.
You should now be able to open the integration in SmartConnect and start using it.
If you have any questions, feel free to reach out to us at sales@eonesolutions.com.