

SmartConnect has a feature that allows users to add scripting namespaces to enhance the scripting capabilities in any of the coding windows within SmartConnect (calculations, script tasks, restrictions, etc). SmartConnect has a few generic namespaces that include the majority of the classes and methods you would use in most scripts; this includes System.Windows.Forms, System.IO, System.Data.SqlClient, etc.
However, if you need to reference a class and method that is not included by default it will require it to be loaded from either the GAC or a file location first. We will walk through this process using a specific example to illustrate when and how to modify the scripting namespaces that SmartConnect recognizes.
In this case, let’s say we have a map which requires user input at the beginning of the map execution. We are hoping to collect a specific date and a batch ID (from existing batches in the ERP) from the user, which will then be used during the data source and mapping process. The solution involves prompting the user for that data, and then storing the input in global variables to be used later on it the map.
If we want to prompt the user for data we have a couple options. The first method is using a pair of input boxes to get data back from the user. This solution is easy to code and can be done with the default namespaces but it has some issues. First, it can become difficult to filter and catch the user data as an input box only has one basic text field on it. There would need to be multiple input boxes as well, since each prompt only allows one entry into it. Finally, we want the user to select an already existing Batch to assign the records to – which can’t be presented to the user nicely in an input box.
The second method is to build out an actual form, complete with multiple labels and differing field types on it. This requires more effort from the coding side, but allows full control over the type of data that the user can input. We will be able to use a date picker for the date we want from the user, and a drop-down list populated with existing batches from the ERP for the batch value we are collecting. We need to import the System.Drawing assembly so that we have the correct namespaces available to us when we are designing the form through our code.
The first step is to open SmartConnect and navigate to the Maintenance tab. The Script Namespaces option is located in the Generic Connector section.
Once the Default Script Namespaces window is opened, we can add in an assembly file by either typing the name directly in the window to load it from the GAC, or we can locate the assembly directory and load it from file.
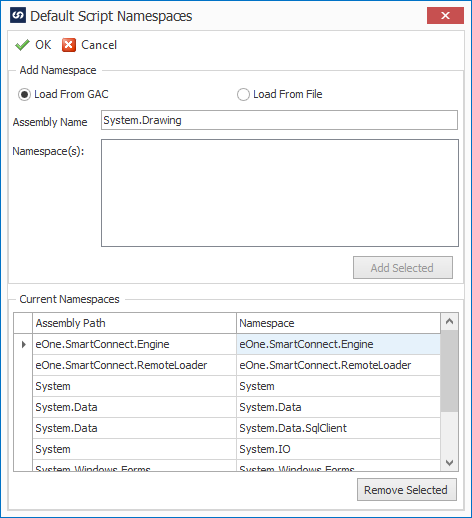
In this case we will load it from the GAC, and we when tab off of Assembly Name field it will load in all the namespaces included in that assembly. We can then select any of the namespaces that we will need to use in our scripts (for this example, we technically only need the System.Drawing namespace).
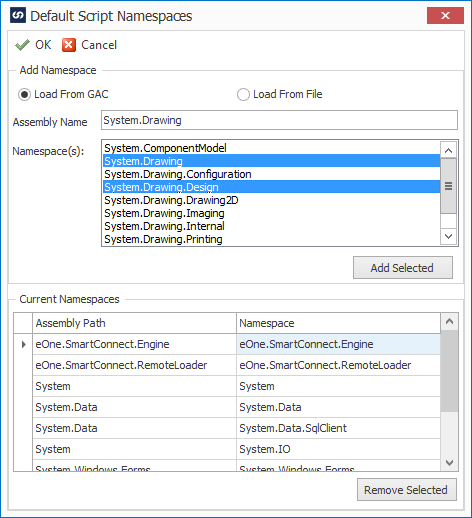
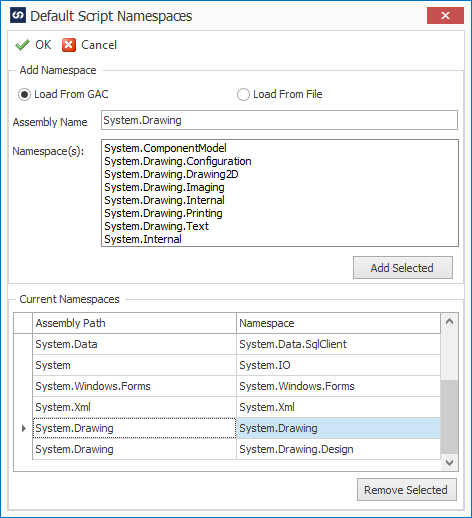
Once we have the correct namespaces selected, clicking the Add Selected button will add them to SmartConnect which will ensure they are loaded anytime a map begins its execution.
Next, we will navigate to the map we want to add the script to. This will be a pre-map scripting task, to ensure that the user data is collected before any other part of the map runs. The full code for this example is included at the end of the article, but in the image below we are defining all of the components that will be on the form. We are able to set the location and size of each component since we loaded in the System.Drawing namespace. Without that namespace the Drawing.Size and Drawing.Point methods wouldn’t compile and all the components would just end up stacked on top of one another.
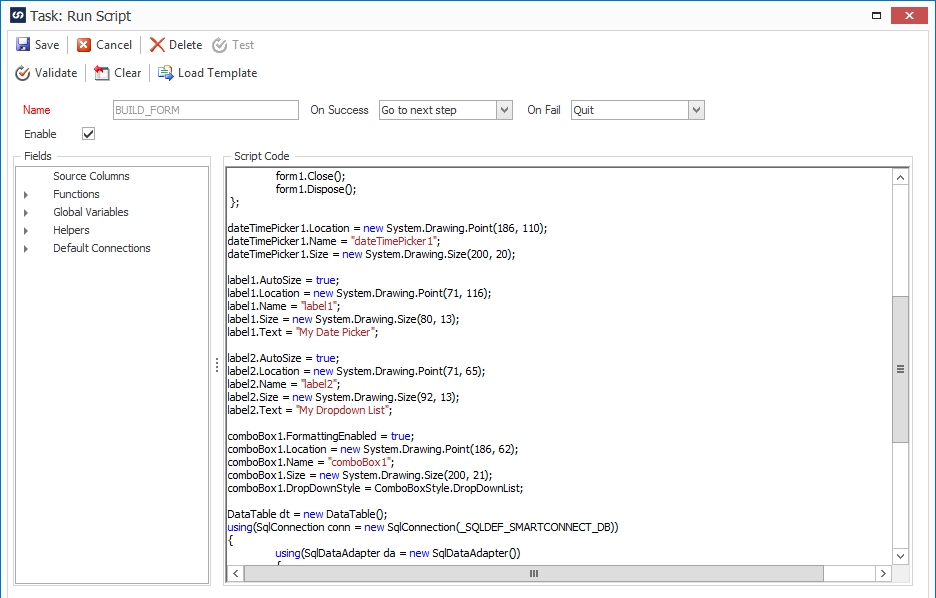
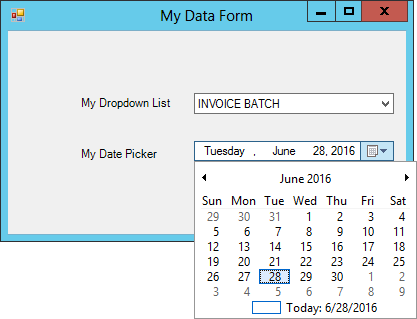
Once the code is complete and the map runs, the form we built will pop up for the user. In this example we are populating the dropdown list with Batch IDs that already exist inside of Dynamics GP. If you look through the sample code, it shows the query and data table used to fill the drop-down list.
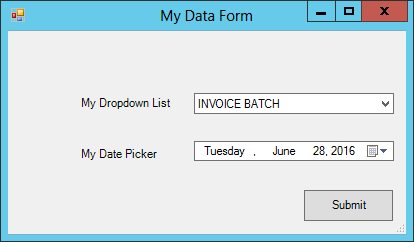
The date picker component is built into .Net so no additional code was needed to enable that functionality – other than placing and sizing up that control.
When the user clicks the Submit button it runs the section of code to save the user input to a pair of global variables that can be referenced later in the map (Tech Tuesday: Global Variables). That code is highlighted below, as it is a bit different than a standard event handler:
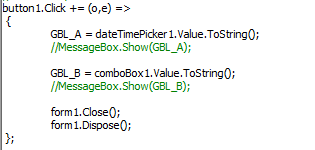
This is different in that it is using inline code to generate the event handler when it compiles. Normally the event handler is done in a separate function within a project – however, we can’t have multiple functions/methods in SmartConnect since each scripting window counts as its own method. So the overall point is that you need to use an inline expression for any events that you need to attach code to.
This was one example that shows how you can make sure of the scripting namespaces within SmartConnect. The flexibility of this allows other companies or users to reference their own assembly files, or any other standard assemblies that aren’t included by default. For those of you who already like to add scripts to your SmartConnect maps, this will increase the amount of options available to you when looking at building out your solutions.