With having sensitive data accessible to members of your team, you may want to consider using the built-in feature of Popdock security. Popdock’s security would allow you to distribute permissions based on users and teams. In this article, I will go over where to go to setup security settings for a team and user then show you how you can share a favorite list with a team.
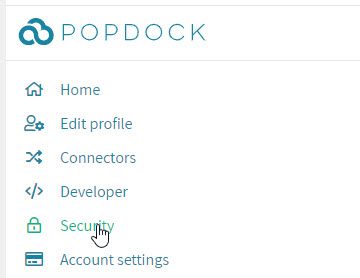
To access Popdock’s security settings, click on the left menu navigation button and click on Security:
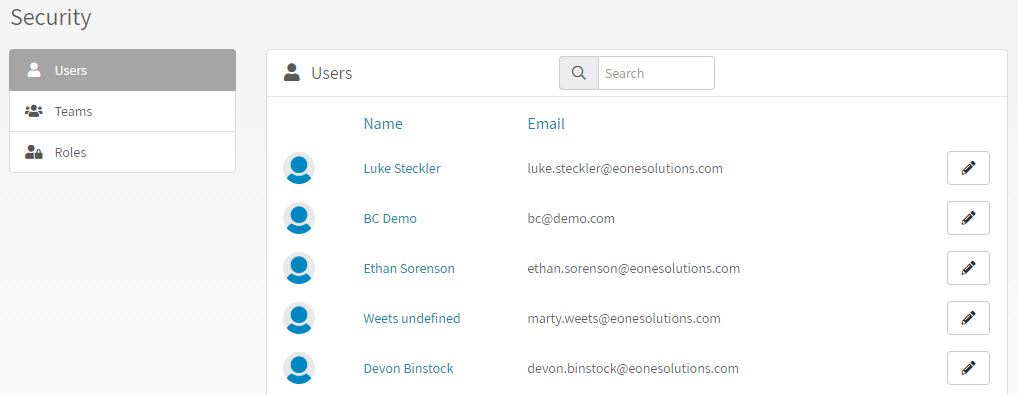
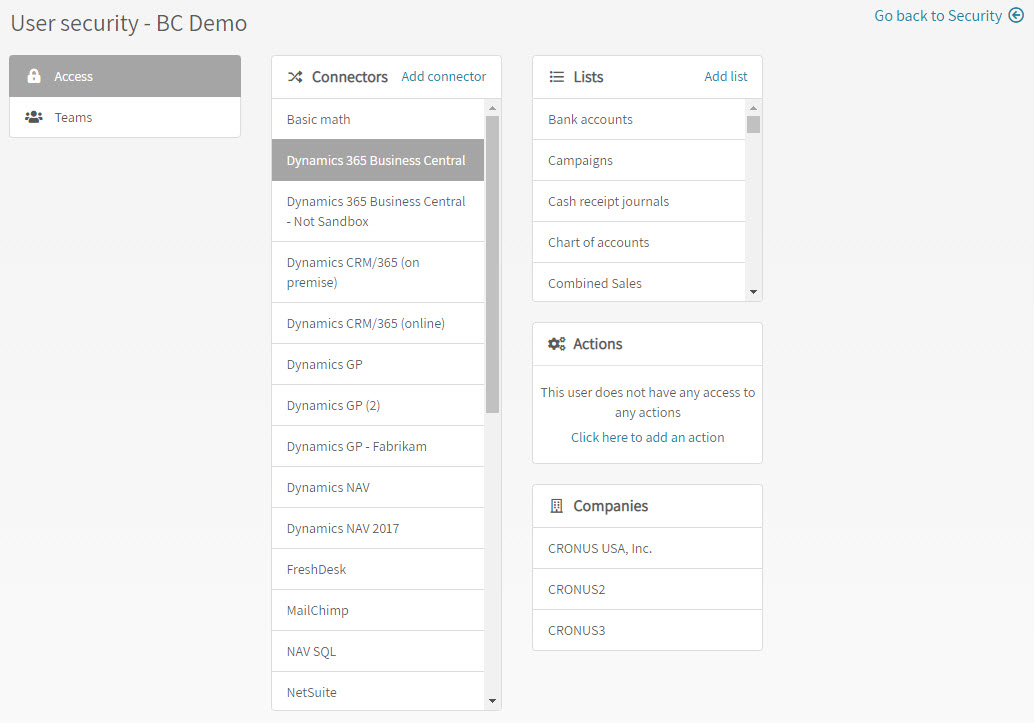
When you first access the Security page it will show you all your users on your account, each user has an edit icon, this is where you can edit individual users to give them access to specific connectors, companies, actions, and lists. You can also assign them to a specific team.

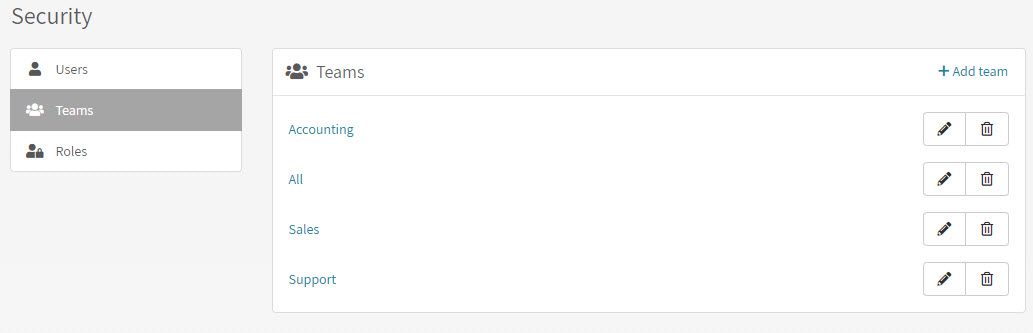
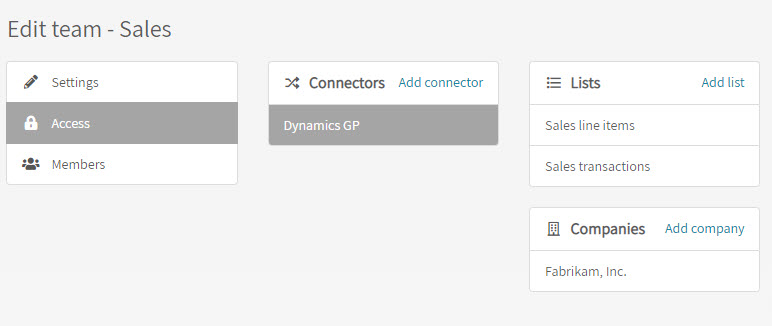
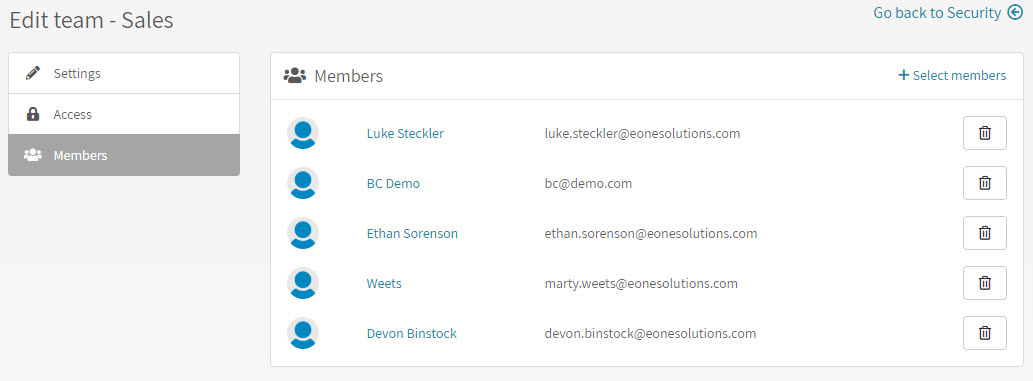
If you need to setup teams, you can click on Teams from the left navigation menu, here you can add/remove a team. Each team will also have an edit icon to configure the access that a member of the team will have as well as viewing all the members of the team. And while viewing the members of a team you can add/remove members.
When your Popdock account is created, the first user will be the Admin user, which will have full access to all permissions. Popdock by default also creates three roles: Developer, Manager, and User. From the left navigation you can click on Roles to access them. Below you will see the default permissions allowed for each of the default roles. You can add new roles if you want to configure users with specific permissions.
Default Roles and Permissions:
- Developer
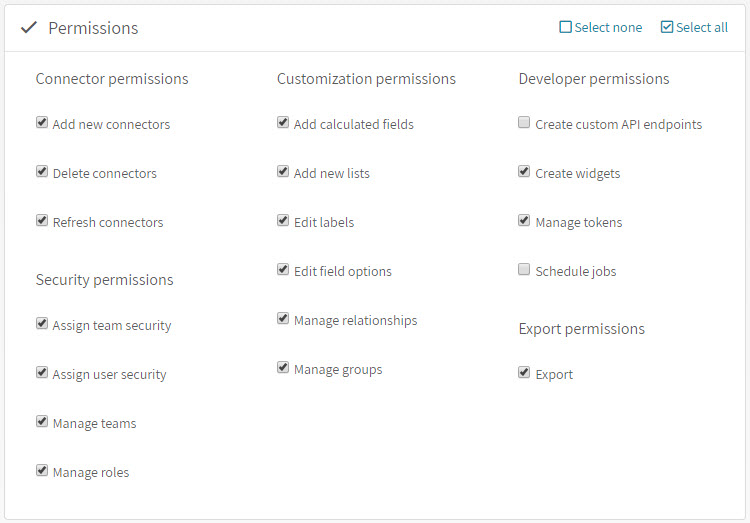
- Manager

- User

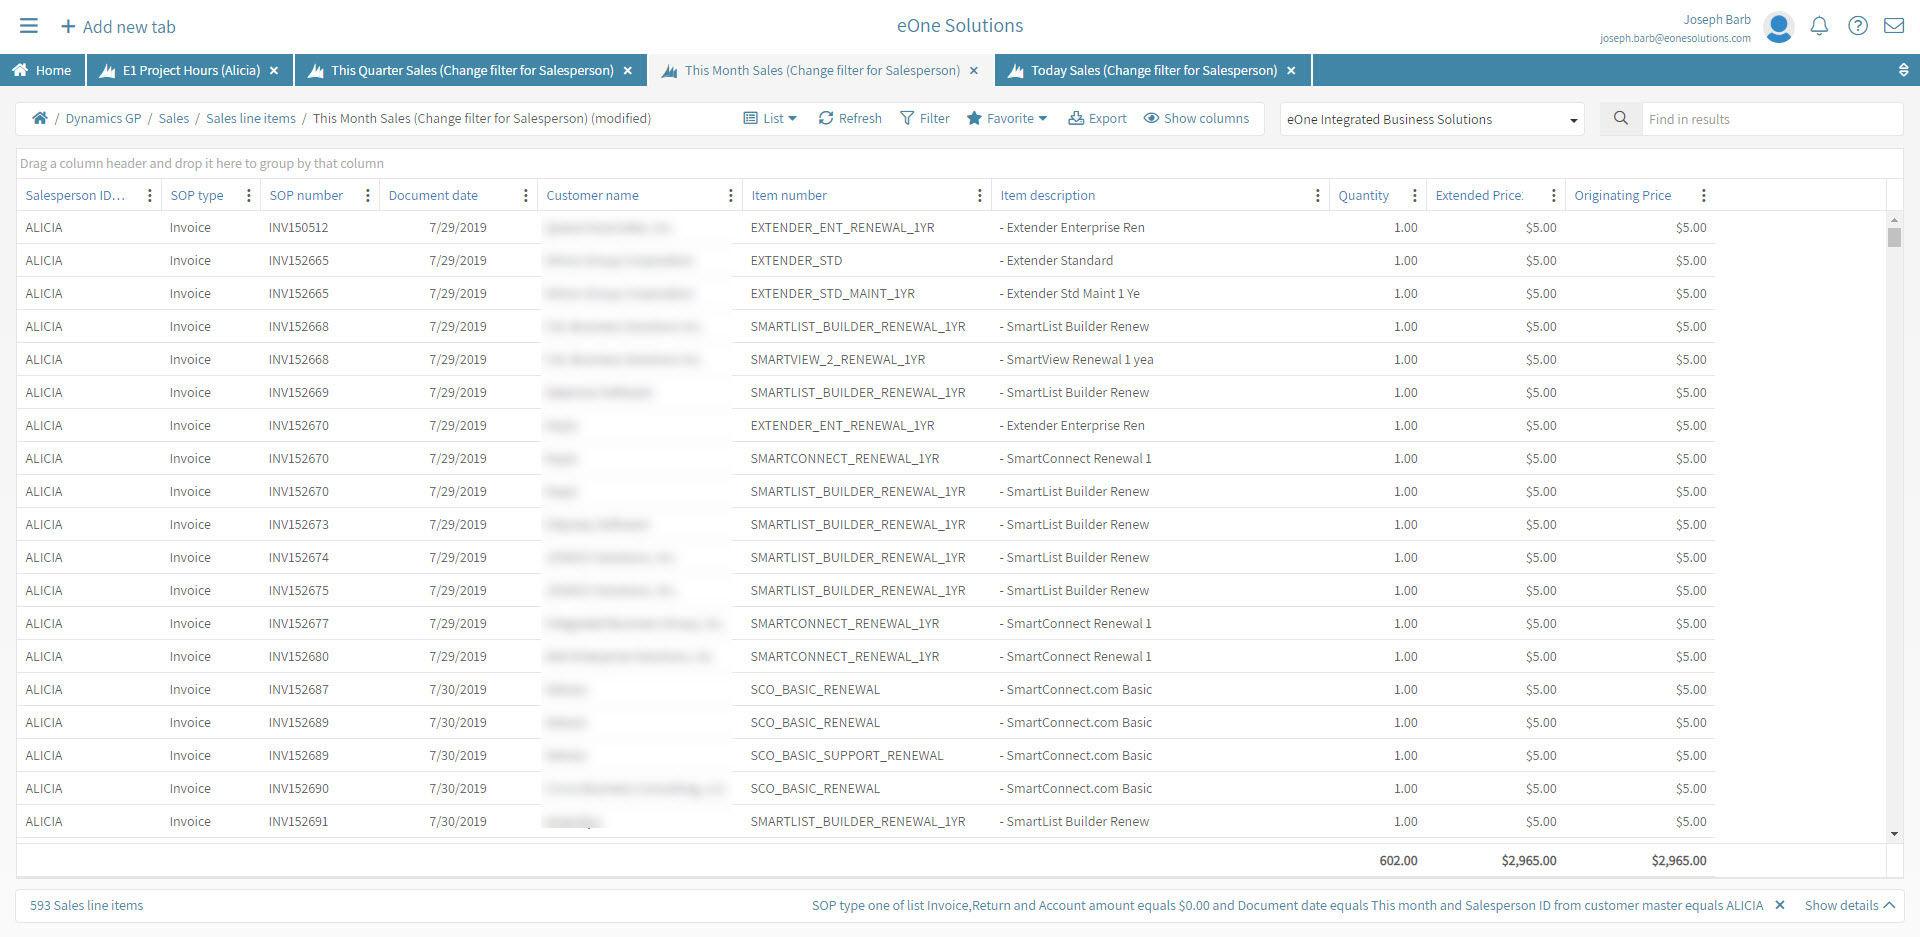
Now that you have a better understanding of Popdock’s security settings, let me show you how you can create a list as a favorite and share it with the Sales Team so that any member of the team can easily modify the filter and make the list their own. In this example, I am taking Dynamic GP’s Sales Line Items list and customizing it to show sales for the current month and filtered by a specific sales person. This way another sales person can easily modify the favorite by filtering by their ID and then re-saving the favorite as their own. This is what my filters look like:
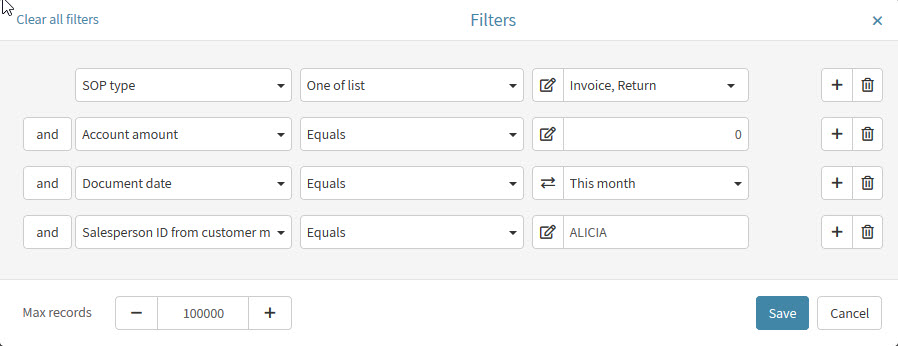
Be sure your date field is set to equals “This month” so that no matter what month they are in, it always filters for the current month. Also notice I am filtering here by the Sales person “ALICIA”, once you have saved this list as a favorite, another sales person would just need to edit the filter for their own name. Once you have the list organized and filtered the way you want it, now save it as a favorite by clicking on the favorite button, give it a name, select that you would like it shared with your Sales Team.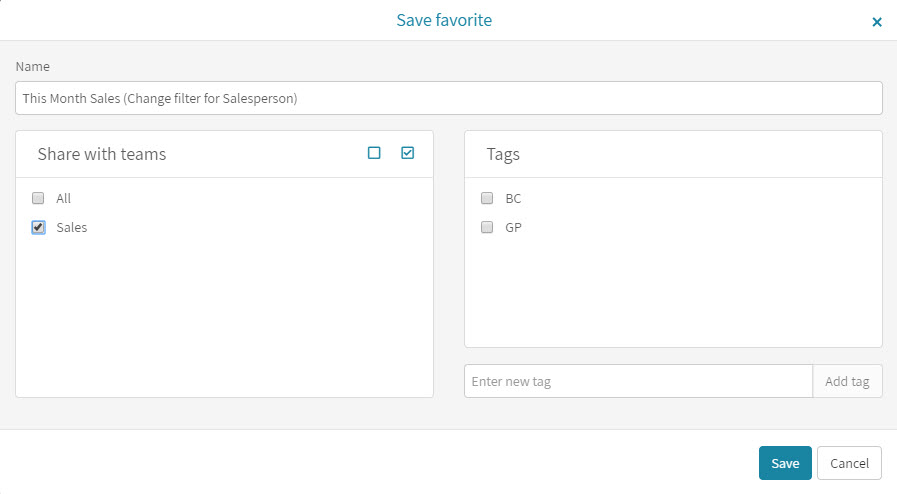
The list is now available to all members of the Sales Team and they can add it under the Dynamics GP connector and all they would need to do is edit the filter so that they can filter by their own Sales ID.