Thank you for reading our “Accessing Historical Dynamics NAV Data in NetSuite” article series! This marks the final installment. Please click on the following links to access article 1, article 2, and article 3. In those preceding articles, we go over important information about connecting to systems, moving data from Dynamics NAV to a data lake, and more.
In this article, we’ll focus on the Popdock Data Lake Upload Tool and its capabilities.
Popdock Data Lake Upload Tool
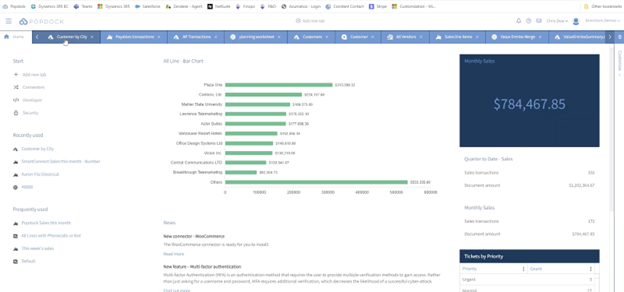
To follow along with this demonstration, log in to Popdock (not just the tab in the NetSuite interface).
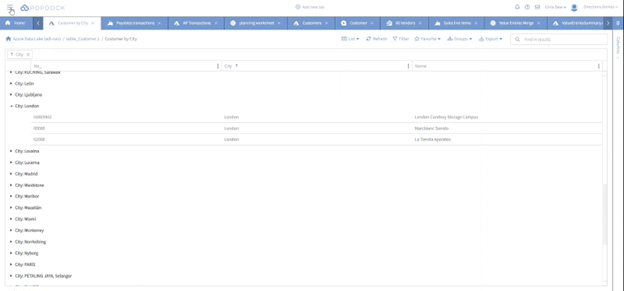
Within Popdock, navigate to the “Customer by City” option as an example. Here, you can see a list of data coming from the data lake we were utilizing throughout the previous articles.
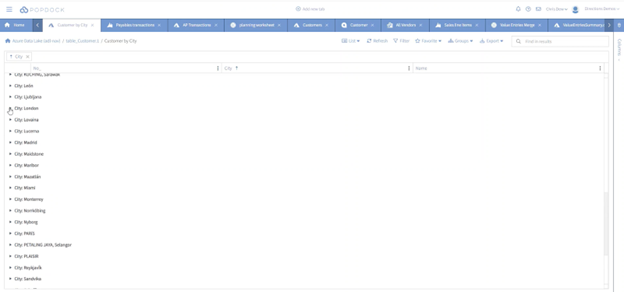
By selecting “Customer by City,” the interface shows you a view of all the customers and groups them by their respective cities.
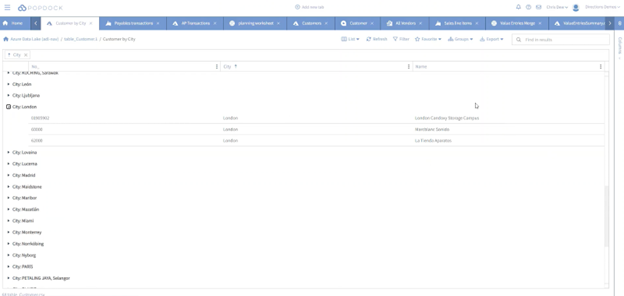
If you click on “City: London,” you can see all the customers that are located in London. This interaction allows you to interact with the data lake that was connected in our last article.
Data lake connector
Now, let’s demonstrate how to access the Data Lake connector. Here you will be able to see all the archived files that have been added to the data lake.
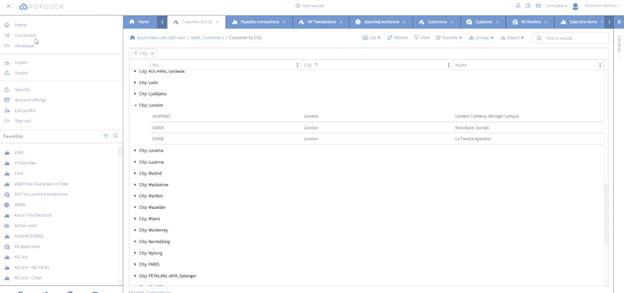
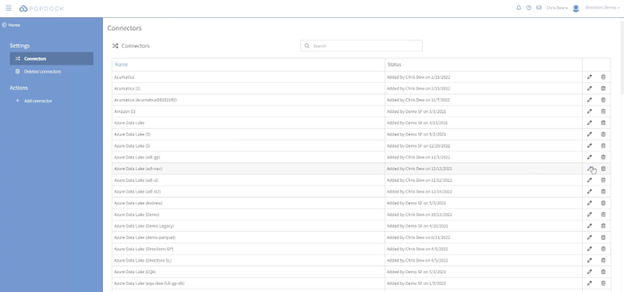
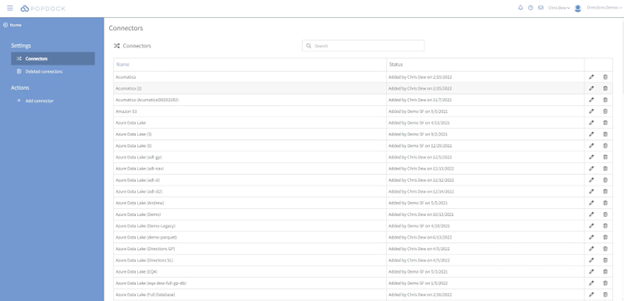
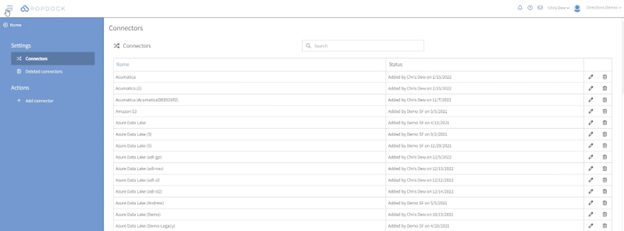
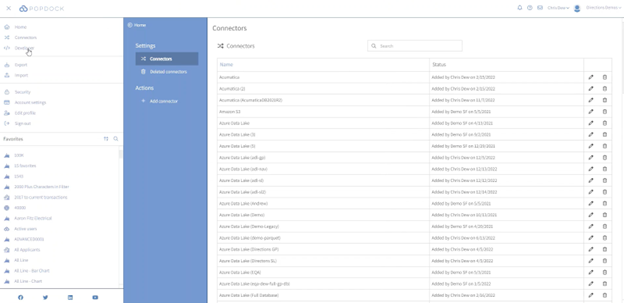
To begin, click on the hamburger menu located on the upper left-hand side in Popdock. Then, click on “Connectors.”
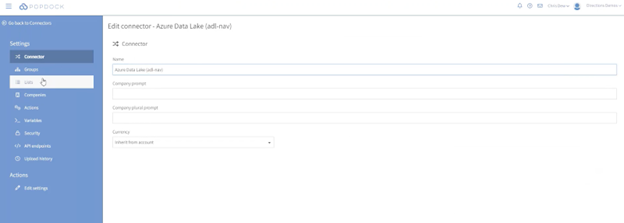
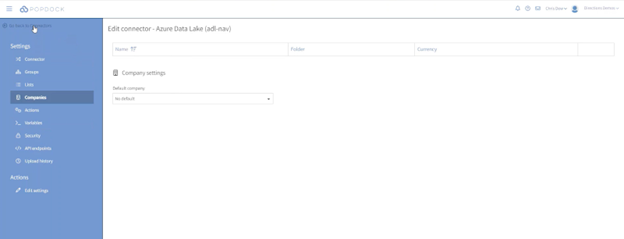
Next, click on the pencil edit tool on the right side of the data lake you wish to work with.
When you reach the “Edit connector” page, find the left- hand menu options and click on “Lists.”
This is where you will find all the lists that have been added to the data lake. In this specific data lake, there are currently three lists.
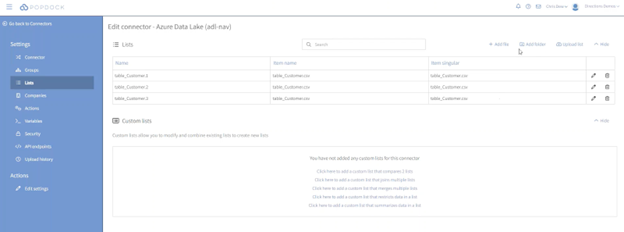
As mentioned earlier, Popdock is continuously adding all these archived files to the data lake.
You have the option to add files and folders, as well as upload lists directly from this page.
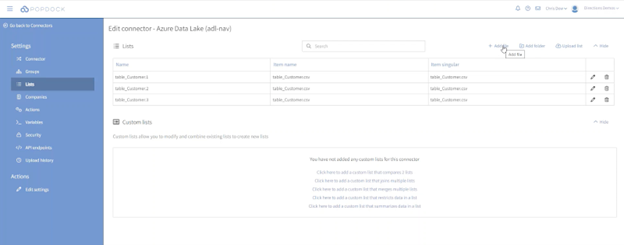
Next, click on “Add file.” This will show you all the tables that are being extracted from Dynamics NAV and stored in the data lake.
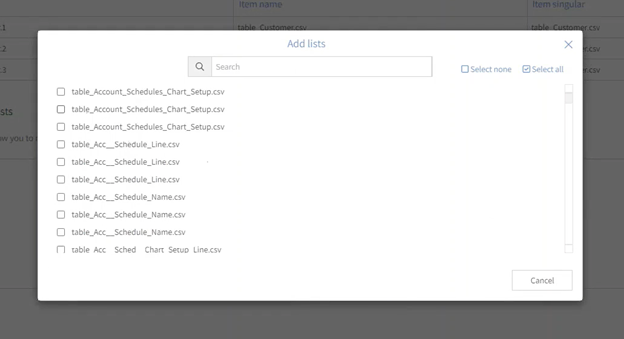
Within the “Lists” section, you will find automatically displayed default lists such as customers, customer ledger entries, sales orders, vendors, and more.
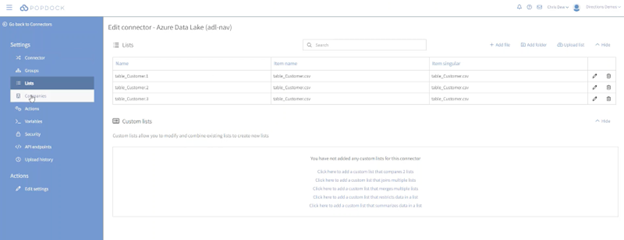
Additionally, you can click on the “Companies” menu item to view the companies that have been placed inside this data lake.

Now let’s return to the “Connectors” page by clicking on “Go back to Connectors” located in the top left corner.
Most importantly, you now have the capability of adding this to your list that goes right inside NetSuite. What does that mean? Read on!
Adding viewable lists to NetSuite
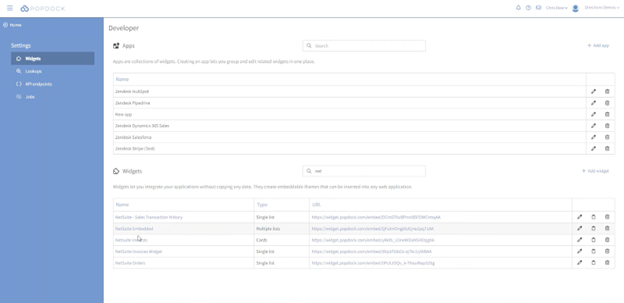
Click on the hamburger menu on the left side and then select “Developer.”
You will be automatically directed to your “Widgets” page. In the search bar, type in “NetSuite.” Locate the “NetSuite Embedded” option under the “Name” category. This particular widget is one of the elements that is embedded in NetSuite.
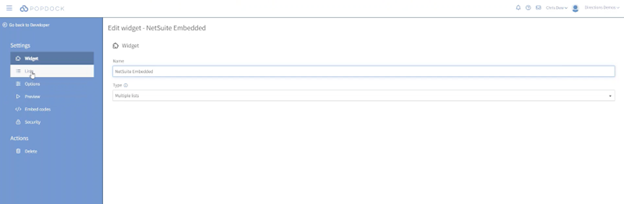
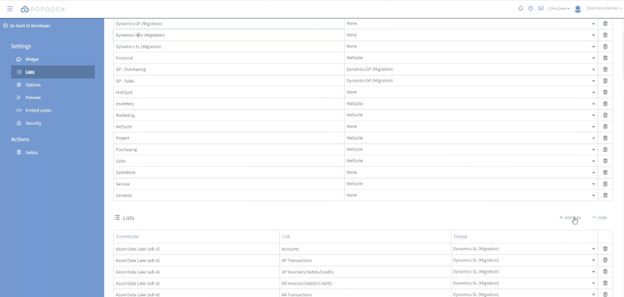
Then, select “Lists” on the dropdown menu and you’ll see a group of all the lists.
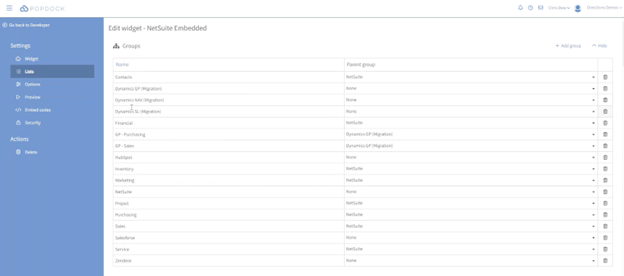
From here, you can click on “Add lists” and retrieve any list that you would like from the data lake, including the “Dynamics NAV (Migration)” list we were discussing earlier.
This is where you will find the lists extracted and moved during the NAV migration, along with other lists such as customer ledger entries, vendor ledger entries, and more.

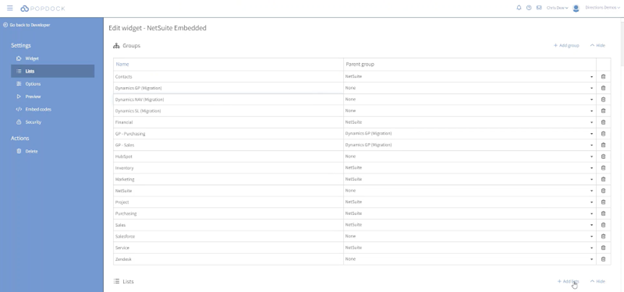
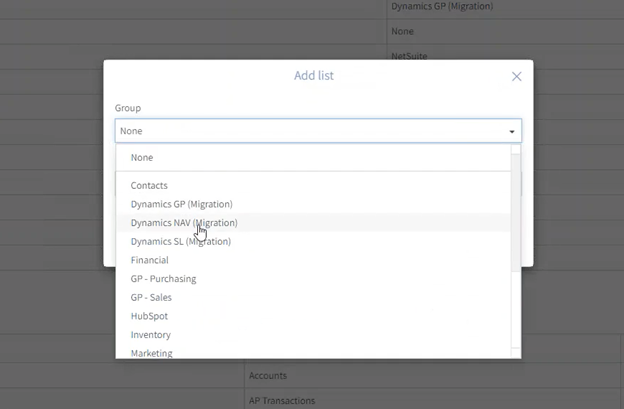
Adding a brand-new list is quick and easy.
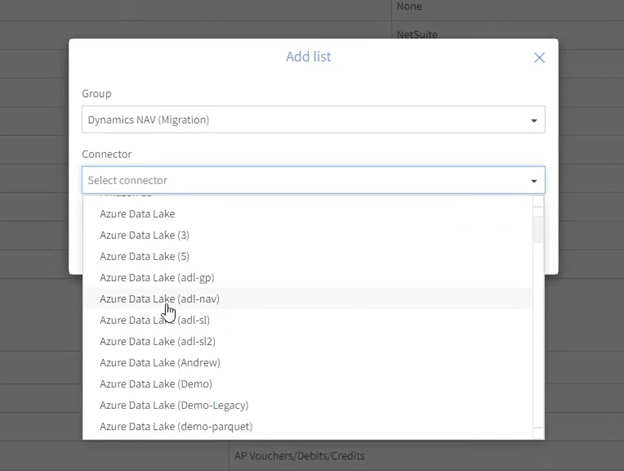
First, navigate to the “Group” section and point to a migration area. If you’re pulling from a data lake, add the list from the data lake and select the customer tables you wish to include. Select “Dynamics NAV (Migration)” and the “Azure Data Lake (adl-nav)” connector that we’ve been working with.
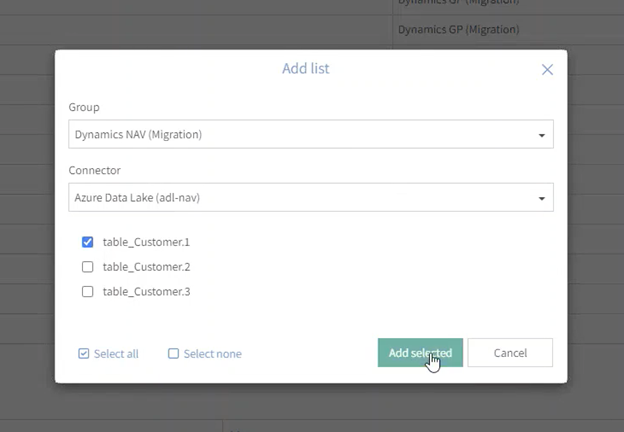
Select the list(s) you wish to add, then click on “Add selected.”
That’s how simple it is to interact with the data once you have it in the data lake.
Summary
We hope that you found this article series and demonstrations to be helpful. When working with Popdock and the Popdock Data Lake Upload Tool, you will experience how powerful and easy they are to use.
As a recap:
- Popdock provides a secure method to connect to your Dynamics NAV data without compromising the firewall by poking holes in it or introducing other security concerns.
- You can efficiently move data to an Azure Data Lake without the need for a developer. Popdock handles everything for you and streamlines the process.
- Accessing and reporting on the data within NetSuite is made simple. We not only allow you to generate reports within the Popdock web application, but the data is also brought right to your NetSuite interface. This means you can view your entire Dynamics NAV history without ever having to leave NetSuite.
Gone are the days of needing a developer to extract data and access data within NetSuite or any other system. With Popdock, you can now accomplish the same tasks swiftly, effortlessly, and securely.
Q&A
Q: How much does a data lake cost?
A: An Azure Data Lake is a cost-effective solution. For most users with under 100 gigabytes of archived data in a data lake, the cost is typically less than $20 per month. If you have terabytes of data, the cost may be higher, but the storage cost remains reasonable. Keep in mind that transactional costs may vary depending on the frequency of data access. However, for the majority of users, the monthly cost will be below $20.
Q: Will this work for any SQL version of NAV?
A: Yes! We can retrieve information and extract tables from all SQL versions of NAV. While some of the list capabilities are specific to versions 2013 and later due to significant changes in certain lists, there is still potential to work with older versions. We have also worked with a few non-SQL versions, but for extraction, you will need to use other methods to convert the data to CSV. Once you have the CSV files, they can be uploaded to the data lake, making them accessible in NetSuite as well.
Q: Can I view Salesforce information inside NetSuite?
A: Absolutely! Although it’s a different focus from what we’ve discussed in this series, you can definitely achieve this. Popdock enables you to bring information from multiple sources into the interface of your primary system. Not only is historical data made viewable and accessible within the NetSuite interface, but you can also integrate information from external systems like Salesforce, other e-commerce system, HR payroll systems, and more. Whatever the system may be, that information can be made viewable and easily accessible within NetSuite.
Interested in harnessing the power of Popdock? Contact us today
We hope this article series on accessing historical Dynamics GP data in NetSuite has been helpful to you!
Are you ready to learn more about how Popdock can help your NetSuite experience? Check out our article on discovering a new level of NetSuite integration with Popdock, or contact one of our Popdock experts today at sales@eonesolutions.com or 888-319-3663 ext. 1. They are always eager to provide help and answers!