This article will show us how to connect to Timely using the REST connector setup in SmartConnect.
To get started, we will need the following:
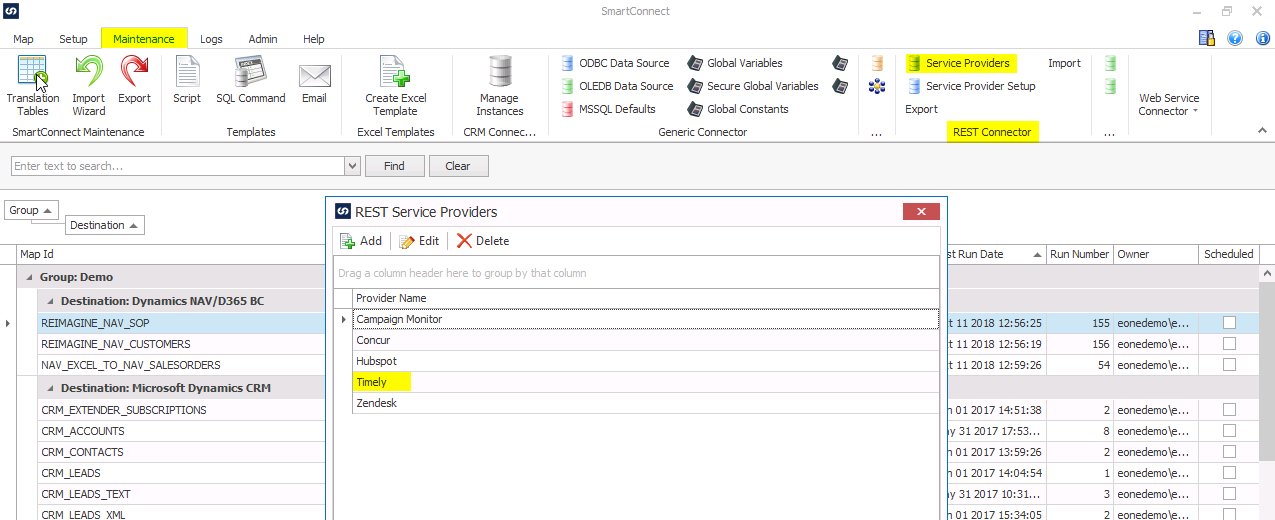
Connecting with Timely is easy to do, since Timely is already a Service Provider in SmartConnect. This means that a lot of the work has been done for us.
We can find the Service Providers in SmartConnect if we go to Maintenance >> REST Connector >> Service Providers.
Setting up Timely Service Provider
We can first double click on Timely under the Service Providers to open the setup.
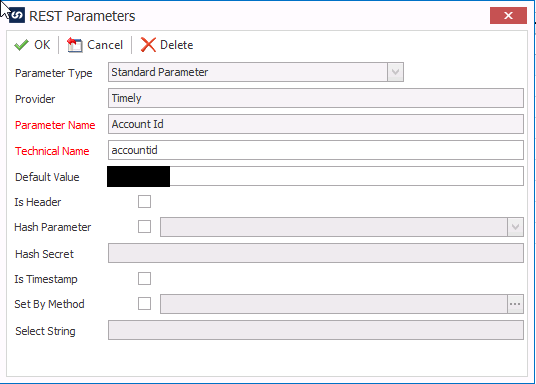
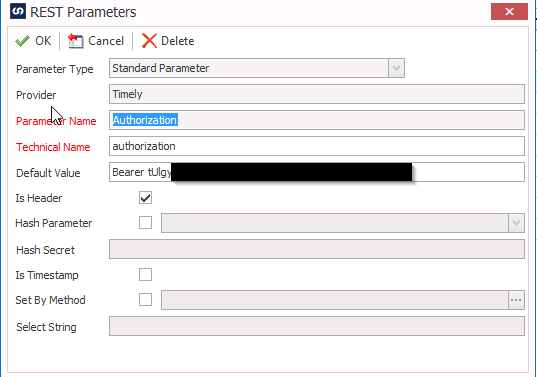
This will bring us to the Parameters setup page. We can set default values to any of the parameters that are listed.
For this example, we will be using the Account ID and the Authorization parameters.
Account ID
When we double click on the Account ID parameter, we will need to update the default value to the Account ID of our own Timely application.
This can be found in the URL of our application. (See below)
![]()
Authorization
To find the authorization value, we will need to use postman and the timely API to generate a bearer token.
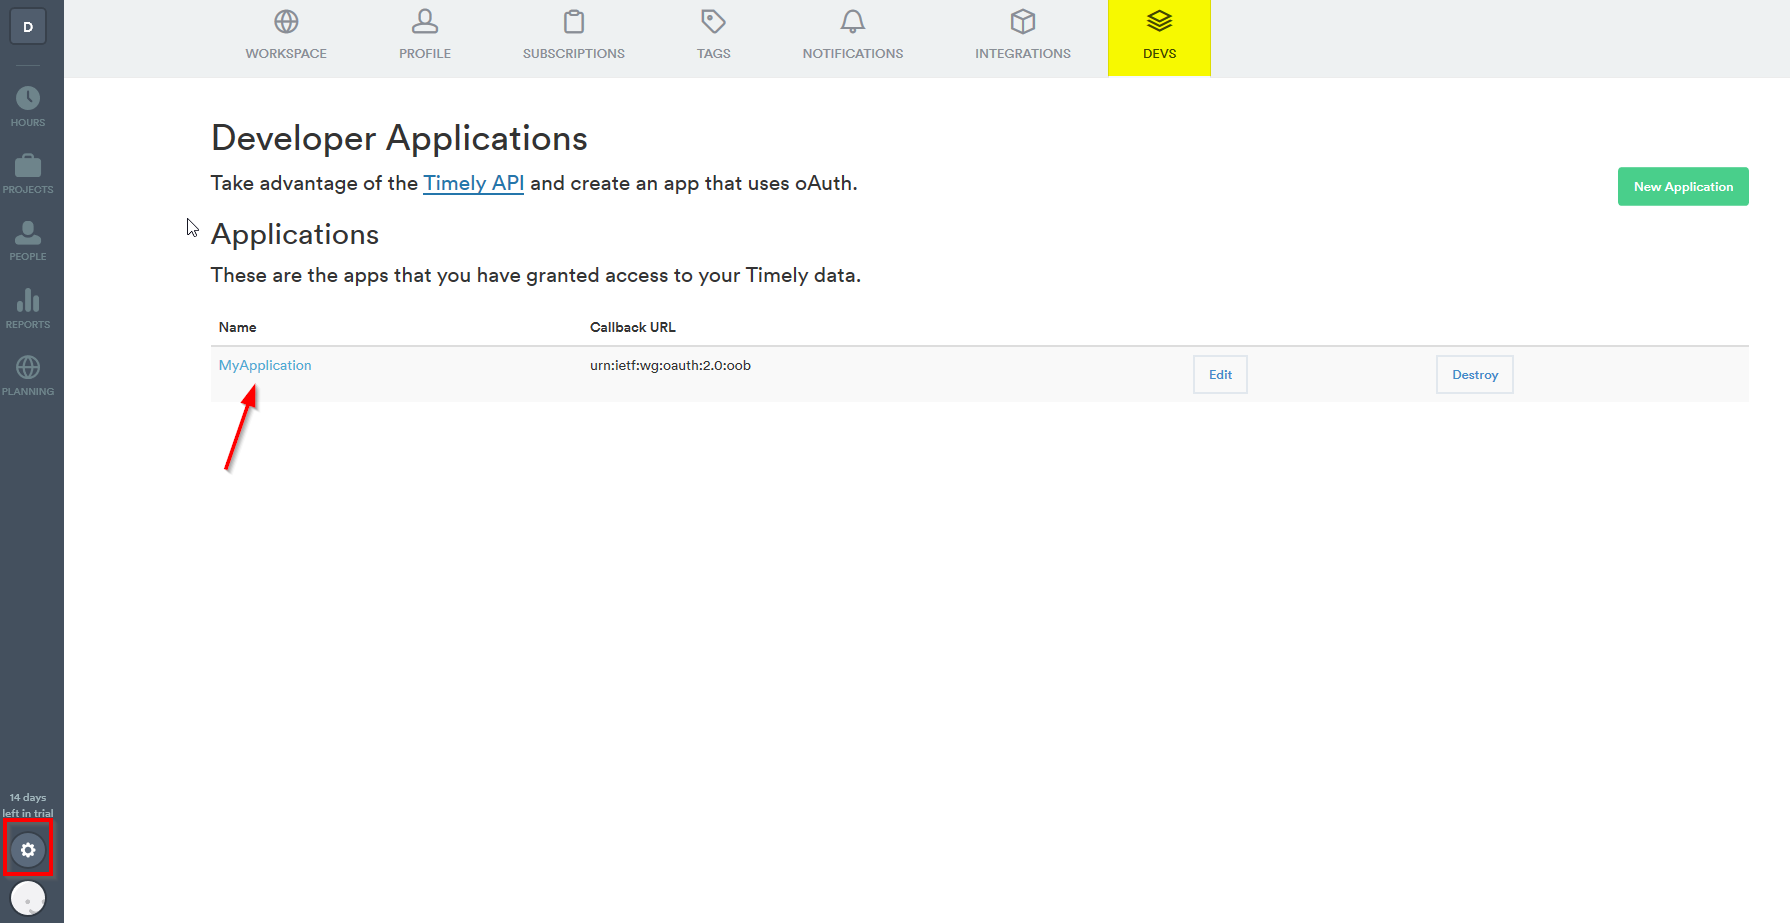
The first step is to navigate to our timely application. We can click on the settings >> DEVS.
This brings up a page where we can create a new application, so we can receive the Application ID, Secret, and Callback URLs that are needed for the authorization.
Click on the name of the application that you created to receive the ID, Secret, and Callback URL.

Once we receive the Application ID, Secret, and Callback URLs, we need to navigate to the timely API.
Below is the URL that we need to type into a browser to receive the authorization code, using the Application ID and the Callback url that was provided.
Redirect_uri = Callback url and client_id = Application Id.

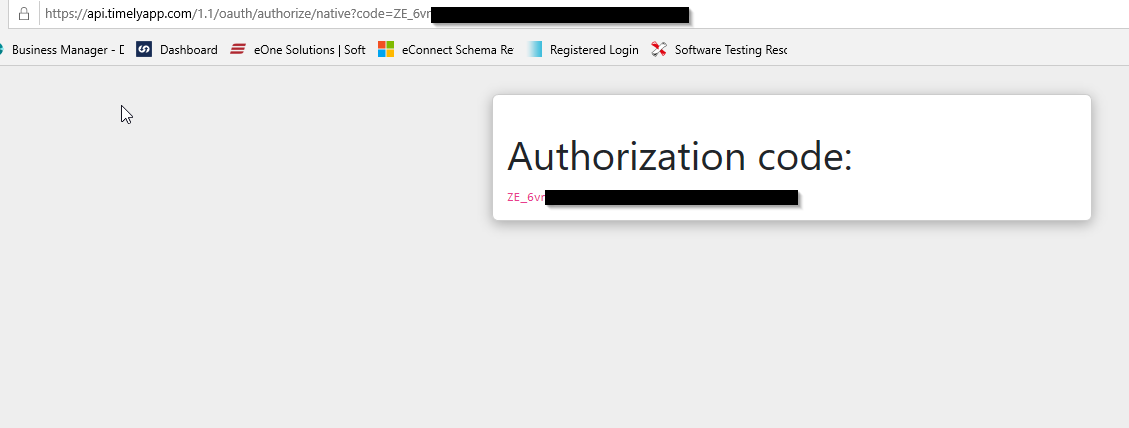
Hit enter on the web browser and the screen will prompt us to authorize.
Click the authorize button, then the authorization code will appear, see below.
Once we receive our authorization code, we can use postman to create our bearer token used in SmartConnect.
Using Postman to Receive Bearer Token
We can set up Postman like below to receive this token.
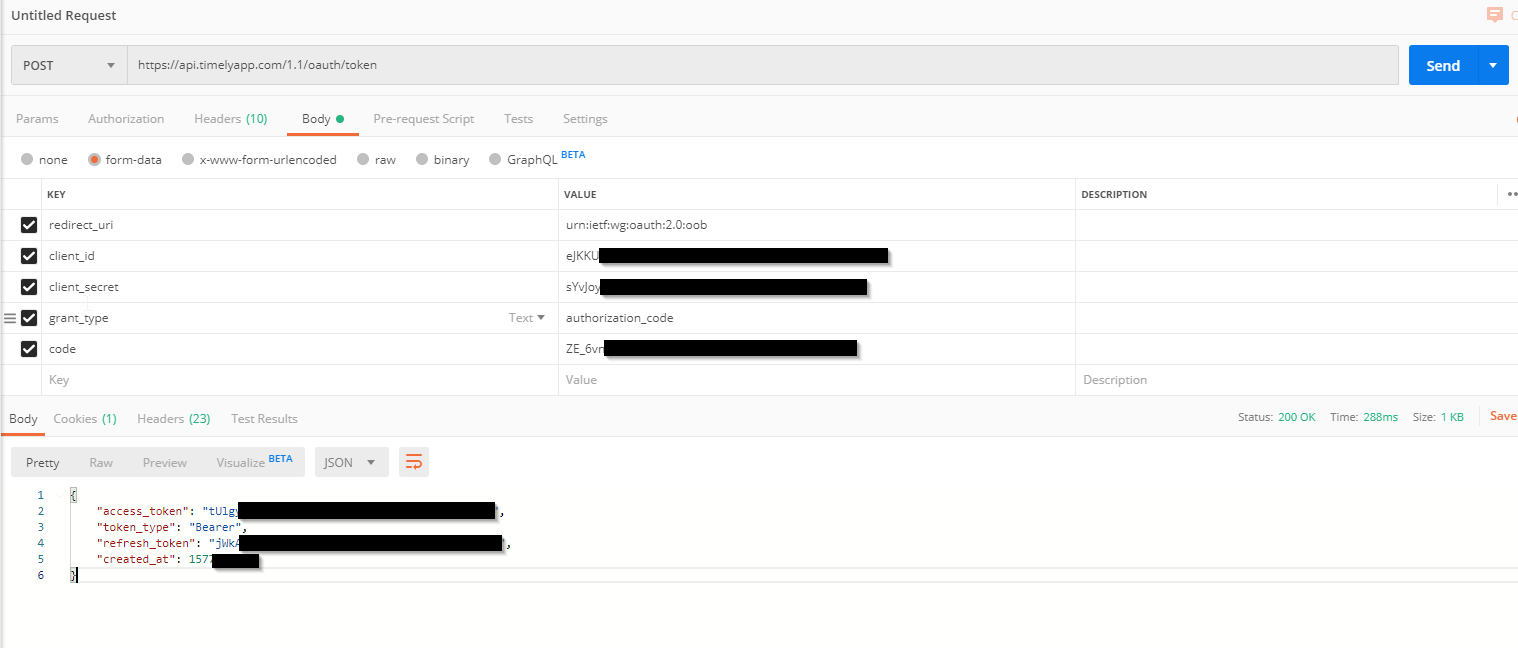
We must use the POST method, and the same URL provided in the picture above.
The body values are all the previous values we received including the Application ID, Secret, Callback URL, and the Authorization Code.
The last step is to set the Authorization to “No Auth” under the Authorization tab above.
When we hit send, we will receive the access token to connect our timely app to SmartConnect.
Now, we can use that bearer token back in SmartConnect to finish the Authorization step.
Like we said before, the Timely connector was basically set up for us, so we don’t have to set up anything else.
The last step is to click on the Methods tab. We need to change the URL in the methods to 1.1 instead of 1.0 because that is the value we used for our URL in postman.
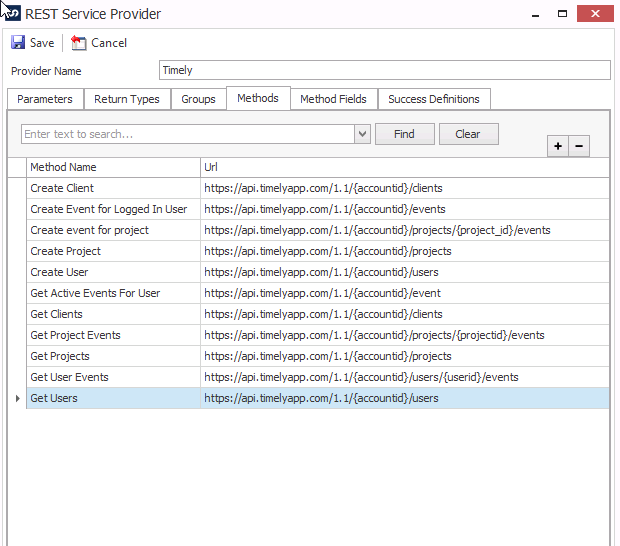
Now our Connector is set up and we can start using Timely as a Data Source or a Destination.
If you have any more questions, feel free to reach out to us at sales@eonesolutions.com