Translation tables in SmartConnect are used to transform information from one value to another in SmartConnect if there is a change from what the input source file looks like and what the destination object requires.
The SmartConnect documentation discusses the setup of Translation Tables here.
In SmartConnect, a neat feature is being able to Import the translated values directly using the “Import” button in the Translation Table Setup window.
Unfortunately, when doing so, you might see the error: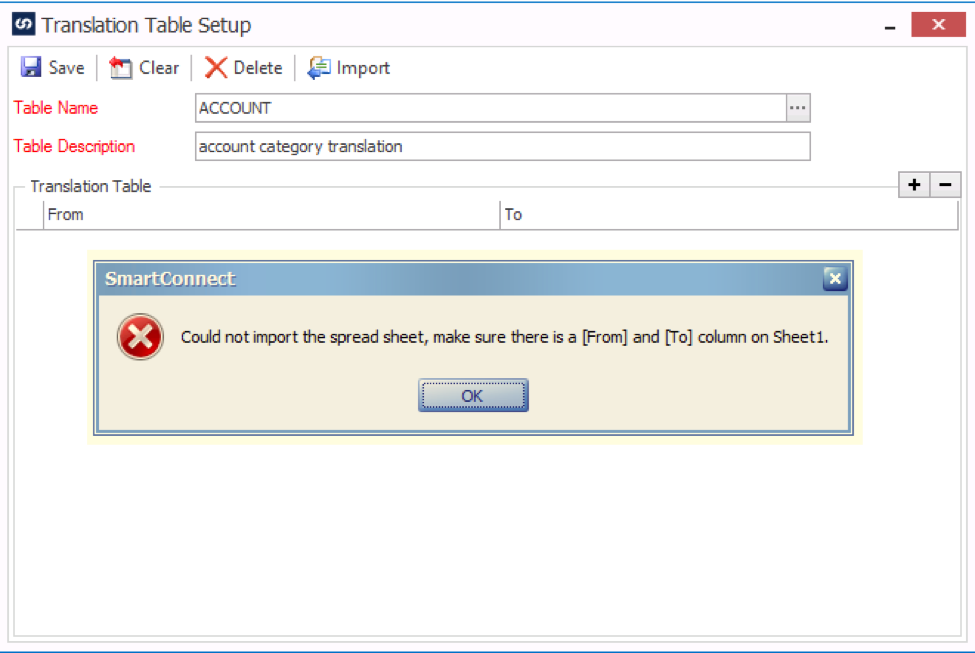 Figure 1: Could not import the spreadsheet, make sure there is a [From] and [To] column on Sheet1.
The error implies that the import spreadsheet selected does not contain a column named From and To (which is hardcoded into SmartConnect).
However, another reason that you can see the error is because the full version of Excel is not loaded on the local machine.
As it turns out, Excel itself is used during this process and if not loaded you will also get this misleading error message.
Does that mean that I would need to install Excel on this machine? Or else find another machine with Excel loaded?
While that would work – we have an integration tool at our fingertips that can help us with this – SmartConnect!
In the end, the Translation Table definition is stored in multiple tables in the SmartConnect database. Since SmartConnect does have a SQL Table destination, we can import the translation values manually.
Normally I wouldn’t suggest integrating to the SmartConnect tables directly – however, this integration is simple and straightforward to do.
To start, I would create the Translation Table Setup “header” record manually.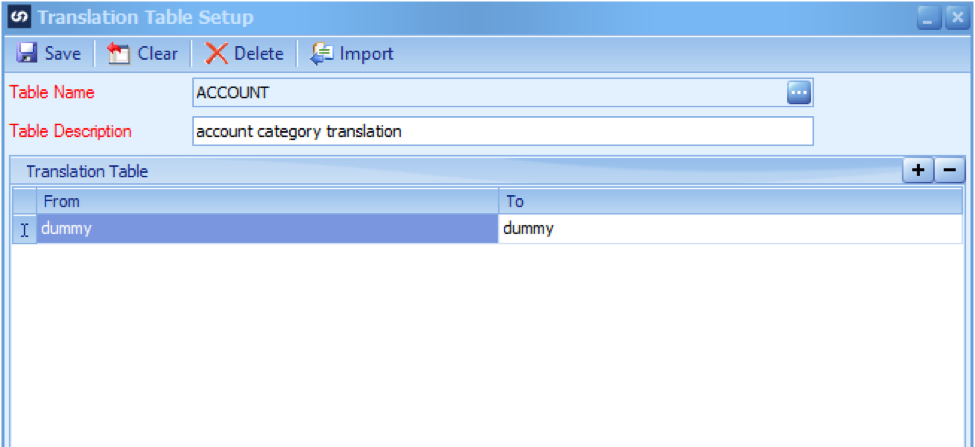 Figure 2: Create the translation table header record manually and create a row
While we could integrate this record as well with SmartConnect, more than likely the source file only contains a From & To lines and so we don’t have a column to group on that would be identical for each row. Since it will only take a minute to enter the information above, this is the quickest route. We do have to enter in a dummy translation record before we can save the translation table.
Once the Translation Table itself is created, then we can use SmartConnect to map the destination fields. Figure 3: SmartConnect.dbo.TranslationTableLine destination
I’ve made the Destination Type as Microsoft SQL Table and have chosen the dbo.TranslationTableLine table as my destination table.
Going into the mapping window for TranslationTableLine, we can see there are only a few fields that need to be mapped to create the translation line records.
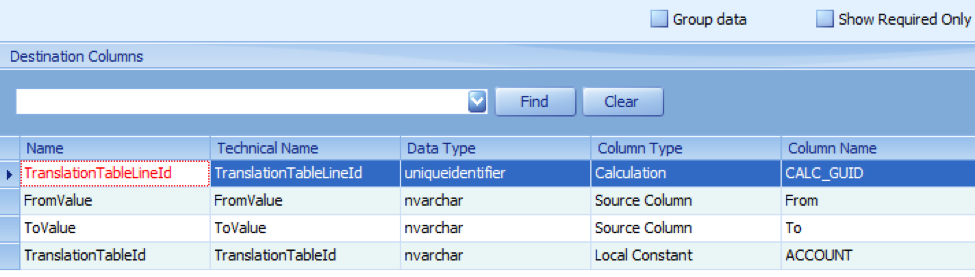 Figure 4: Translation mapping
The FromValue and ToValue will be the mapped fields from your source data.
The TranslationTableId is the name of the Translation Table Setup record that we created manually – in my example, it is set to “ACCOUNT”.
Lastly, the Primary Key on this table is the TranslationTableLineId which is a unique identifier also known as a GUID. SmartConnect assigns these automatically on entry or import from the Translation Table Setup window.
As we are integrating directly into the table, we need to generate those as well by using a Calculation and one line of code.
The next screenshot shows the Edit Calculation window and the code used to generate that value.Figure 5:Calculation for GUID
The code for the calculation in vb.net is:
return Guid.NewGuid().ToString().ToUpper()
The calculation is mapped to the TranslationTableLineId as shown previously.
After the integration is executed, we re-open the Translation Table Setup to view our results.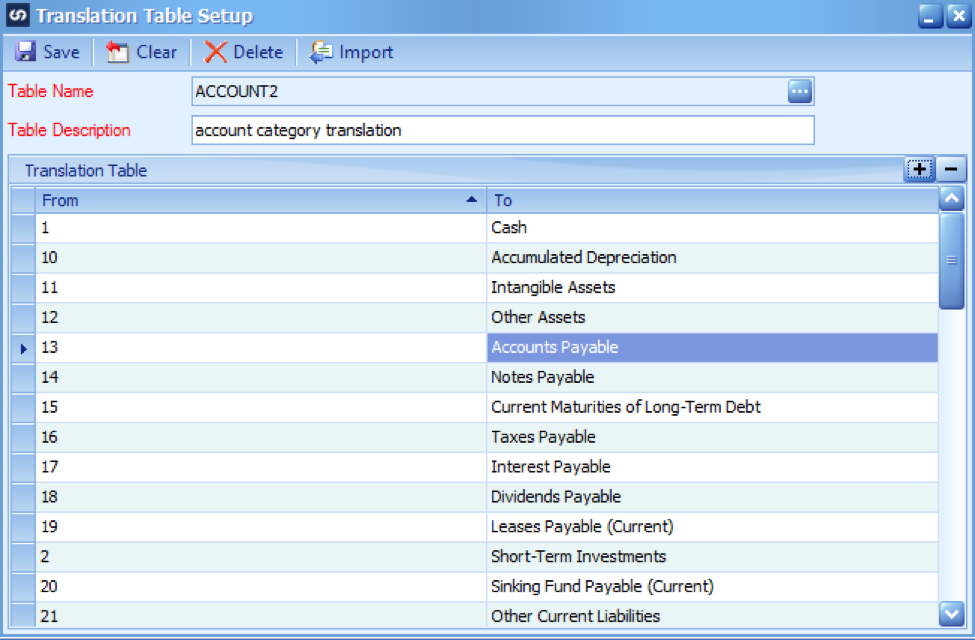 Figure 6: Translation Table data is populated as the result of the integration
Happily, we see the From & To values are populated from our source data as expected and this Translation Table can be used normally.
Until next time,
Patrick Roth
eOne