


Just getting started with SmartConnect 2017? Make sure you complete the following steps during your SmartConnect setup and configuration.
1. Prior to installing SmartConnect, ensure that you’ve met the SmartConnect Pre-Requesites.
2. Confirm that the systems you’re integrating with are compatible with SmartConnect.
3. Download SmartConnect. Step-by-step instructions are available here in the SmartConnect 2017 Manual.

4. Launch SmartConnect and enter your Account Code for SmartConnect. *See this article for more information on accessing your SmartConnect Account Code.
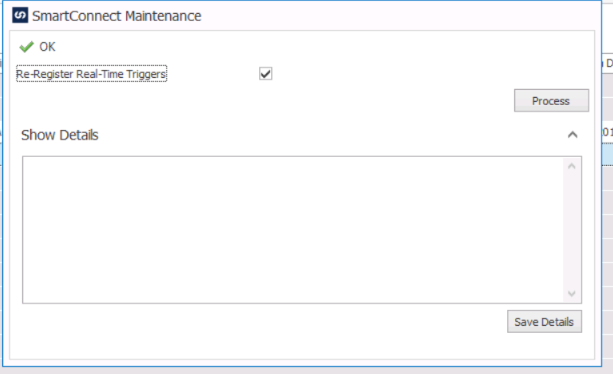
5. Run System Maintenance. When you initially launch SmartConnect, you’ll be prompted to run System Maintenance, which will set up core processes and tables. You will also want to run System Maintenance in the scenarios where you setup new connectors and also after you upgrade SmartConnect. Each time you Run System Maintenance, SmartConnect registers the connectors and applies updates.
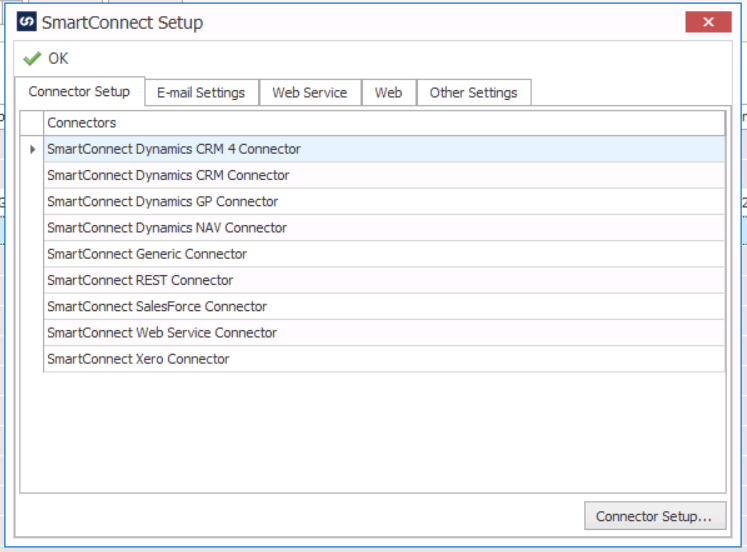
6. Set up the appropriate connectors for the systems you’ll be using within your SmartConnect integrations. Example: If you’re going to integrate with Microsoft Dynamics CRM, you’ll need to set up the Microsoft Dynamics CRM Connector and enter important details, like the authentication for your CRM environment(s).
Refer to the SmartConnect 2017 Manual for specific setup details per connector.
The following connectors require setup before you can use them within a SmartConnect Integration:
– Microsoft Dynamics GP
– Microsoft Dynamics NAV
– Microsoft Dynamics CRM
– Salesforce.com
– Web Service (For SOAP Web Service API’s)
– REST Service (For REST Web Service API’s)
– Xero
– Generic ODBC

**Ensure that you run System Maintenance after you set up any new SmartConnect connectors.
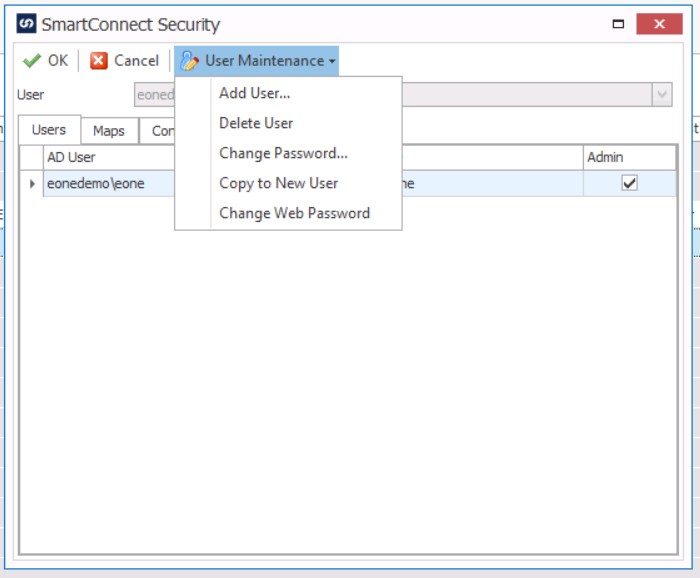
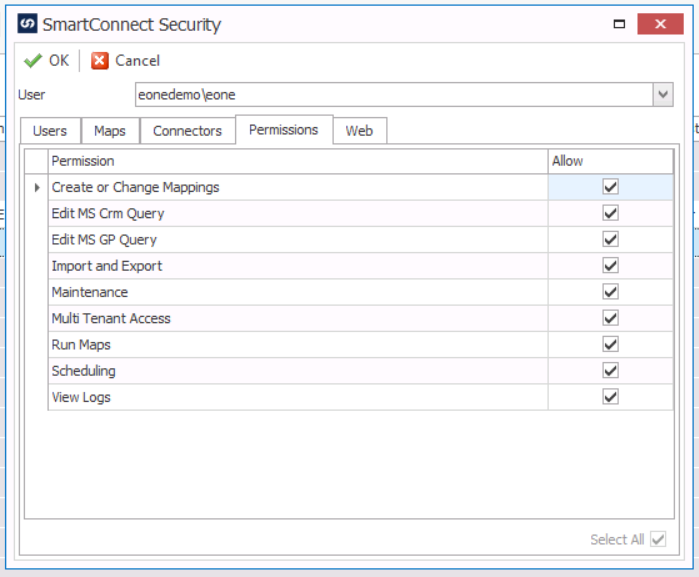
7. Create the users that you’d like to have access to SmartConnect and assign them permissions.
8. At this point, you should be ready to start building, importing and exporting maps (integrations)!
Stay tuned for Part 2, where we’ll provide an introduction to the interface of SmartConnect, common terms, key resources and reccomendations for training.