Using an Azure Data Lake, you can migrate your Smartlist data from Dynamics GP. Having this data accessible in Popdock allows you to create a Popdock widget which can be embedded into any system that allows a customized embedded iFrame. Whether you are migrating to Business Central, Salesforce, Netsuite, or any of the major systems that allows customization, we have shown how embedding your data as a widget and passing through a parameter can show you specific historical data that can help with your company’s transition to using a new system.
Interested in learning more about Data Lakes or how to Connect To Your Data Lake?
Once you have your data lake connected, you can now start moving Smartlists from your Dynamics GP connector to your Azure Data Lake.
Moving Your Dynamics GP Smartlists to your Data Lake
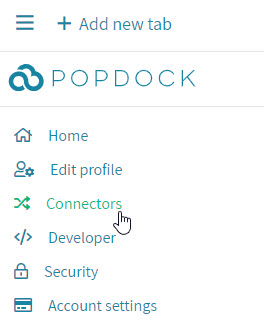
1. In Popdock, click on the 3 lines that open the main menu, then click on Connectors.
2. Next, you want to click on the edit icon next to your Azure Data Lake connector.
![]()
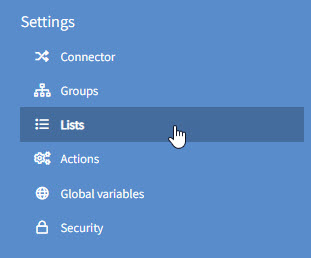
3. Now click on Lists in the left navigation menu.
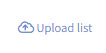
4. Here is where you want to click on the Upload list button at the top right.
5. You should now see the following window popup with 3 steps to complete: Source list, Azure Data Lake list, and Options.
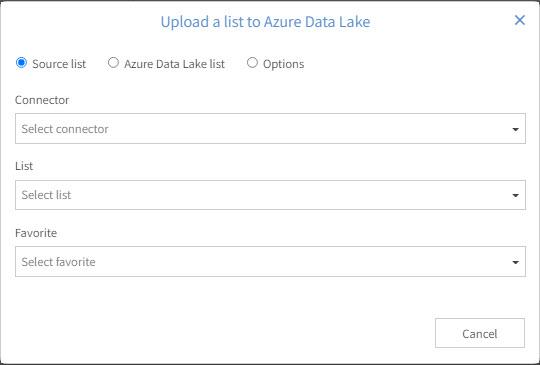
6. Complete the following on the Source list dropdowns:
- Connector
- Company (if needed)
- Group (if needed)
- List
- Favorite – Leave on Default View to get all fields, but if you have a favorite, it will only copy the fields being used and only the data from the favorite if it is already being filtered.
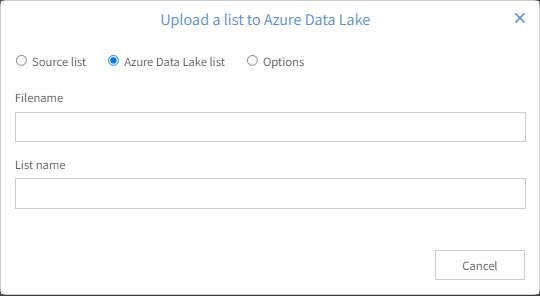
7. Then click on Azure Data Lake list bullet for these fields, by default they are populated, but you can make any changes here before moving to the last step:
- Filename
- List name
8. Now click on the Options bullet:
- Calculated fields – Choose whether you want your calculated fields to not copy over, save the calculated field values, or copy the calculated fields over to the new list. Here I will choose to save the calculated field values so that the data saves for the list and not the calculated formula for the field.
- Upload chunking strategy – The chunking strategy just specifies how many queries get generated by the upload process. For most lists with the default selected the file will get generated by a single query. For really large data sets, queries may time out, which is where the chunking strategy needs to change. For example with Dynamics GP, all of the transaction lists (GL journals, sales transactions, purchase orders, etc.) default to splitting the query by month. So a query gets generated to get all transactions for each month, each of those month queries is run separately and the results of all queries gets merged into a single large file. For this example, if I had a lot of Sales Line Items, then I would want to use the chunking strategy set to Custom and choose to split on the Document date field by Month.
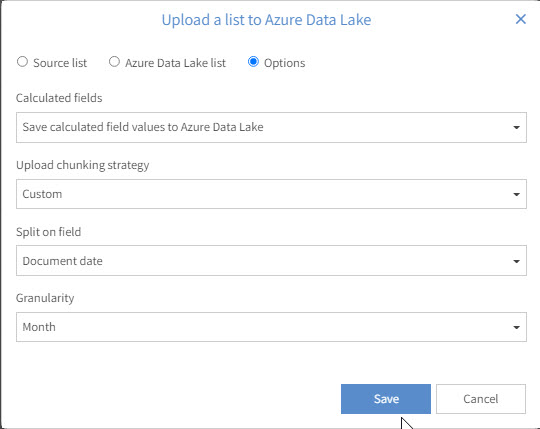
9. Now click Save.
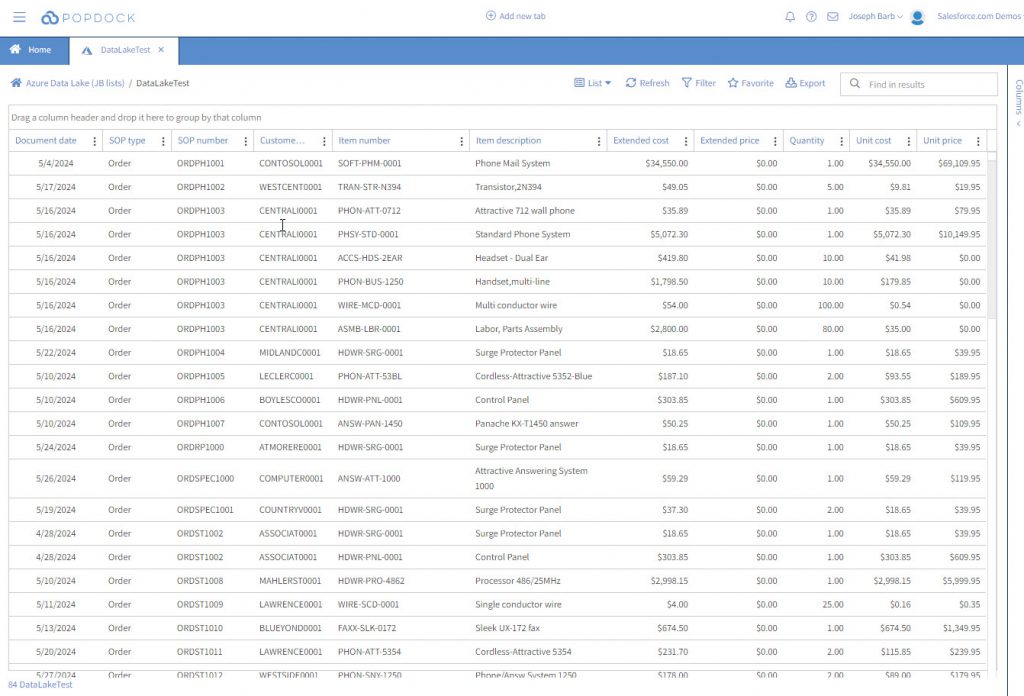
10. The list will load to your data lake and now will be available through the Azure Data Lake connector.
Questions? Feel free to send us an email at sales@eonesolutions.com