
With recent updates to Business Central and our Popdock extension, we have released custom actions available on each list. These custom actions are also available in the embedded widget inside of Business Central as well as in the details window if you are using a relationship on a list. The capability that these actions provide, for example, is if you were viewing a Posted Sales Invoice and you wanted to open the Customer Card for the customer on that record, you would simply right-click and with your custom action choose open customer which will open inside of Business Central. The following is an example of how you can set up this action:
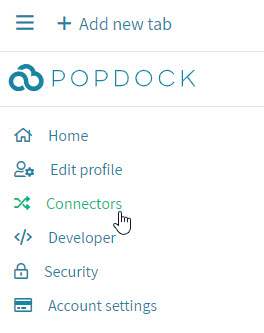
1. Click on your Home tab or click the left menu and go to Connectors.
2. Click on the edit icon for your Business Central connector.

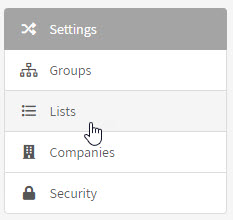
3. Click on Lists in the left navigation.
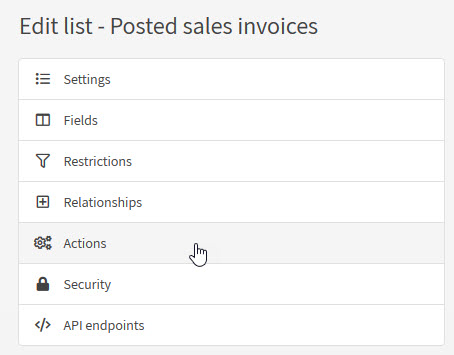
4. Click the edit icon next to the list you want to add the custom action to. For this example, I am editing the Posted Sales Invoices list.

5. Click on Actions in the left navigation.
6. Click the link to add a custom action.

7. Give your action a name, for this one I will call it “Open Customer”.
8. Now you should see a field in a section called Website. This is where it could get a little complicated if you do not know where to find the URL for the Customer Card in BC. In BC, if you go to Sales and go to Customers, then choose a specific customer your full URL will look something like this:
https://businesscentral.dynamics.com/93f1edcf-e187-4d27-a680-633943acee8b/Sandbox?page=21&company=CRONUS%20USA%2C%20Inc.&dc=0
The part of the URL that you would really need from this is starting with the “?page”. This specifies the Customer Card with page 21. Next, it identifies the company you are currently logged into. So the format of the URL that you want to enter into the Website field is the following and this should work for your BC as well, but if you have any issues please compare to your Customer Card URL or contact us for support.
[BaseUrl]?page=21&filter=%27No.%27%20IS%20%27{Customer no}%27&company=[CompanyName]
[BaseUrl] is the URL that is set when you add your BC to Popdock, next we have the page 21, then we have added a filter which will filter on the field on the list called “Customer no”, and last is the company which can also be pulled from the company selected on the list you are using by have “[CompanyName]”. The additional %27 is basically Html code for quote and %20 for a space.

9. Next, click on Security on the left navigation. Here you will need to add the permission for users to use this action. Add your current Popdock user and/or any additional users for the action.


11. Now that you have configured your custom action, let’s test it. Go back to home and add a new tab. Choose your Business Central connector and add the Posted Sales Invoice list.
10. Once you have records showing, right-click on a record and click “Open Customer” or whatever you named your action.

The action will open a new tab in your browser which will take you straight to the Customer Card for that record if you were already logged into BC, if not it will ask you to log in. This is one example of how to use custom actions for BC. You can add many more to any list that contains data that can be filtered on and sent to a specific page in BC. You can also see by default the right-click also has 2 options at the top to copy the value of the field you are right-clicking on or you can copy the data from the entire row to paste in another location or app.
If you have any questions on setting up a custom action for Business Central, please contact our Support Team support@eonesolutions.com and someone will assist you with setting this up.