To use Xero with SmartConnect there are a few things that need to be setup before you can enter any information in the Xero Connector setup window.
The first thing that is required for Xero is a public/private key-pair. You will need to download OpenSSL to create this.
Download OpenSSL here.
Install OpenSSL and leave all the default settings.
Once the installation has completed, navigate to the bin directory where OpenSSL was installed. The default location will be C:OpenSSL-Win32bin. From the bin directory, launch the command prompt as Administrator.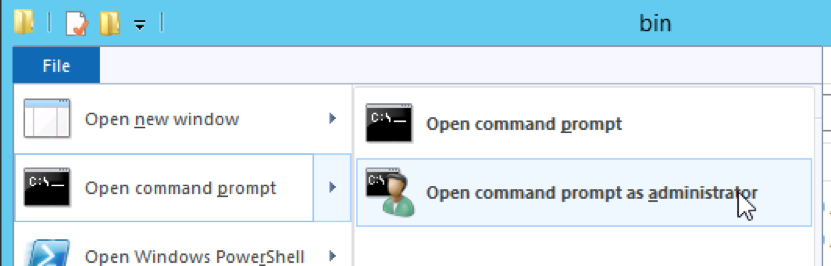
We need to run 3 separate commands to generate the public/private key-pair.
- Enter or paste the first command in the command prompt: openssl genrsa -out privatekey.pem 1024

This will create the privatekey.pem file in the bin directory.
- Enter or paste the second command: openssl req -new -x509 -key privatekey.pem -out publickey.cer -days 1825
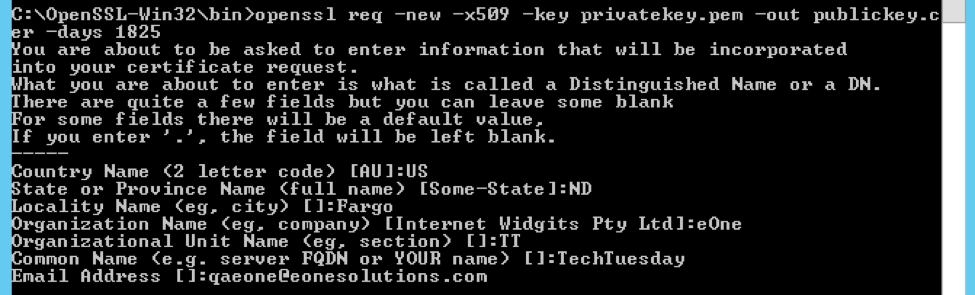
This command will create our publickey.cer file. There are several questions that need to be answered as seen in the above image.
- Enter or paste the last command: openssl pkcs12 -export -out public_privatekey.pfx -inkey privatekey.pem -in publickey.cer

This last command outputs our public_priavtekey.pfx file. You will need to assign and verify a password in this step. As seen in the above image, no text will display for the password. Remember the password you setup here as it will be used later in SmartConnect.
These three commands will generate two files that we will use to make the connection between Xero and SmartConnect. The publickey.cer file will be uploaded to the Xero Developer portal and the public_privatekey.pfx used in the Xero Connector setup in SmartConnect. You can move these files to a different directory now if you need to.
Login to the Xero Developer portal at https://api.xero.com and navigate to the My Apps tab and click on Add Application.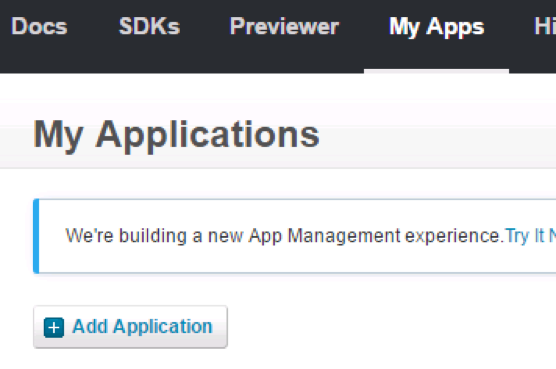
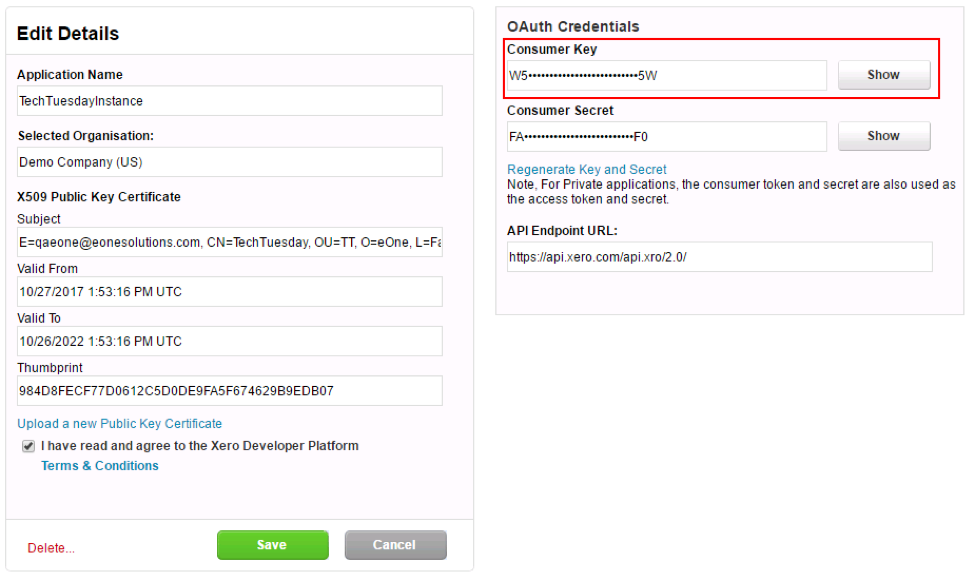
Select the Private option, give your Application a name (doesn’t matter what you choose), select the Organization you want SmartConnect to connect to, and choose the publickey.cer file we created earlier and Save the application setup.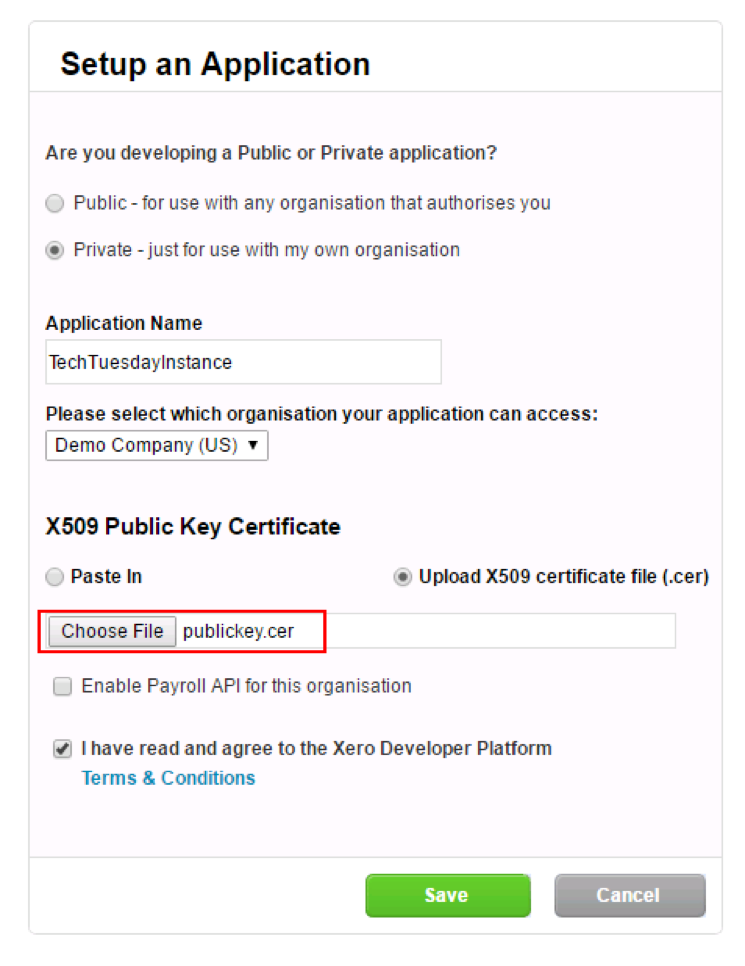
This will generate a Consumer Key and a Consumer Secret. We need to enter the Consumer Key into SmartConnect, so click the Show button and save the Consumer Key for an upcoming step. Finally, click Save to finish setting up the application in the Xero Developer portal.
In SmartConnect, navigate to the Setup tab and click on the Setup button. Open the SmartConnect Xero Connector. Enter a Company Name (does not matter what you call it), enter in your saved Consumer Key from the steps above, choose the public_privatekey.pfx that was created in the bin directory, and enter the password you assigned to the certificate.
Save the Xero Connector windows and then relaunch SmartConnect. You will now have a Xero Query for a data source and Xero and Xero File for destinations.