Popdock is available to install from Microsoft AppSource as an add-in for Excel, but what if you don’t have the permissions to access and install Popdock. In this article I will show you first how to install Popdock from Appsource, but then I will also show you how to get your data using Excel’s built in data sources and Popdock’s API Enpoints feature.
Installing and Inserting Data Using the Popdock Excel Add-In
Follow this link to our add-in in AppSource.
1. Follow the steps to install the add-in to your Microsoft Excel. If successful you should then see the Popdock section in your toolbar in Excel. Click on the button to access the Popdock sidebar in Excel.

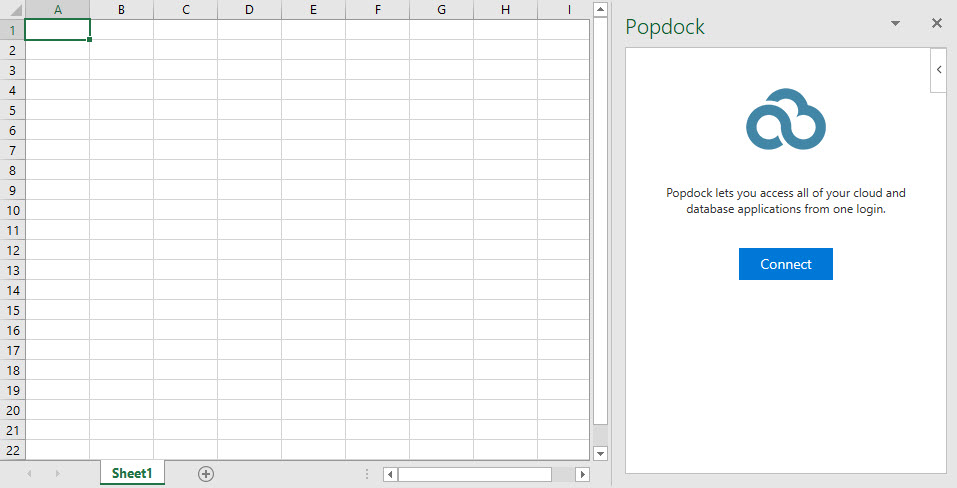
2. You should now have a Popdock sidebar with a message and button to connect to your Popdock account. Click on the Connect button.
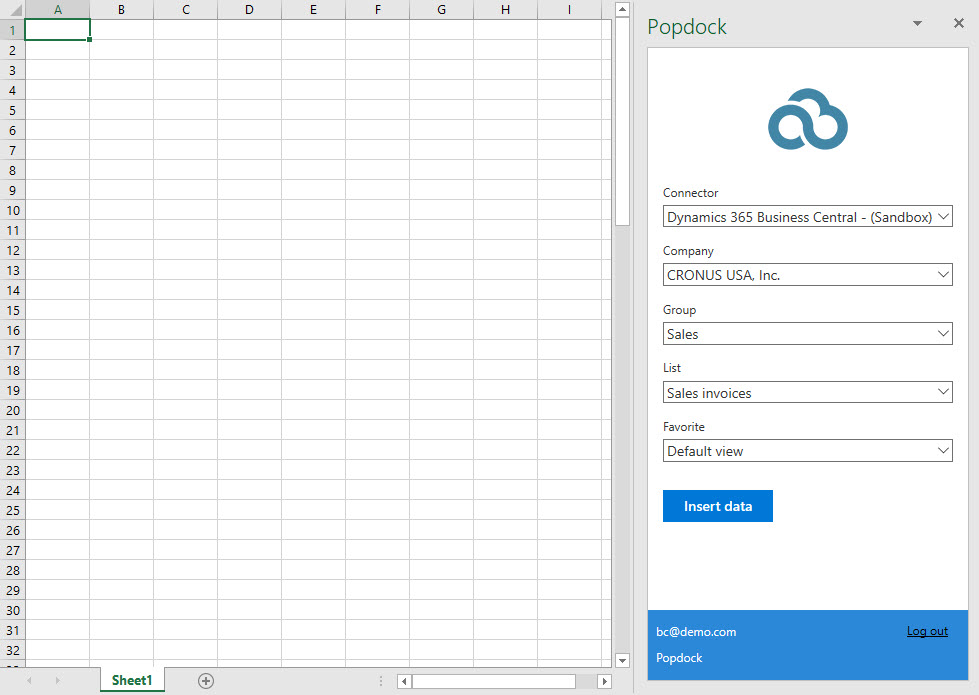
3. Next go ahead and use your Popdock login to sign in. After you are logged in you will see some options to find the connector and list. If you have companies on the connector and groups for your lists, these options will also show.
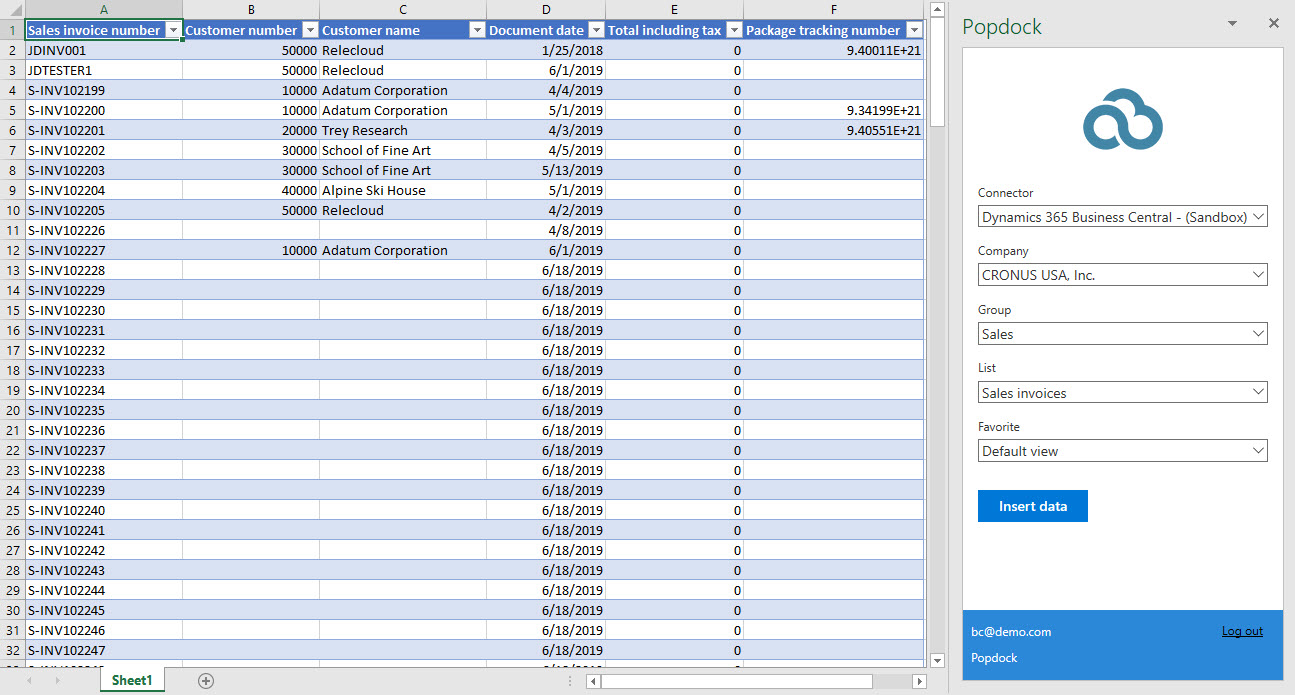
4. Choose your list you would like to see the data from, then click the Insert data button. You should then see the columns and data you have setup in Popdock insert into your Excel worksheet.
This data is a snapshot of the data at the time that you inserted it into Excel. There is no option to refresh the data, but this is a quick way to get your data and share it or manipulate it in Excel if you wanted. The next section will show you how to also get this same data using Popdock as a data source and using this feature in Excel allows the data to be refreshable.
Inserting Data Into Excel Using Popdock As A Data Source
1. Open your Excel to a blank worksheet and click on Data at the top menu.

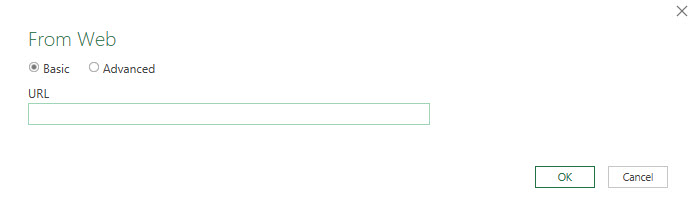
2. Next click the button for “From Web”. This will open a window asking for a URL. Leave this open and go to your Popdock in your browser so we can get the URL needed for this.
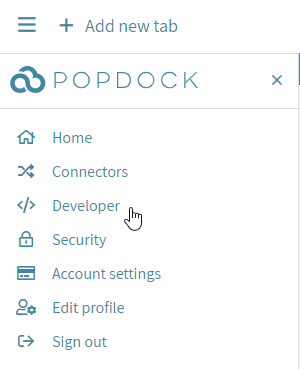
3. Inside Popdock, click on the left drop down menu and click on Developer.
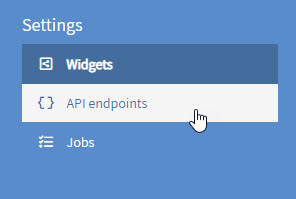
4. Then in the left navigation menu, click on API endpoints.
5. Next we are going to create a new API endpoint for the list we want to add to Excel. To do this first click on Add endpoint. Give it a name, then complete the rest of the form to select the list you want to pull your data from. Here I am selecting Sales Invoices from my Business Central connector.

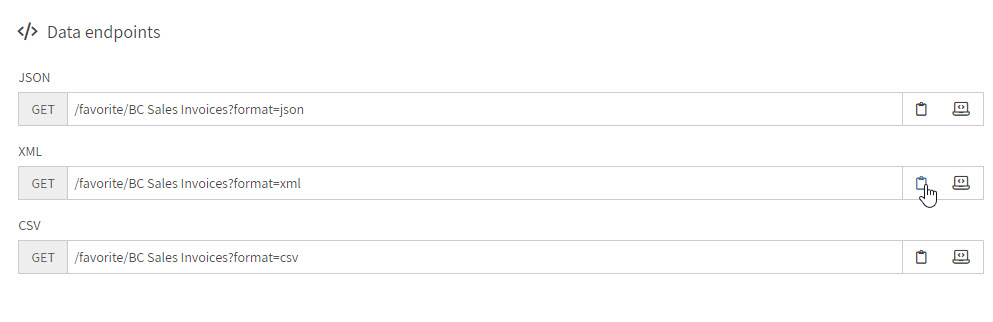
6. After you have your list selected, click on API endpoints on the left navigation menu.

7. Here you will want to copy the Data endpoint for the XML format. Select the URL and copy it or click the clipboard icon to copy it.
8. Next paste the URL to the URL in the From Web form in your Excel. There is one more thing we need to add to the URL so don’t click OK just yet. We need to add a token to the URL so that it allows Excel to access the data. For this we need to go back to Popdock and at the upper right, click on your login name. This drops down to a menu where you want to click on Edit profile.

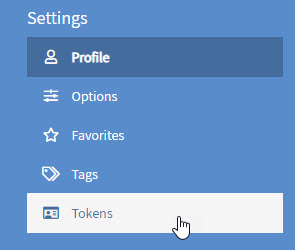
9. In the left navigation menu, click on Tokens.
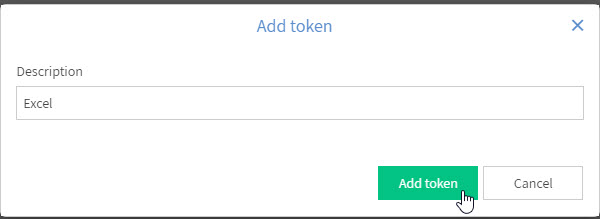
10. Here if you already have a token, you can use that one or you can create a new token specifically for Excel. I will go ahead and create a new one by clicking on Add token. Then just enter Excel for the description and click Add token.
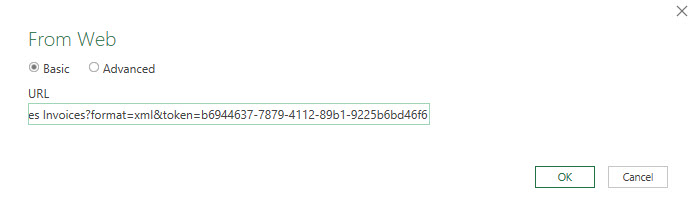
11. Now copy the Token and go back to Excel. At the end of the URL on the From Web form we are going to add the token using the following format:
&token=b6944637-7879-4112-89b1-9225b6bd46f6
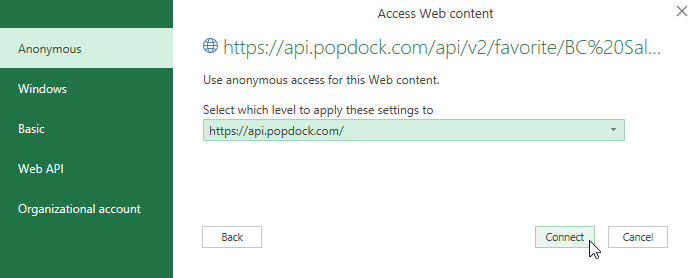
12. Next click OK on the From Web window. The next window is the Access Web content, click on the Connect button.
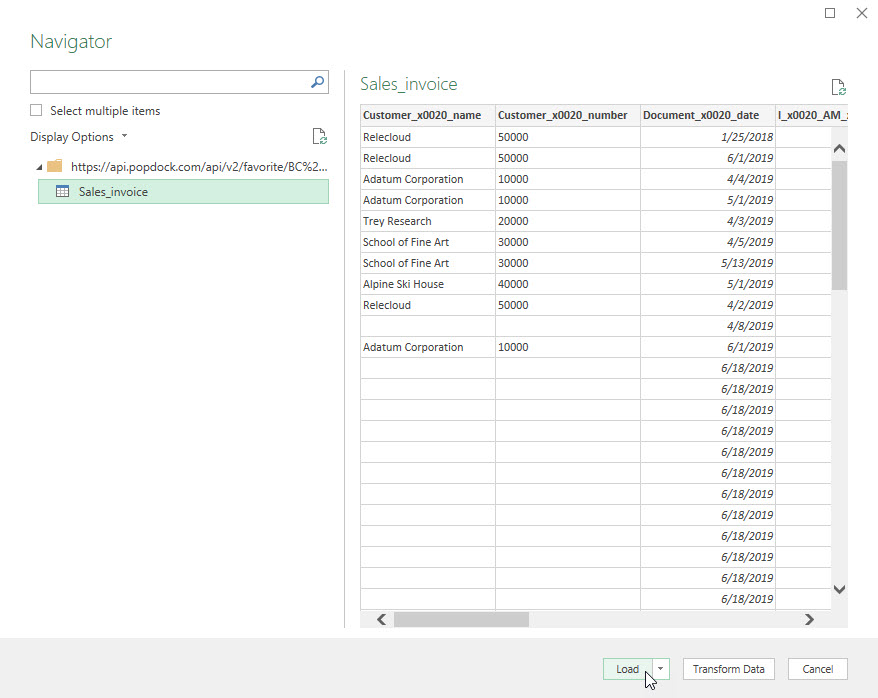
13. If successful, you will see a Navigator window. Here you will click on the list and it will show a preview, then just click on Load to see the data get added to your Excel worksheet.
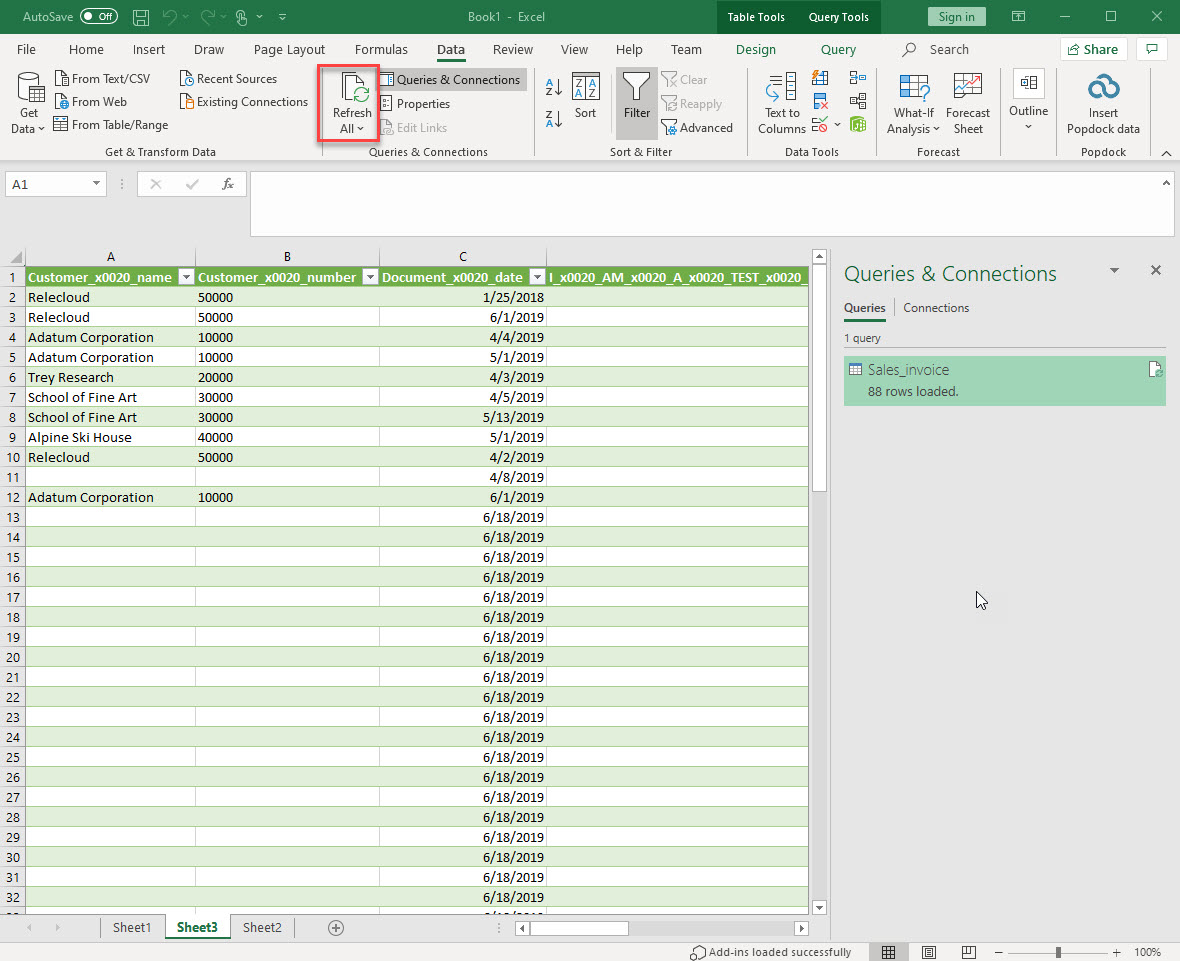
Your data will show up in your worksheet and you will have a sidebar showing Queries & Connections with a row count. With Popdock as the data source you can add multiple endpoints each on a different worksheet if you wanted. What makes this even better is that using the Data menu, you can use the Refresh All button and it will refresh the data updating it with any changes. You now have a list inside Excel that you can share and anyone with the file can refresh the list to get the most up to date data.
If you have any questions regarding any of the features mentioned here or any questions in general regarding Popdock, please reach out to our Support Team at support@popdock.com.