A column set column is used within SmartConnect when one of the following messages is to be called by SmartConnect:
| • | Convert a quote to a sales order |
| • | Convert a sales order to an invoice |
| • | Generate an invoice from an opportunity |
| • | Generate a quote from an opportunity |
| • | Generate a sales order from an opportunity |
Running one of these messages will take data from the source entity, and process it, creating a record of the target type. The column set column defines the list of columns that should be passed to the target record from the source record. For more information on determining fields that are required to be passed to the target record see determining required columns.
To create a Dynamics CRM column set column:
| 1. | Open Map >> Setup, or select the Maps Quick Link and double click on the map to be edited. |
| 2. | If creating a new map enter the map id and description. |
| 3. | If creating a new map enter the data source and key field information. |
| 4. | If creating a new map select CRM as the destination, then double click on the entity type required. |
| 5. | Select Additional Columns from the toolbar at the top of the mapping window. |
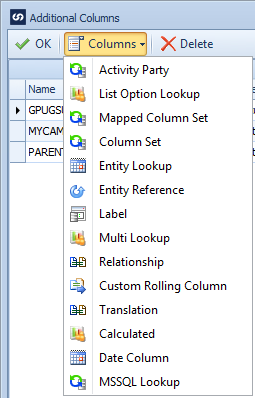
| 6. | Select Columns >> Column Set Column from the toolbar at the top of the mapping window, or double click the column to be edited. |

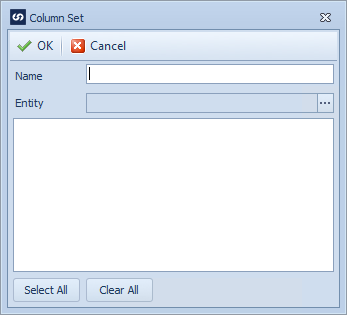
| 7. | Enter a name for the column set column. Names must be unique within a map. |
| 8. | Select the entity type that should be linked to the column set column. |
| 9. | Select the fields that should be passed to the target object. |
| 10. | Select OK to save the column changes. |
| 11. | Select OK to close the column window. The new column set column should now appear in the left grid of the matching window. |
| 12. | Drag the lookup field to the required spot in the destination grid or select column set as the Column Type and the column name as the Column Name in the destination grid. |


