The Dynamics GP destination takes the destination information and changes into the eConnect format. The xml is then submitted to eConnect for processing.
To create Dynamics GP destination:
| 1. | Select create, or select the Maps Quick Link and double click on the map to be edited. |
| 2. | If creating a new map enter the map id and description. |
| 3. | If creating a new map enter the data source and key field information. |
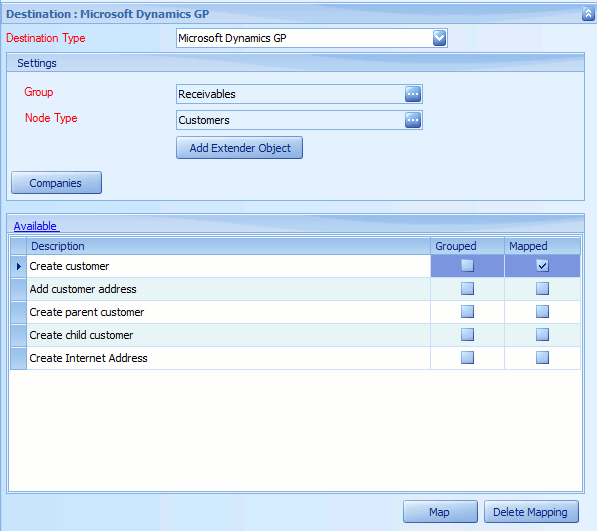
| 4. | Select Microsoft Dynamics GP as the destination. |
| 5. | Select the Dynamics node group required. |
| 6. | Select the Dynamics node type required. The valid actions that can be performed using this node group and type will then be displayed in the node mapping window. |
| 7. | If applicable select the add Extender object button to add Extender data to the integration. |
| 8. | Select the companies button to select the GP companies that should receive the data. |
| 9. | Double click the action required for this map. |
| 10. | In the mapping screen map the columns from the data source to the selected destination. |
| 11. | Select OK to save the mappings. |
| 12. | Click Save to record your map changes. |