All updates made by SmartConnect to Salesforce are done through the standard Salesforce Web Service API. Inserts, updates and deletes may be sent to Salesforce entities through this web service.
To create Salesforce destination:
| 1. | Select create, or select the Maps Quick Link and double click on the map to be edited. |
| 2. | If creating a new map enter the map id and description. |
| 3. | If creating a new map enter the data source and key field information. |
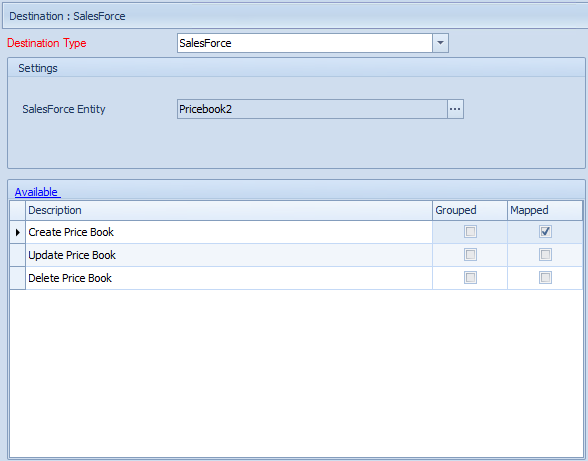
| 4. | Select Salesforce as the destination. |
| 5. | If prompted, enter Salesforce login details and select ok. |
| 6. | Select the entity or entities to be updated as the Salesforce Entity. The available options (insert, update or delete) for that entity will then be shown in the map line grid below. |
| 7. | Double click the action (update, insert or delete) required for this map. |
| 8. | In the mapping screen map the columns from the data source to the Salesforce entity. |
| 9. | Select OK to save the mappings. |
| 10. | Click Save to record your map changes. |
Notes:
| • | Salesforce entities will only be shown as a valid destination if they are flagged as creatable, deletable or updatable for the current user by the Salesforce web service API. |
| • | Salesforce fields that are required by Salesforce will be shown as required in the SmartConnect mapping screen. These requirements are however for display only and are not enforced in the SmartConnect mapping window. |