Whenever SmartConnect is upgraded, or a connector is configured / enabled for the first time, the SmartConnect system maintenance process should be run.
To run System Maintenance:
| 1. | Navigate to the Setup tab within the SmartConnect client and select the System Maintenance button. |
| 2. | Select re-register real time triggers if real time data sources are to be de-registered and then re-registered during the maintenance process. Note: this checkbox should be selected when running system maintenance after a SmartConnect upgrade. |
| 3. | Select process to start the maintenance process. |
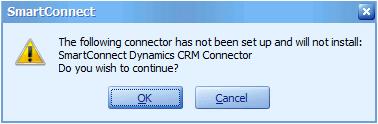
| 4. | If not all connectors have been set up within SmartConnect the user will receive a message listing the connectors that have not been set up. Select OK to close the message and continue, or Cancel to stop processing. |
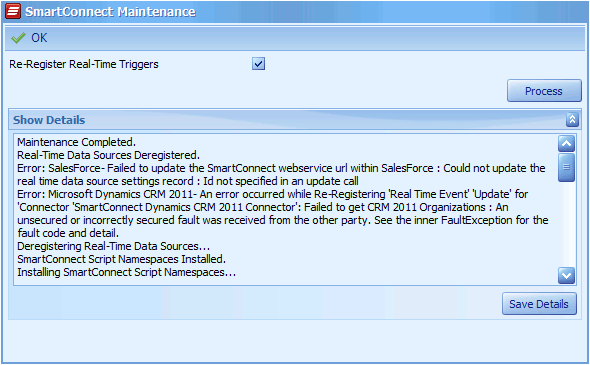
| 5. | Maintenance will then run. The details text box will be updated with processing messages as maintenance continues. |
| 6. | A message telling the user that maintenance has completed will appear. Select OK to close the window. |
| 7. | If errors have occurred during the maintenance process, details of the errors may be viewed in the details text box. Selecting save details will prompt the user for a file name and will save the maintenance details to text file. |
| 8. | Select OK to close the maintenance window. |