Adding a Dynamics 365 Business Central connector lets you get access to the default lists and groups for that environment. These default lists will be sorted and available for immediate access through the widget. You can also add your own lists and queries from Business Central to the connector.
In this article you will be guided through setting up a Business Central connector. Before you setup the connector in Popdock, install Popdock from AppSource in Business Central.
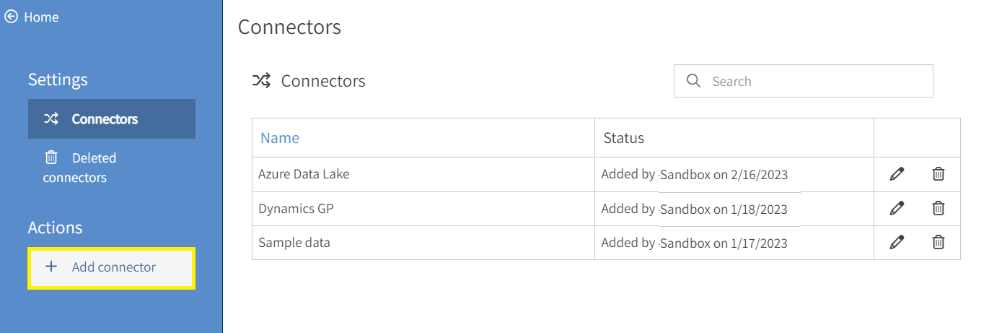
1. From the top left corner, select the triple bar icon and select Connectors from the menu, then select the Add connector button.
2. Select Dynamics 365 Business Central as the connector to add.

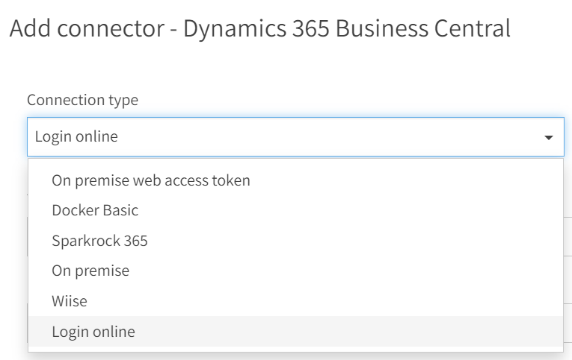
3. Login online is selected by default as the Connection type. When you authenticate using this method you will be prompted to log into your Microsoft 365 account.
There are five other options for logging into Business Central:
- Docker Basic – Use this method when Business Central is hosted in a Docker container.
- On-premise – Use this method if Business Central is hosted on-premises.
- On premise web access token – If Business Central server is hosted on-premises and uses a web token for authentication, select this method.
- Sparkrock 365 – Select this method if you are using this ERP application.
- Wiise – Use this method if you are connecting, from Australia and parts of New Zealand, using the Wiise application.
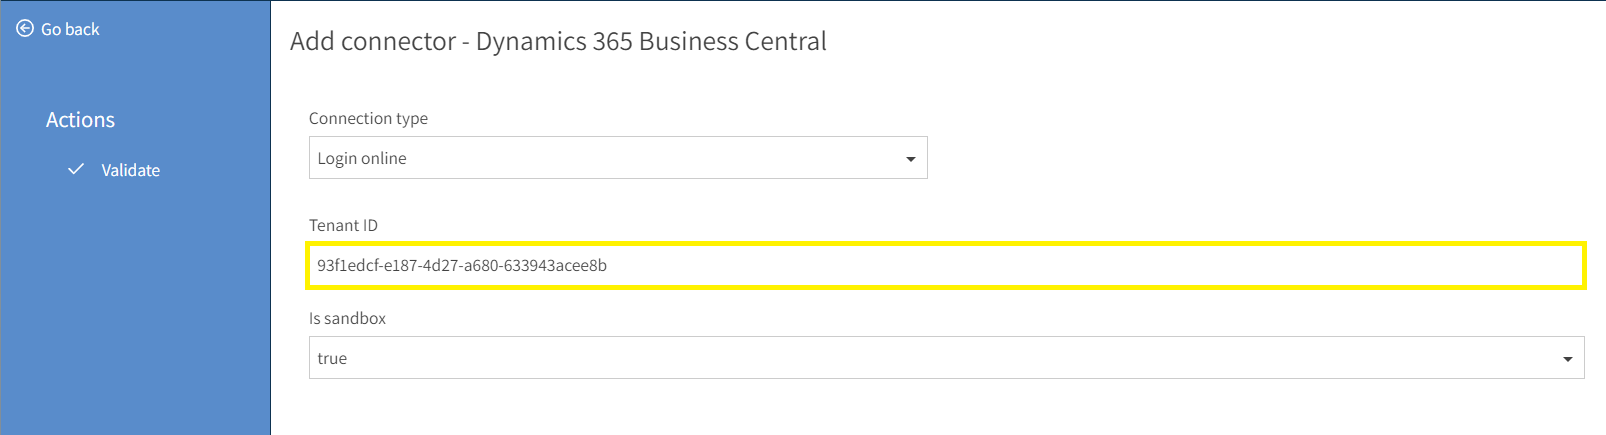
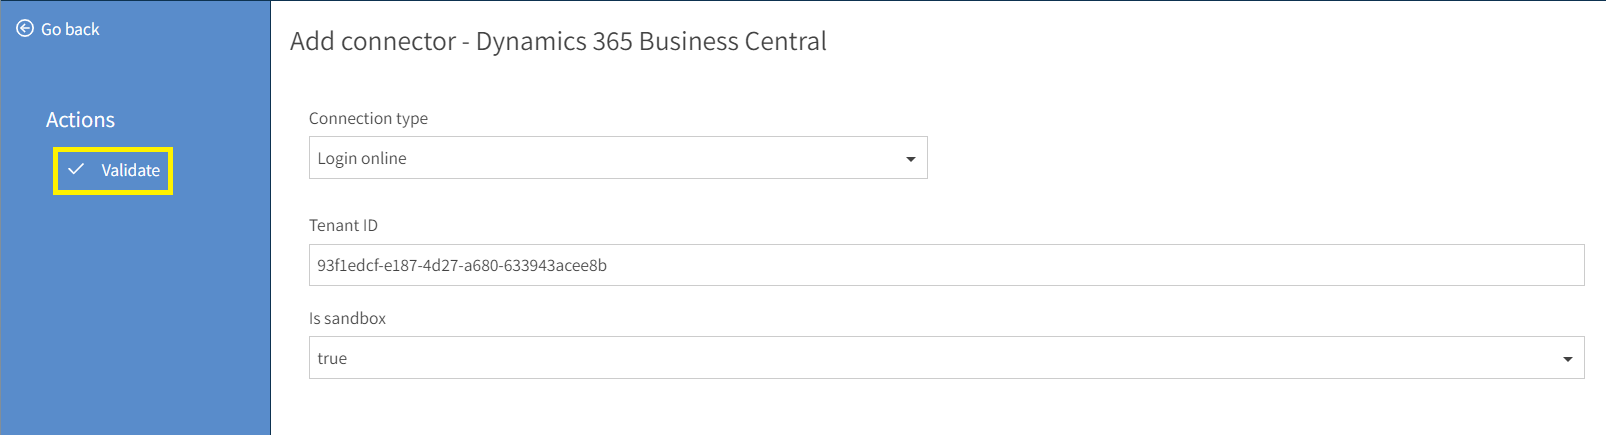
4. You will need the Tenant ID which can be found in your Dynamics 365 account. Use this article to find the Tenant ID in Dynamics 365 Business Central.
5. Paste the Tenant ID into the textbox.
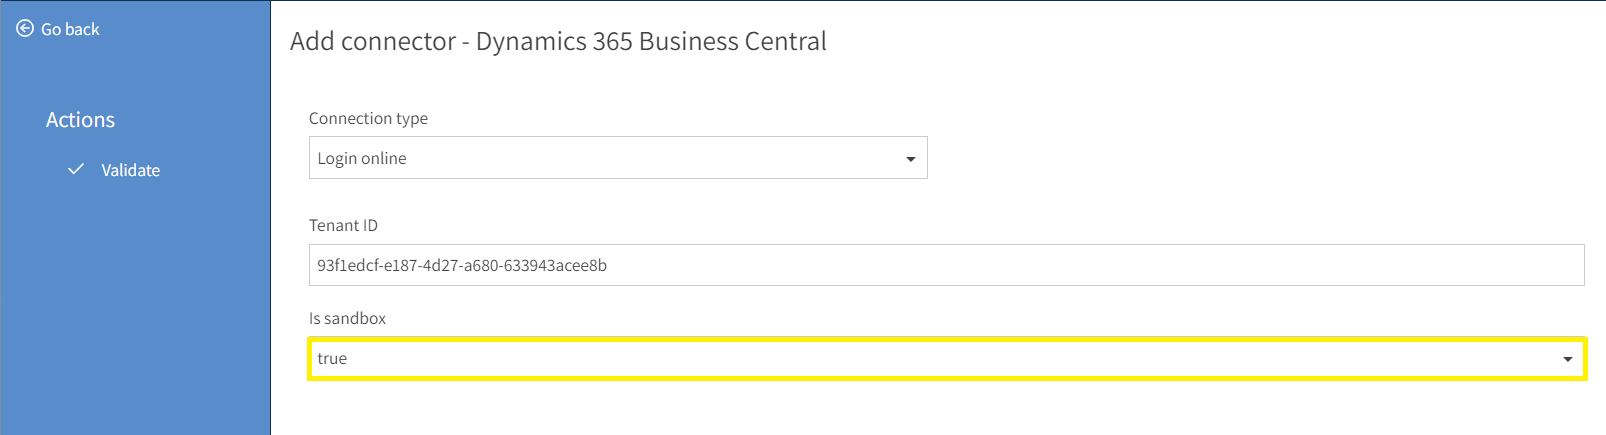
6. Choose an option for Is sandbox and select whether the environment you entered under tenant ID, is a sandbox or not. Select true if the environment is a sandbox environment and false if it is production.
7. Select the Validate button to test your connection information.
8. The validation process will load a browser window and prompt you to log into Business Central.

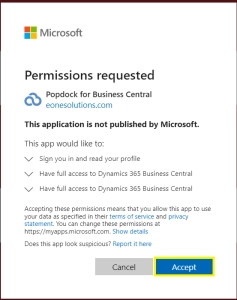
9. After entering your log in credentials, the permissions requested window will appear which grants permission for Popdock to connect to Business Central. Click Accept on the Permissions requested window.
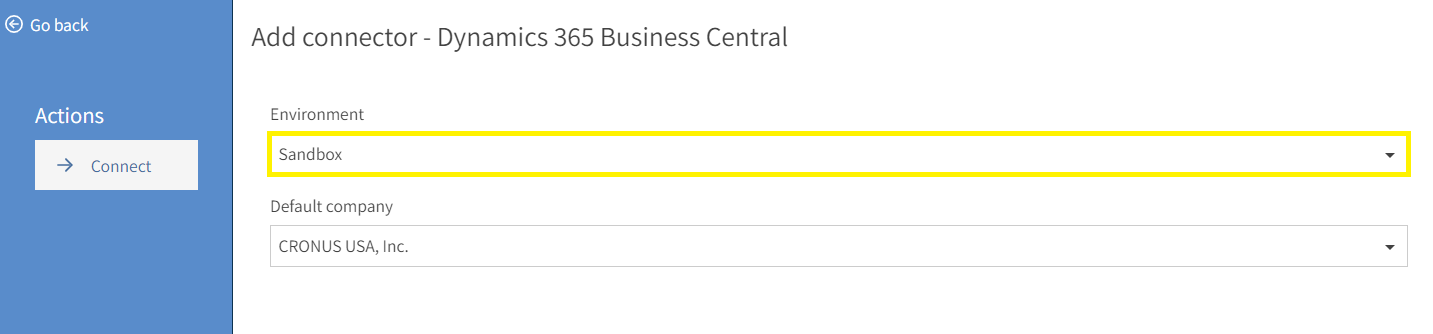
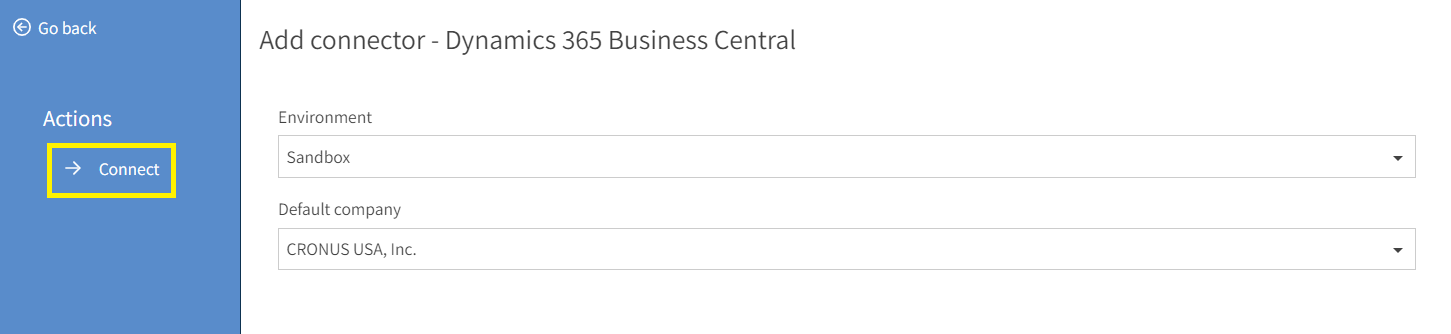
10. You will be directed back to the Add Connector page and two additional drop downs will be available. Use the Environment drop down to select the Business Central environment that is associated with the Tenant ID you are connecting to. Use this article to verify your environment type, Find the Tenant ID in Dynamics 365 Business Central.
11. Use the Default Company drop down to select which company should be the default if you have multiple companies in your environment. Use this article to verify your Business Central company information, finding your company information inside Business Central.
NOTE: All companies and their data will be imported. The default company option allows for selecting one that will be used as the default.
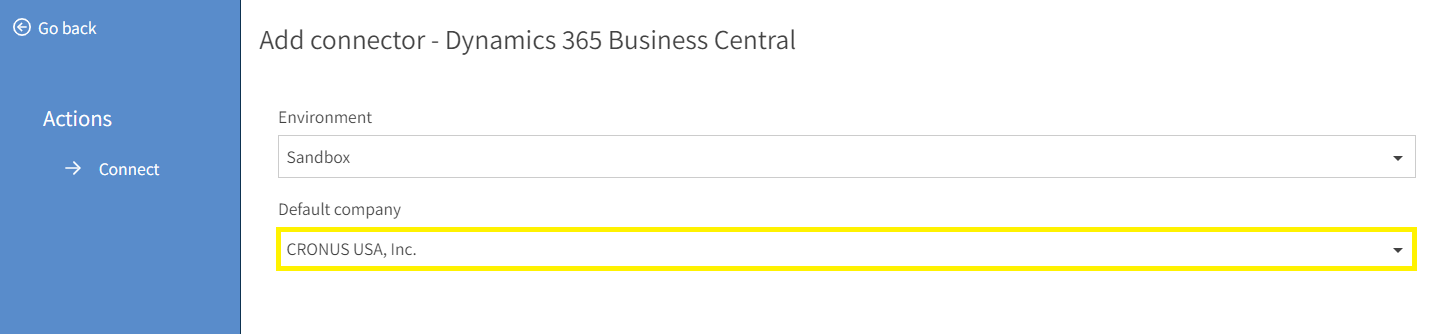
12. Select the Connect button to continue adding the Business Central Connector.
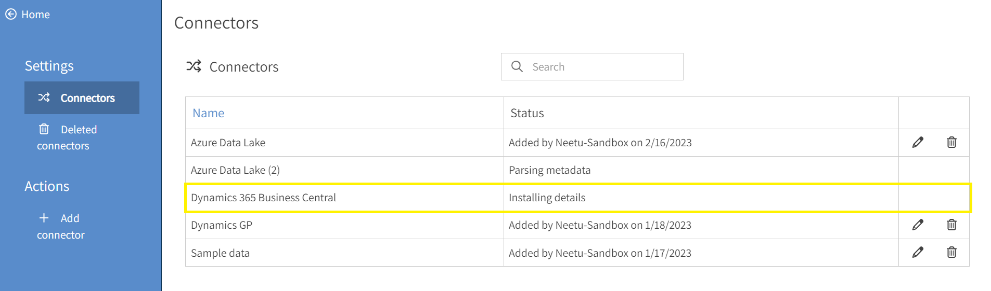
13. You will now see your connector installing and adding lists.
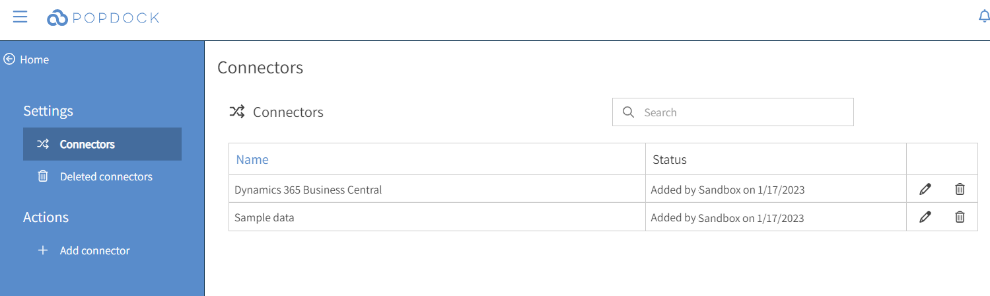
14. Once the connector has been added it will appear in the connector list.
Need further help with adding this connector? Email support@eonesolutions.com