Query Builder allows you access the Business Central tables and write queries at the database level without having to write a single line of AL code. Upon creating your query, you can then publish it as an extension directly into your Business Central Sandbox. In this article, we will create a Sales by Item query.
1. Click on the triple bar menu in the upper left corner of the Popdock homepage and then click on Connectors from the drop down menu.

2. Locate your Dynamics 365 Business Central Sandbox connector and click on the Pencil icon (Edit) to the right of the connector.

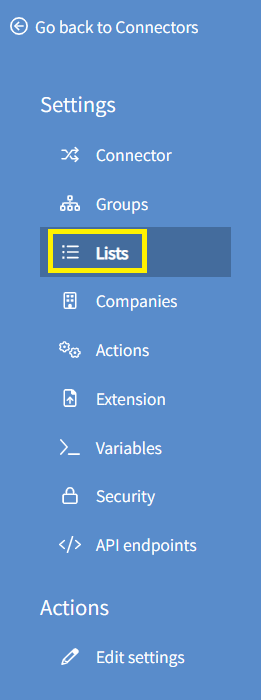
3. In the left settings menu, click on Lists.
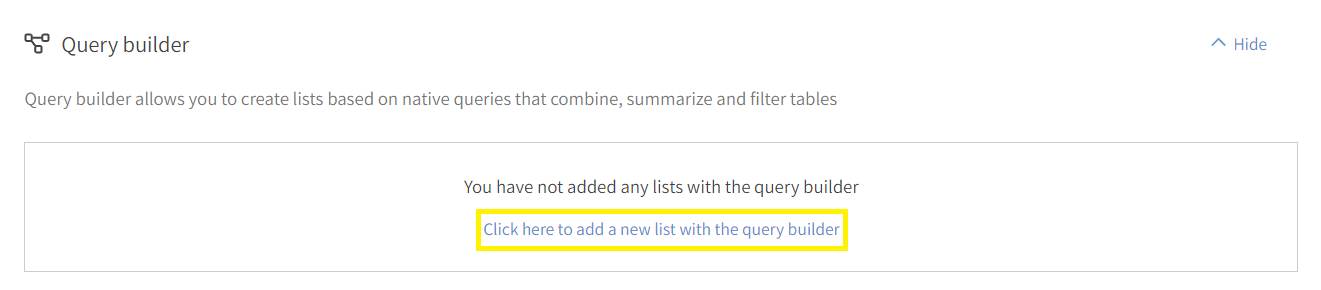
4. Scroll down to the Query builder section just below your lists. To start a new Query Builder list, select Click here to add a new list with the query builder.
5. With the available Name field, give your list a Name. Then press Tab on your keyboard. The fields of Item name, Item singular, API endpoint, and Group will populate. Complete these available fields.

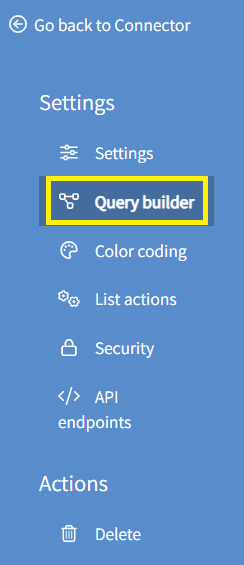
6. Click on Query builder in the left settings menu.
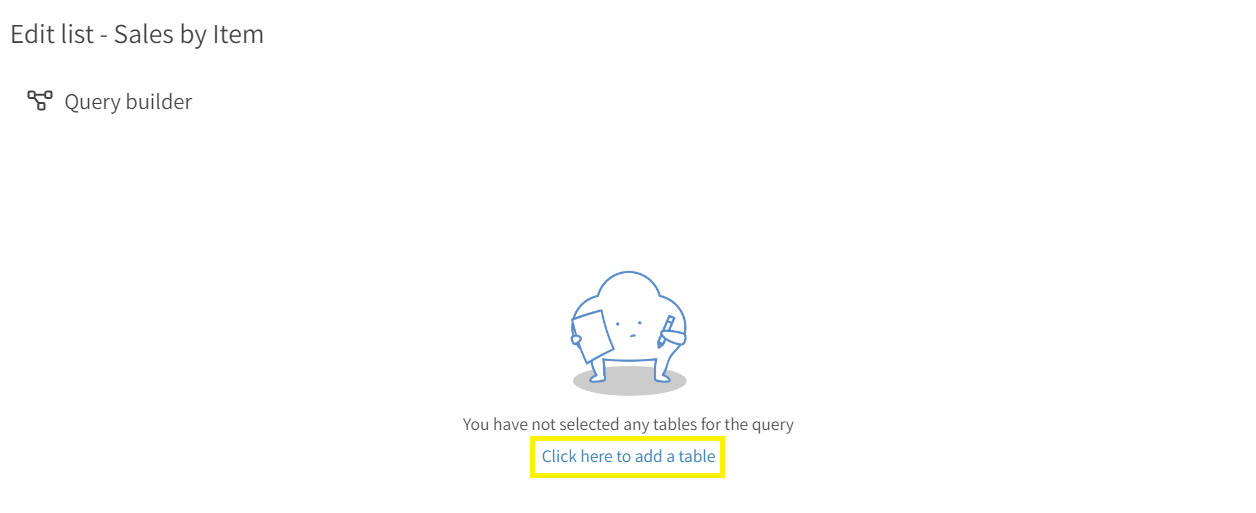
7. We will now use the visual builder to begin putting together our query. Select Click here to add a table to select your first table.
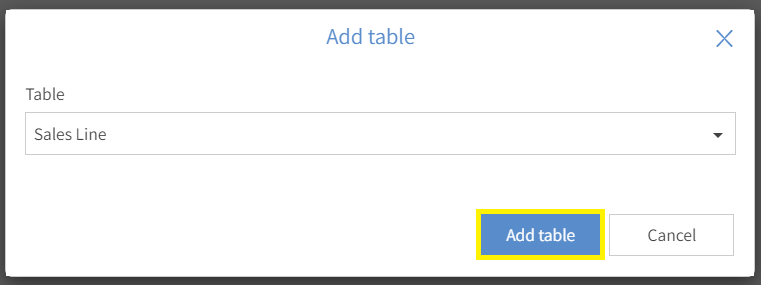
8. Use the Table drop down field to select your table. In this example, I have selected the Sales Line table.

9. With the table selected, click Add table.
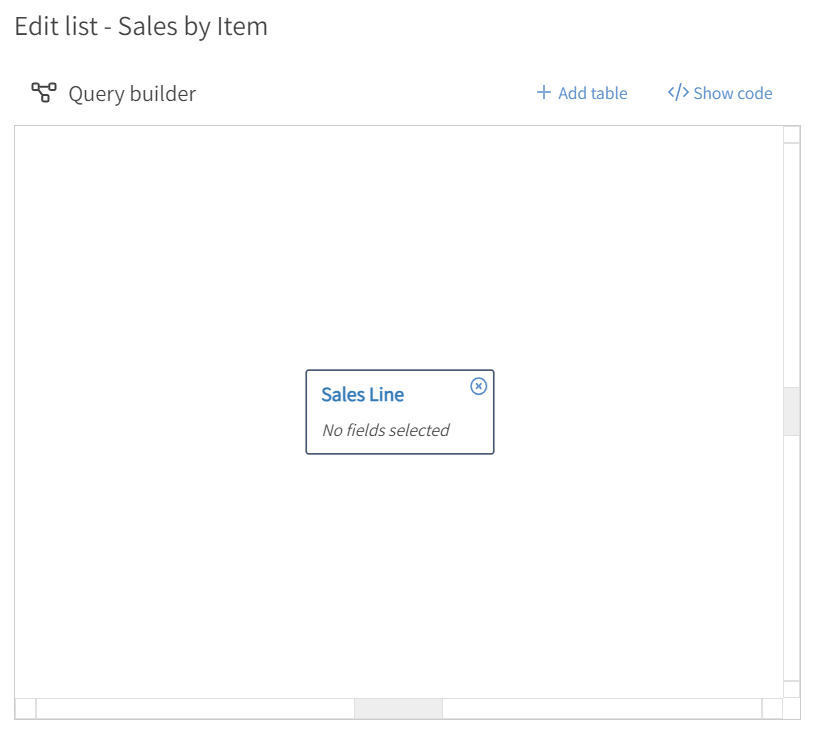
10. You will see the table you selected populated inside of the visual builder pane.
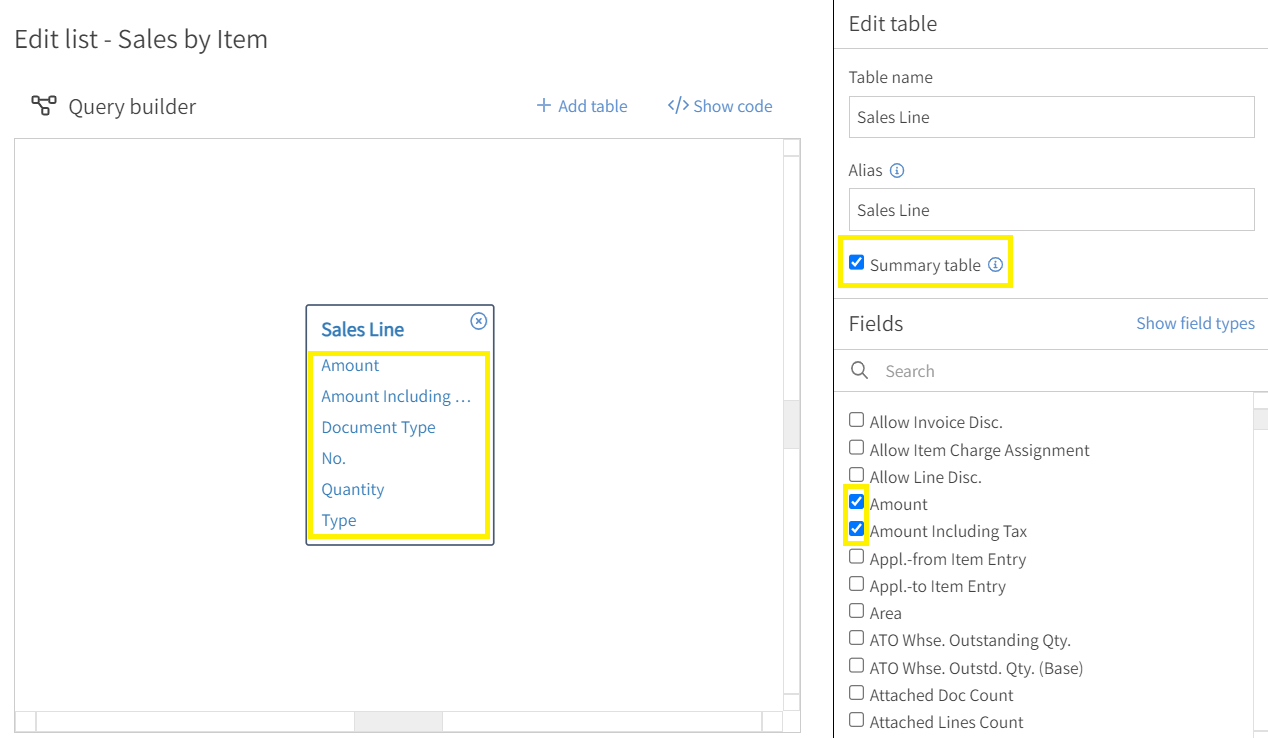
11. Click on the table name, in this case Sales Line. This will open the Edit table window. Under the Edit table window, select whether to make this table a Summary table or not, and then select which Fields to populate from this table by selecting the box next to each field. In this example, I will select the box next to Summary table, and will be grabbing the following fields: Amount, Amount Including Tax, Document Type, No., Quantity, and Type. Notice as you select each field, it will display under the table within the visual builder pane.
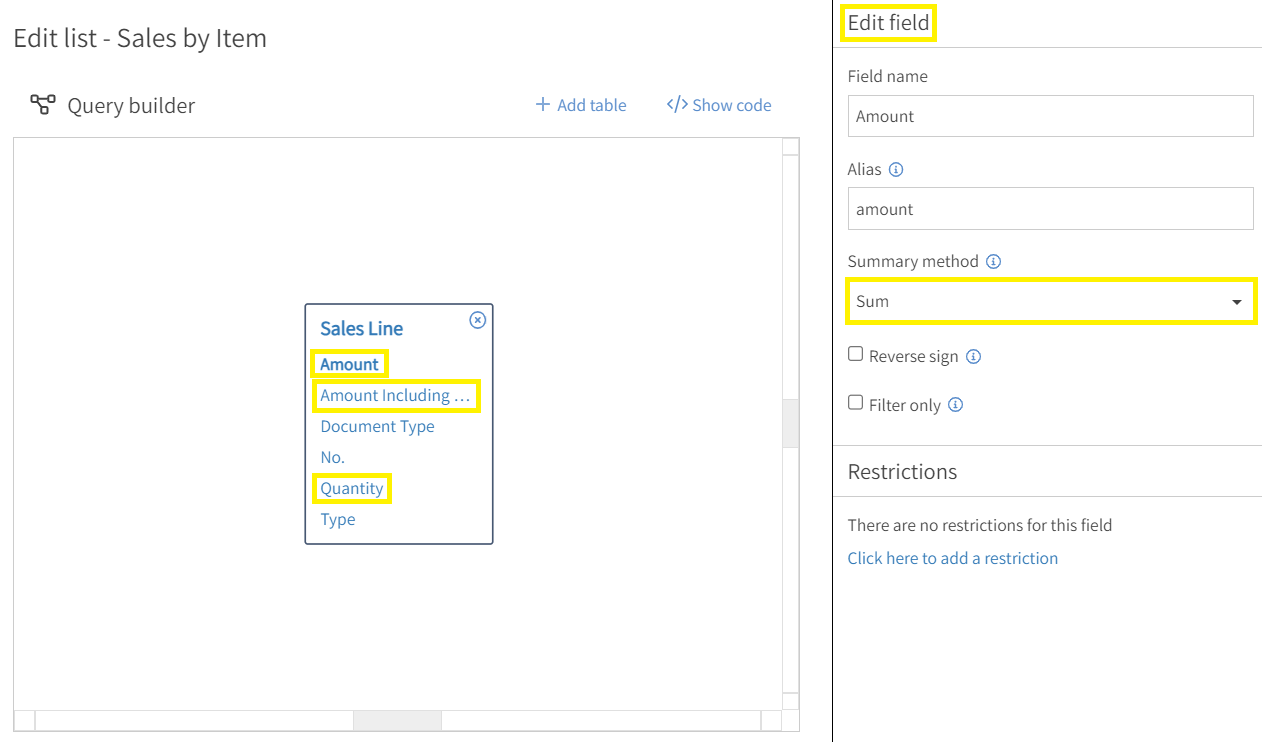
12. We can further optimize the query by selecting Summary Methods for our fields and placing Restrictions on our fields. To customize a field, select the field within the visual builder pane, this will display the Edit field window on the right side of the page. In this example, I will start by using the Summary method drop down field to select Sum for the following fields: Amount, Amount including Tax, and Quantity.
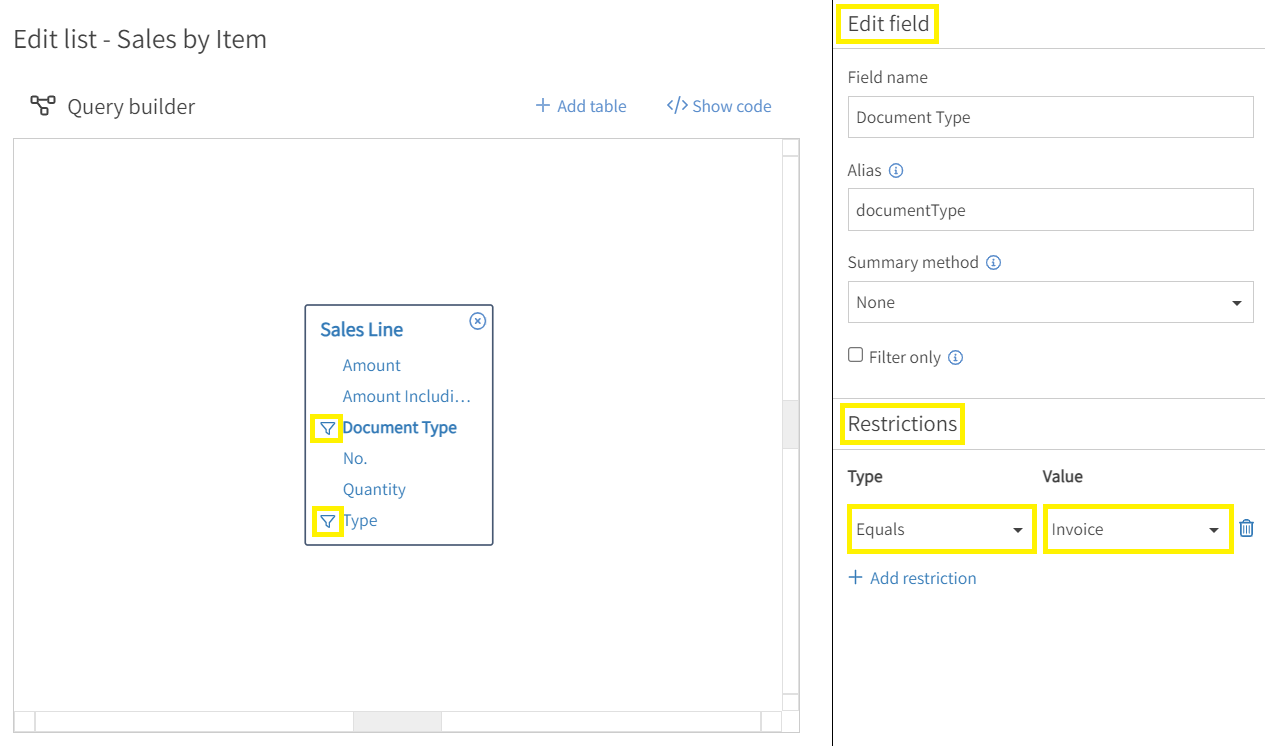
13. Now we will add our Restrictions to our fields. Click on the field(s) you want to add a restriction to within the visual builder pane. This will open the Edit field window. To add a restriction, select the Click here to add a restriction link under Restrictions. In this example, I will be placing a Restriction on the Document Type field to equal Invoice and the Type field to equal Item. You will notice a small Filter icon will display next to the field once a Restriction is placed.
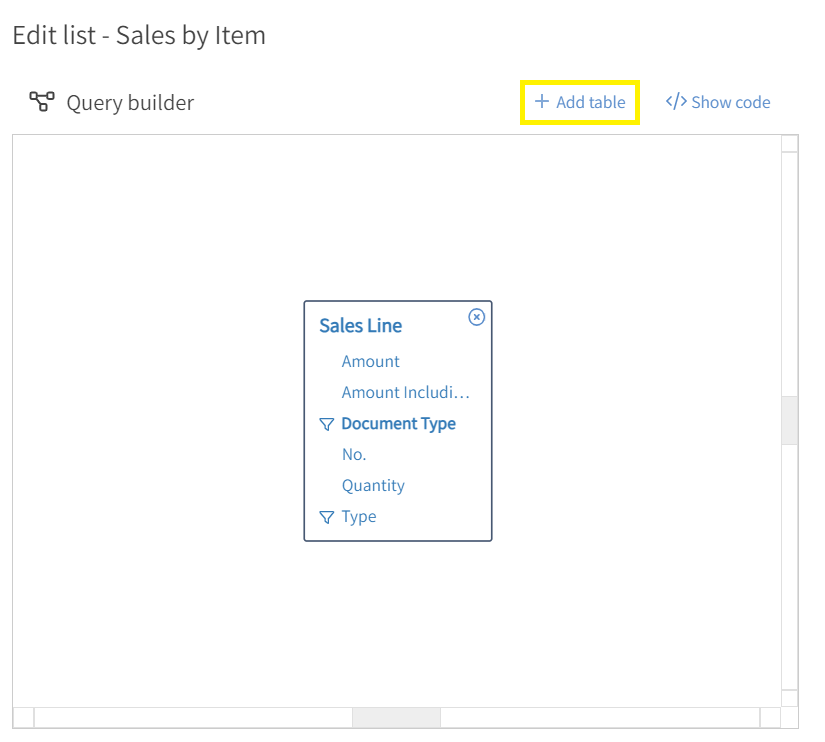
14. We will join another table to the Sales Line table and select additional fields. To add a new table, click + Add table.
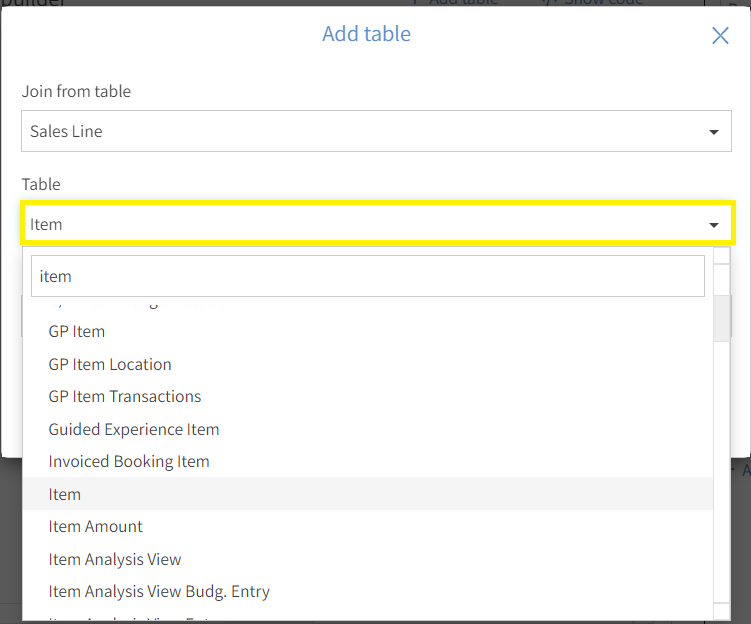
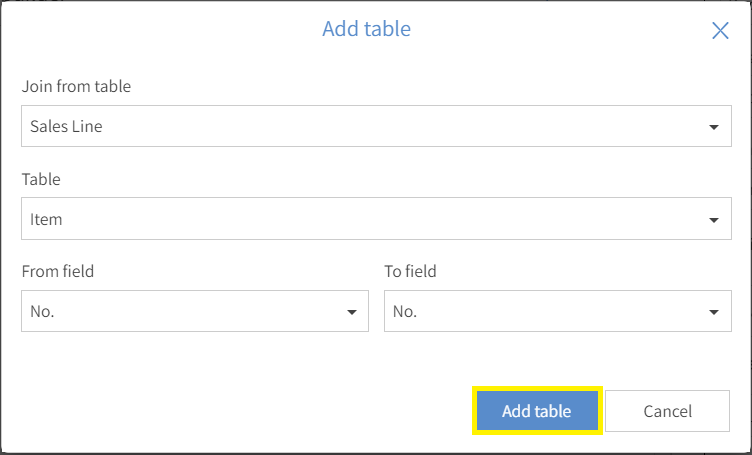
15. Your initial table will be populated in the Join from table drop down. Using the Table drop down, select the table you want to join. In this example, we will select the Item table.
16. Use the From field and To field to select the fields from the respective tables that will be joined. In this example, we select the No. field in both the From field and To field drop down menus.
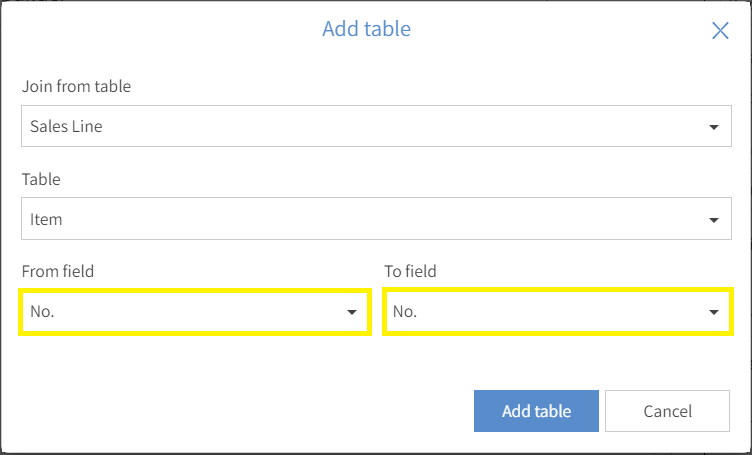
17. With the tables and fields selected, click Add table.
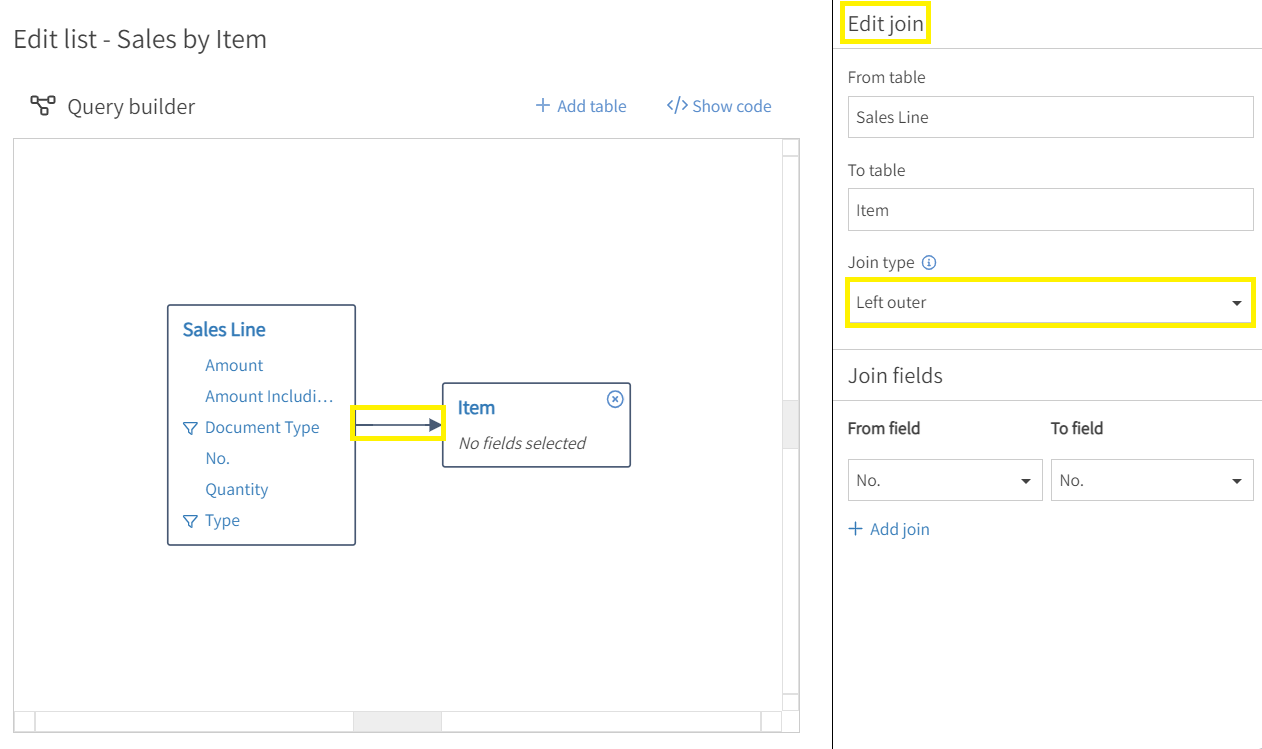
18.The new table will populate within the visual builder pane. By clicking on the Arrow between the two tables, you can open the Edit join window. Within this window, you can customize the Join type using the available drop down (all five join types are available: Inner, Left outer, Right outer, Full outer, and Cross join). In this example, will keep the Left outer join.
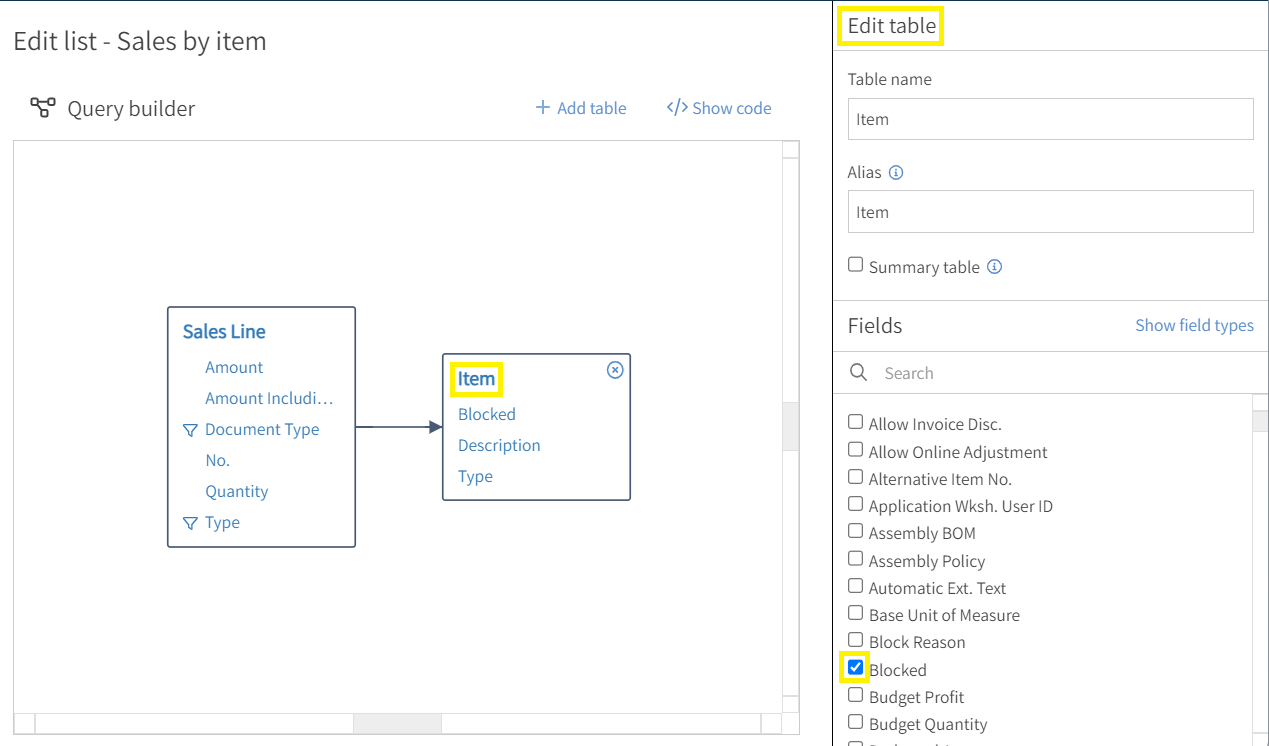
19. We will now select the fields we want to grab from the Item table. By clicking on Item within the visual builder pane, the Edit table window will open. We will select the following fields from this table: Blocked, Description, and Type. Once selected, the fields will populate under the table name in the visual builder pane.
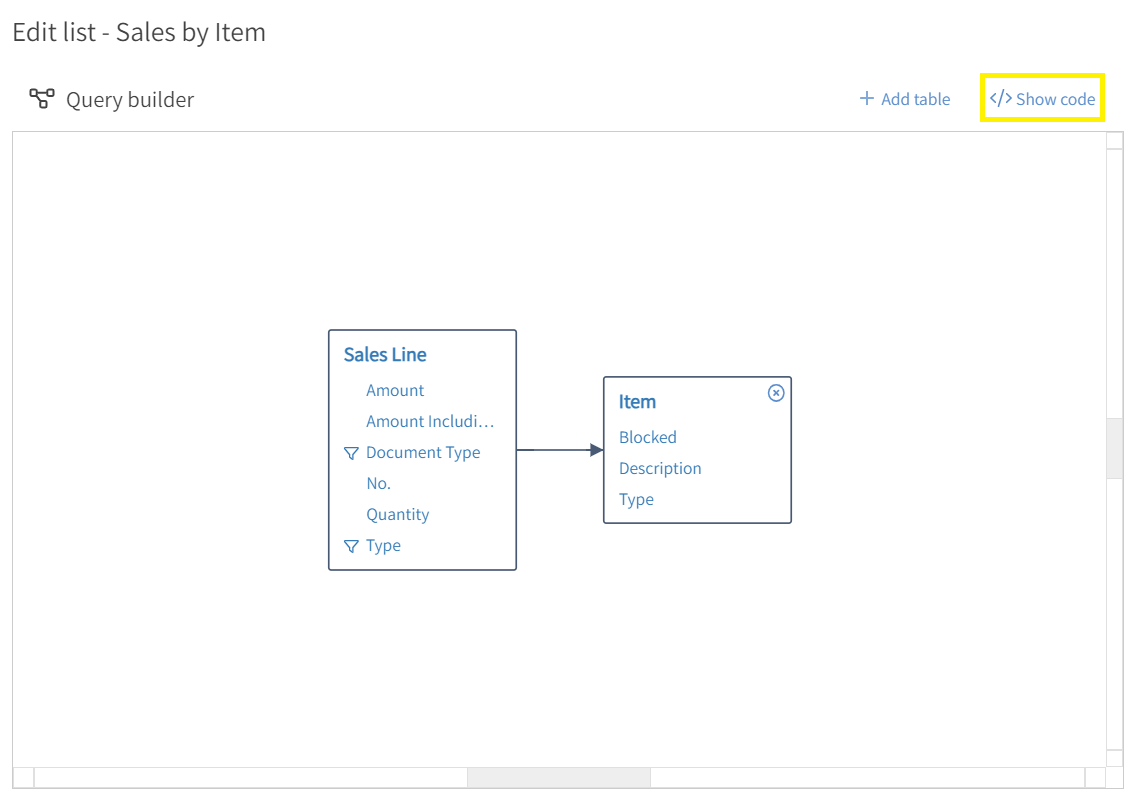
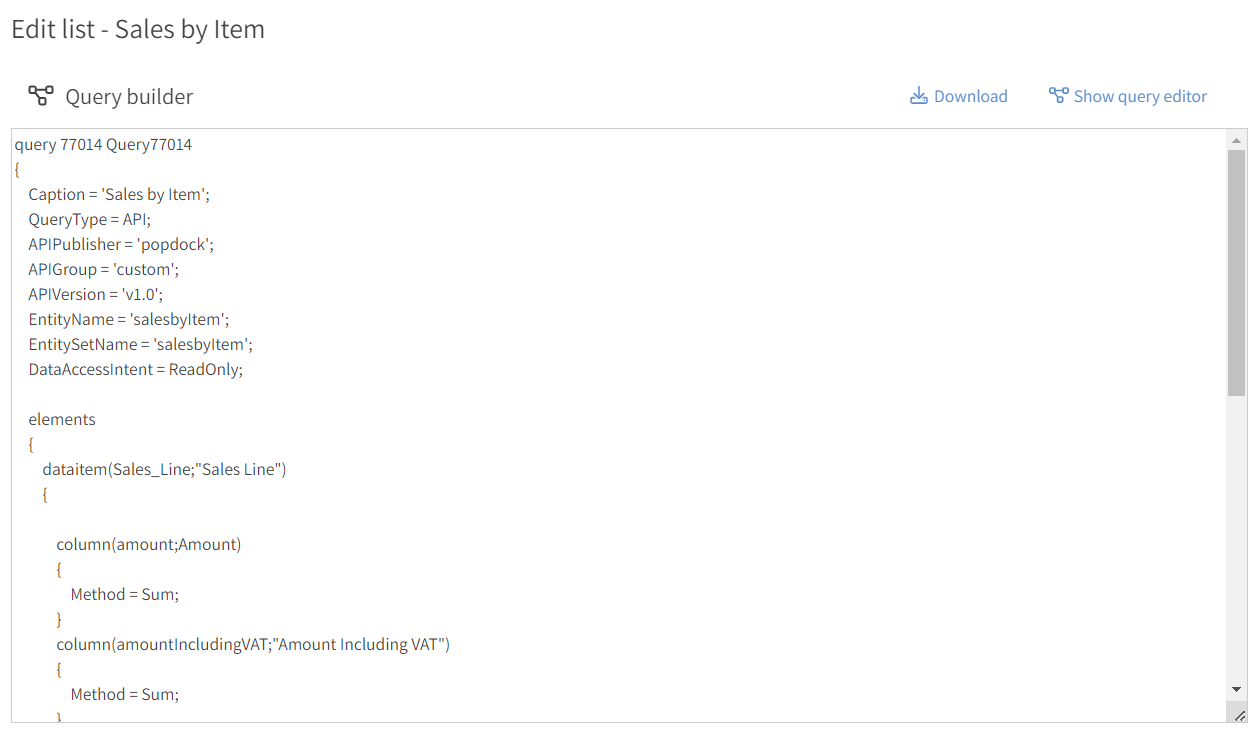
20. At this point our query is complete. (OPTIONAL) By selecting </> Show code, we can view the AL code for this extension.
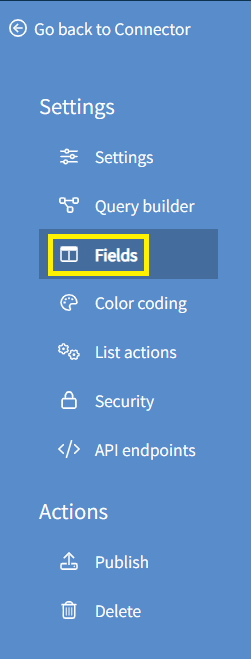
21. Click on Fields in the left Settings menu.
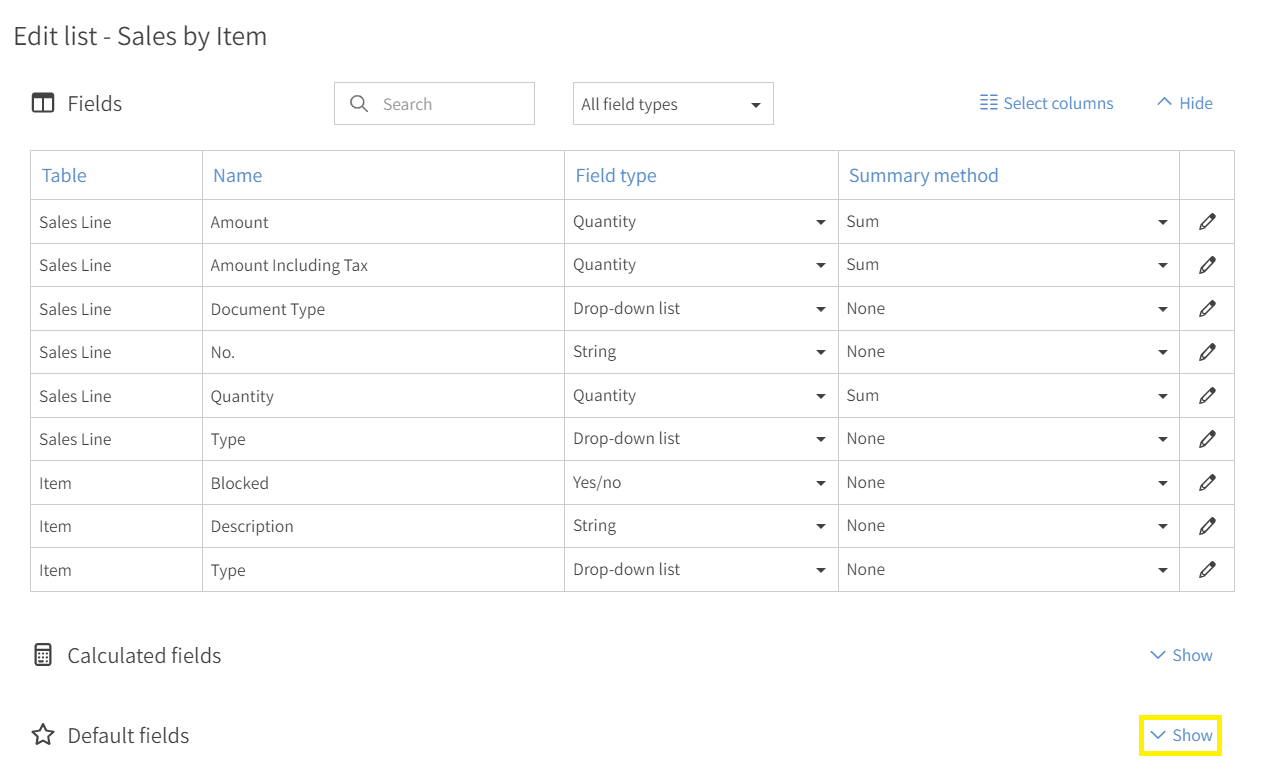
22. Here we can make any changes to the fields we selected within our query, such as changing the Name of the field, the Field type, or the Summary method. In this example, we do not need to make any changes to the fields. Scroll down on the page to the Default fields section and click Show on the right side of the page.
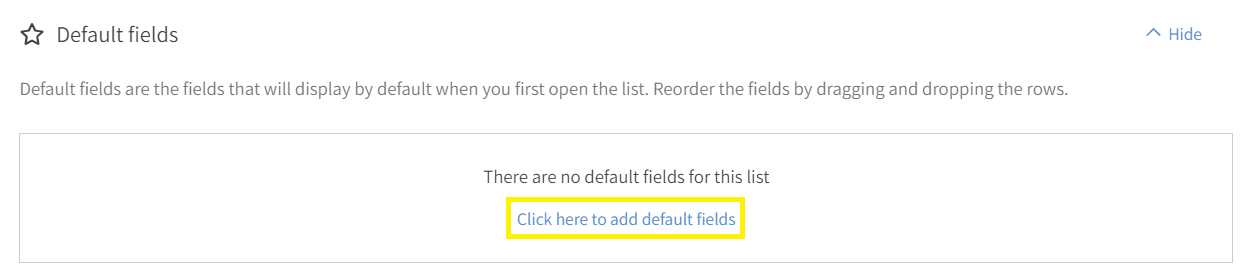
23. Select the link that reads Click here to add default fields.
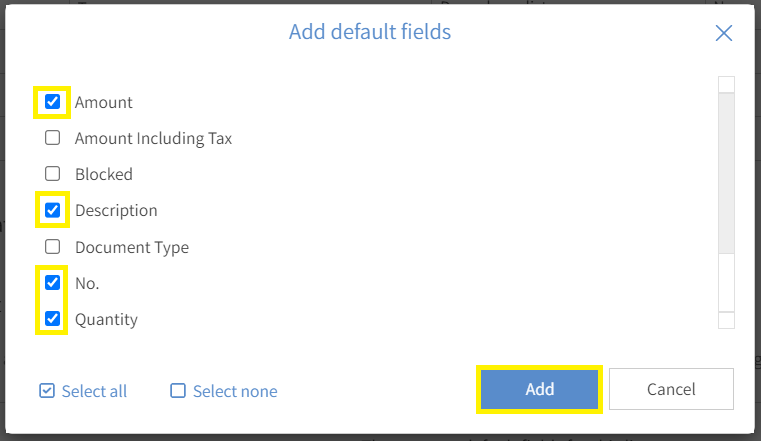
24. You can click the box next to the fields that you want to be the Default fields of the list. For this example, we will select the following fields: Amount, Description, No., and Quantity. With the fields selected, click Add.
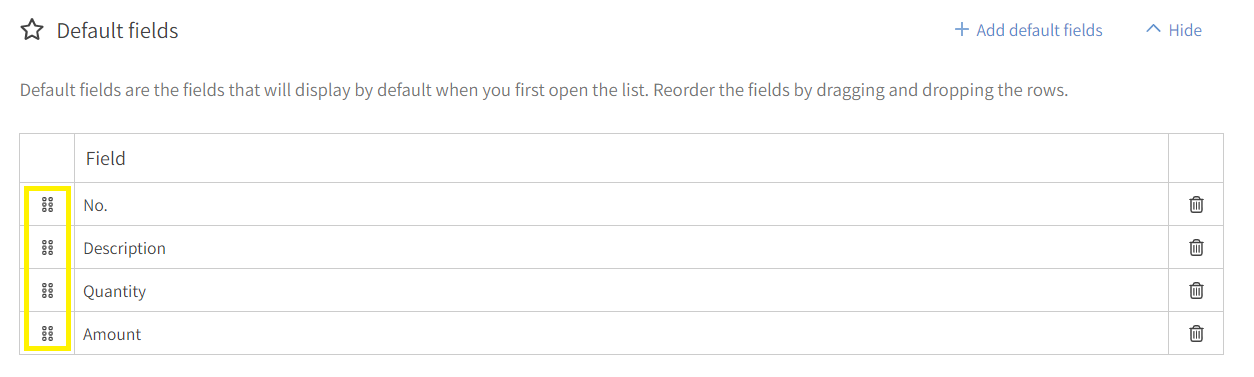
25. The selected fields will display in the Default fields section. You can use the Six Pack icon to the left of each field name to drag and drop the fields in the order you want them presented.
26. With our Default fields in place, our query is ready to publish. Click on Publish under the left Actions menu.

27. The Publishing window will populate.
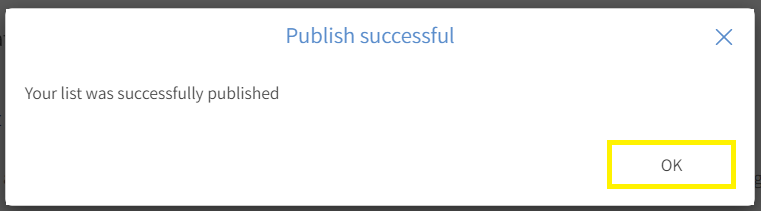
28. If successful, the Publish successful window will display. The query is now published as an extension into your Business Central Sandbox and a Popdock list is now available. Click OK.
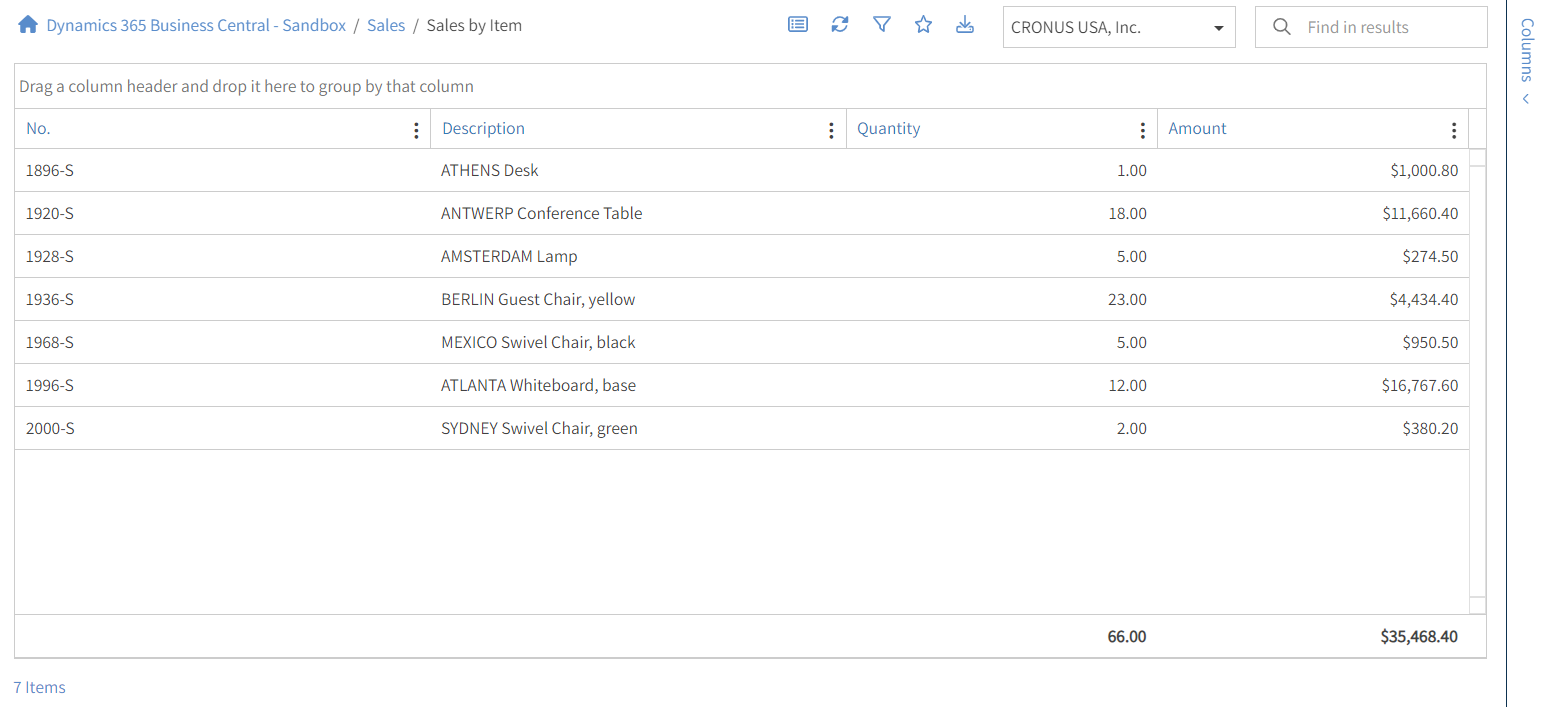
29. Navigate back to the Popdock homepage and add a new tab to display your Query Builder list.
To learn how to promote your Query Builder extension from your Sandbox to Production environment. Visit Promoting an Extension from a Business Central Sandbox to Production.
If you have questions on how to create a Query Builder list, contact support@eonesolutions.com.