The Mailchimp connector gives you access to all of your campaign and subscriber data.
To add a Mailchimp connector in Popdock you will need your Mailchimp Datacenter and an API Key. We will start by showing where to find those within your MailChimp account.
How to find your Mailchimp Datacenter and API Key:
1. From within your Mailchimp homepage, click your Account icon (your initial) in the upper right corner of the page and select Profile from the drop down menu.

2. Click on Extras in the Toolbar menu and select API keys from the following drop down menu.

3. You will be directed to the API keys page. Scroll down to the section that says Your API keys. Any API keys that you have created will be listed in this section.
Your Mailchimp Datacenter is located at the end of your API Key within Mailchimp. You will want to enter it into Popdock with the format of: -(Region’s Abbreviation)(Numbers). In the below screenshot, the Mailchimp Datacenter is -us21.

4. With Mailchimp’s security, if you do not have your API Key written down or saved somewhere, you will not be able to view it again. In that scenario, you can create a new API key. To do so, click on Create a Key.

5. Use the API Key Name field to give your new API Key a name. Then click Generate Key.

6. Your new API Key will display. You can click the Copy to Clipboard to copy your new key.

7. With your API Key and Mailchimp Datacenter identified, navigate back to Popdock to begin adding your Mailchimp connector.
How to add a Mailchimp connector:
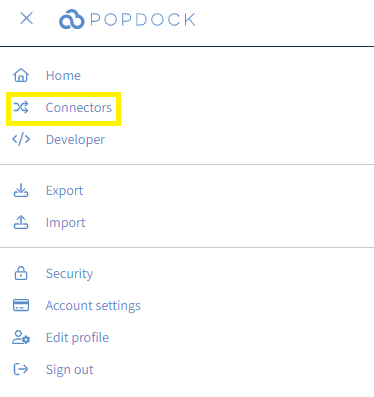
1. From the Popdock homepage, click the triple bar menu in the upper left corner of the page and select Connectors from the drop down menu.
2. Select the +Add connector button under Actions.

3. Select the Mailchimp connector from the list of connectors.
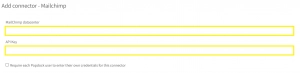
4. On the Add connector – Mailchimp page, use the available fields to enter in your MailChimp datacenter and API Key.
5. With your MailChimp datacenter and API Key entered, click Validate under the left Actions menu.

6. Once validated, click Connect in the left Actions menu.

7. You will be taken to your list of your connectors where your Mailchimp connector will begin installing. Once complete, your Mailchimp connector will be available within your list of connectors and ready to use.

Need further help with adding your Mailchimp connector? Email support@eonesolutions.com