How to add a Dynamics NAV Connector:
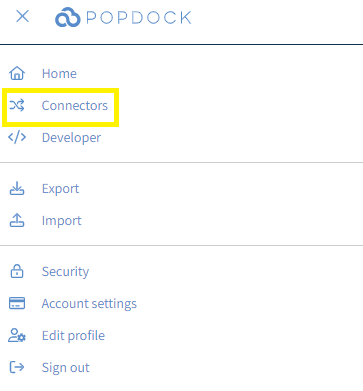
1. Inside Popdock, click the triple bar menu in the upper left corner, and select Connectors from the drop-down menu.
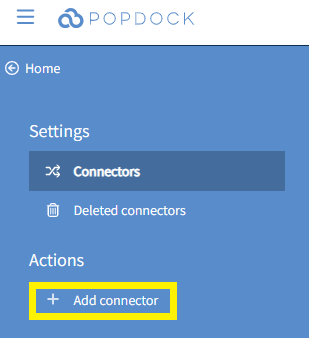
2. Select the +Add connector button under Actions.
3. Select the Dynamics NAV connector from the list of connectors.
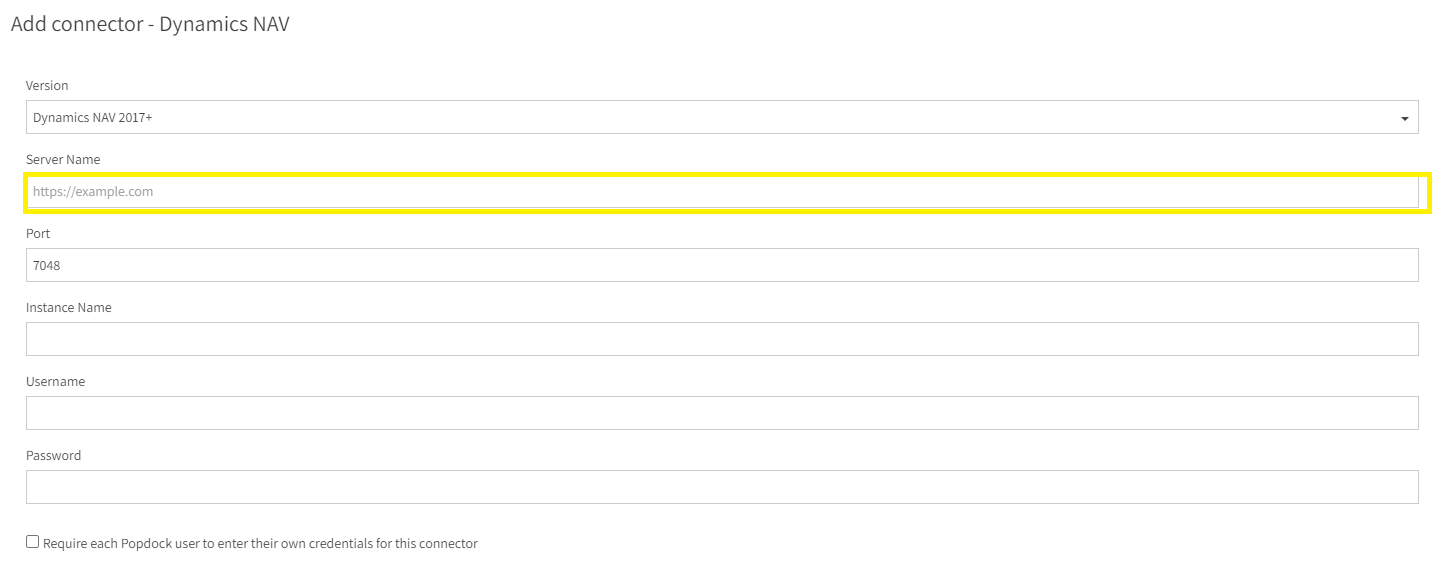
4. On the Add connector – Dynamics NAV page, click the Version drop down and select whether your NAV version is Dynamics NAV 2013-2016 or Dynamics NAV 2017+.
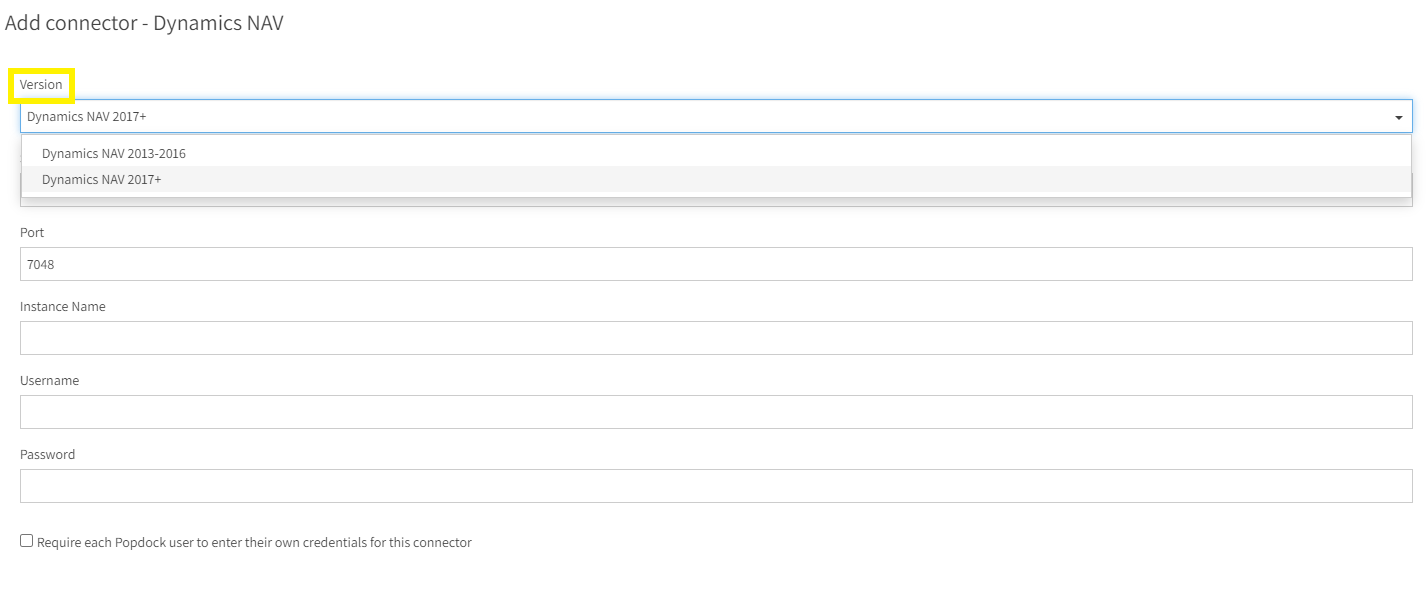
5. Using the Server field, enter the server name that is running your Microsoft Dynamics NAV Server.
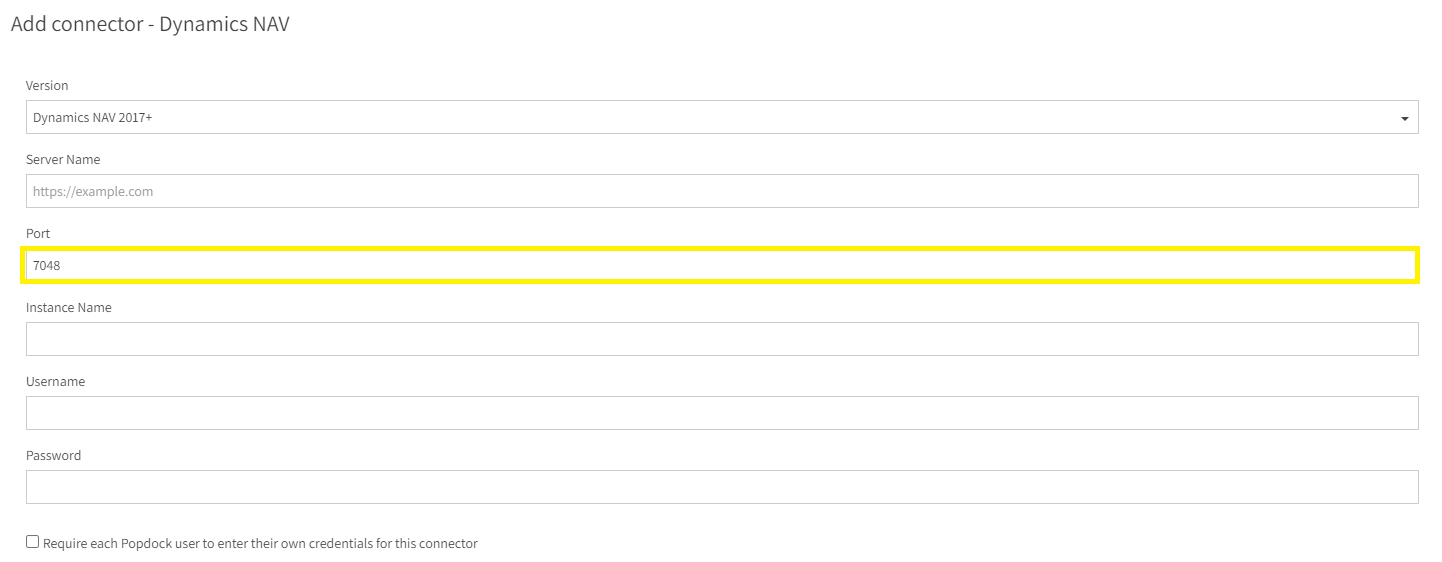
6. Enter the Port being used by your OData Web Services. If on Microsoft Dynamics NAV 2018 CTP 10 or later, this is the port that OData V4 is running on, which the default port is 7048.
7. Enter the Instance Name which is the name of the name of the Microsoft Dynamics NAV Server instance for your solution.

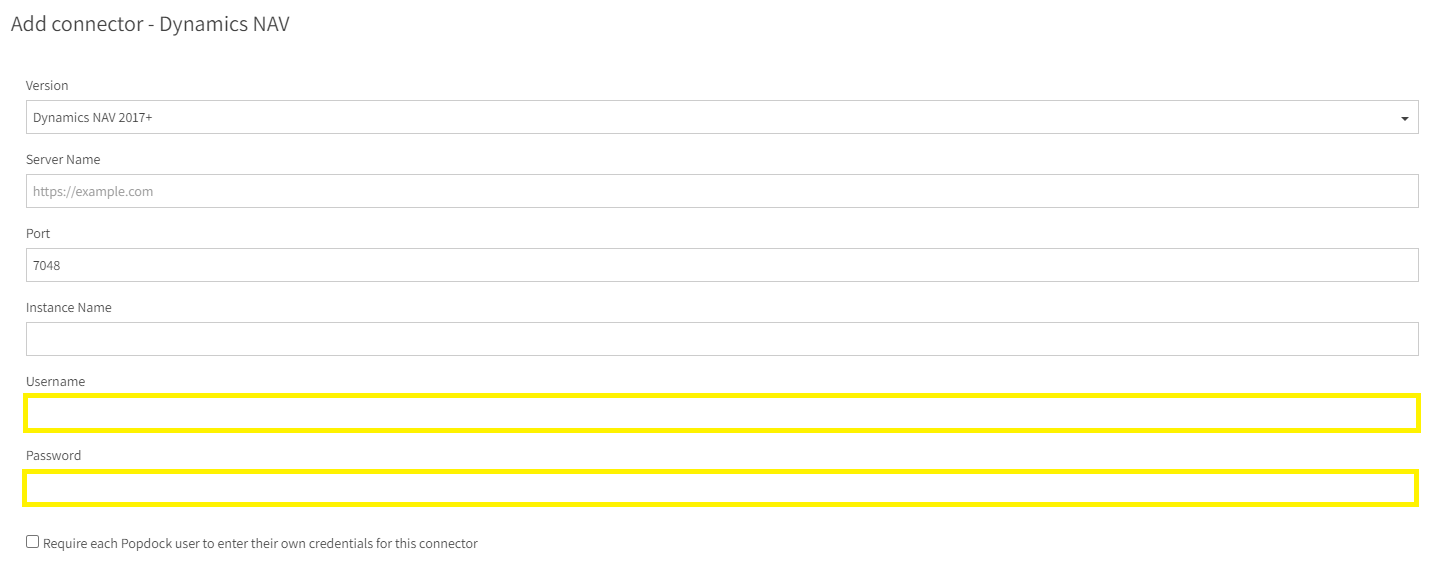
8. Lastly, enter in the Username and Password credentials for the web service user. The credentials do not need administrative privileges.
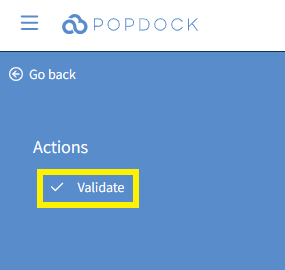
9. Once all fields are complete, click Validate under the left Actions menu.
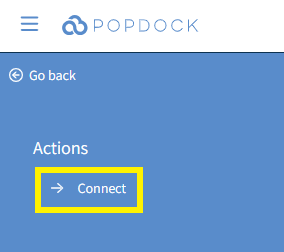
10. Once validated, hit Connect under the left Actions menu.
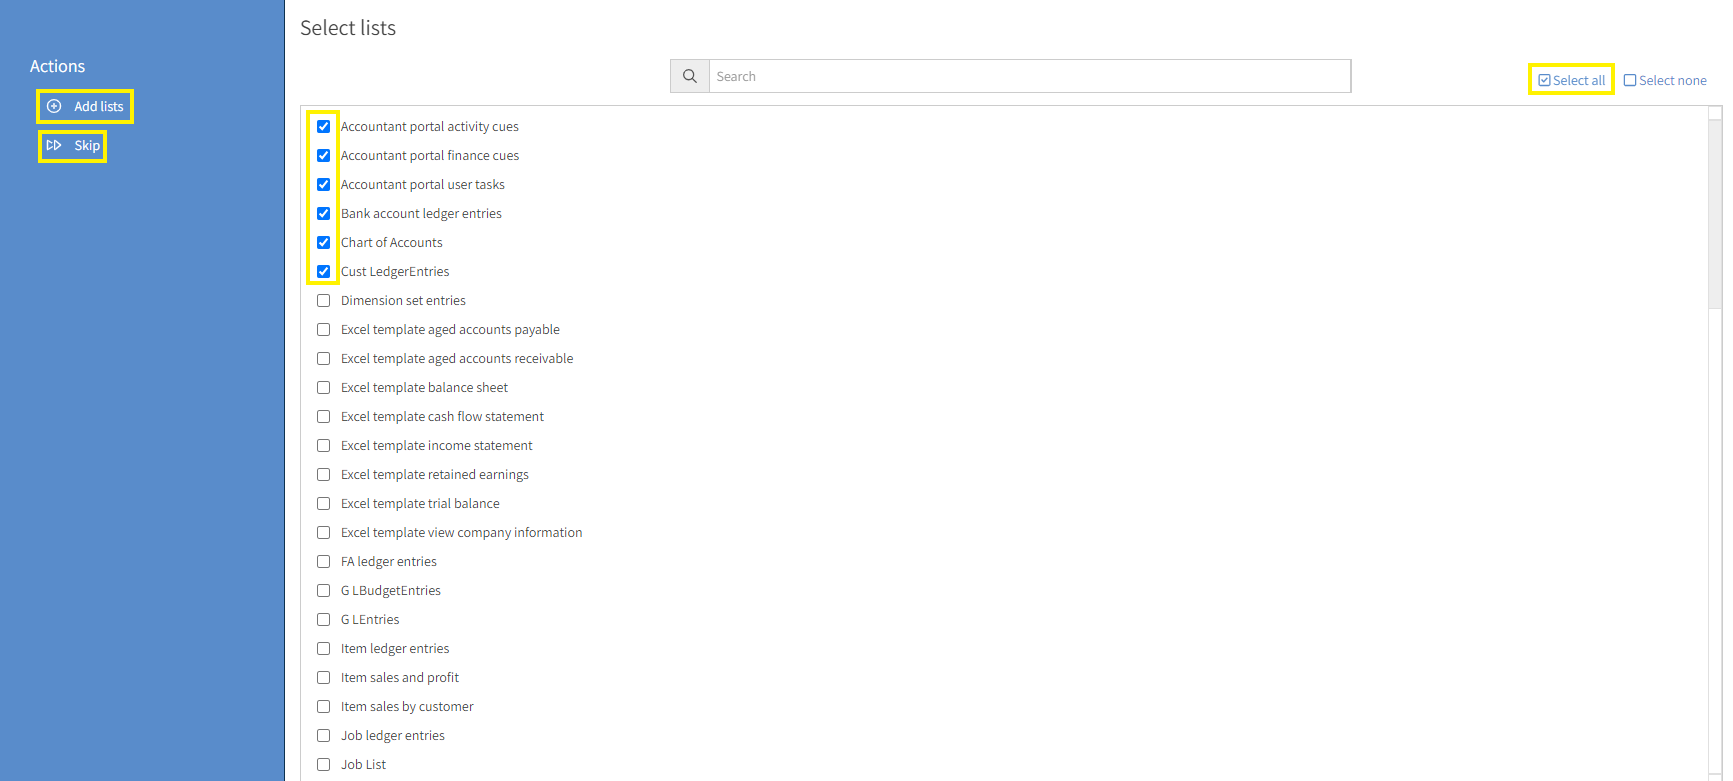
11. You will be directed to the Select lists page. You can select individual lists to add to your Dynamics NAV connector initially by clicking the box next to each list, Select all which will select all lists, or click Skip to add lists later. Once you have selected your lists, click Add lists.
12. You will be redirected to your list of connectors, and once the lists get added to the connector your Dynamics NAV connector will display and be available to use.

Having trouble adding this connector? Email support at support@eonesolutions.com