How to add a Dynamics SL Connector:
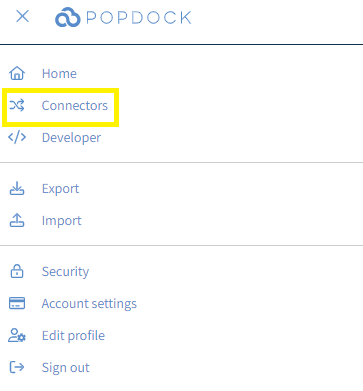
A) Inside Popdock, click the triple bar menu in the upper left corner, and select Connectors from the drop-down menu.
B) Click the + Add Connector button from the Settings Menu on the left side of the page and select Dynamics SL from the list of connectors.
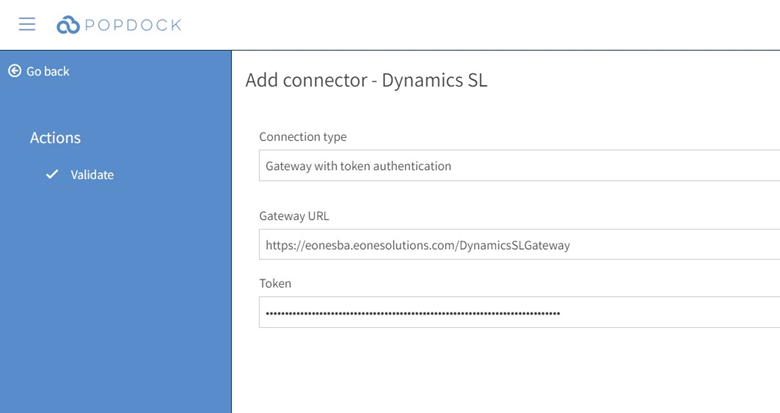
C) Use the Connection type drop down menu to select the connection type you choose during your SL Gateway setup (Token or Basic Authentication) or select SQL Server login if you did not install the SL Gateway.
· Gateway with Token Authentication: In the Gateway URL field, choose the URL that was used in IIS, then use the Token created during setup.
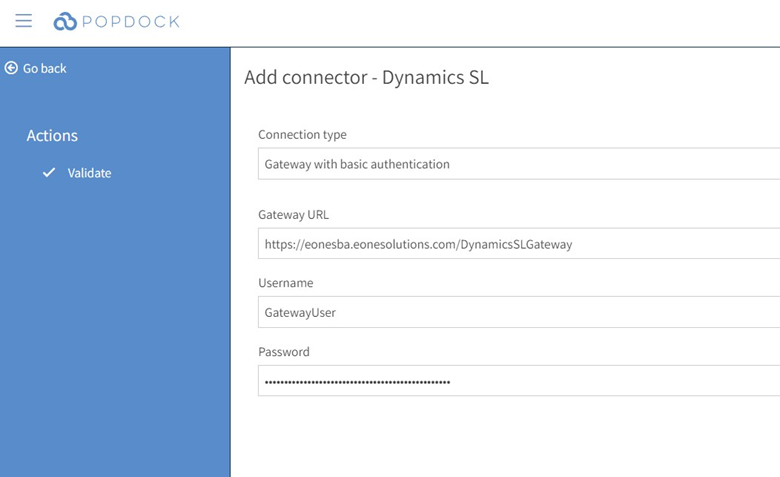
· Gateway with Basic Authentication: In the Gateway URL field, choose the URL that was used in IIS, then use the Username and Password that created during set up.
· SQL Server login: Use the available fields to enter your information for your SQL Server, Port, Database, and Username and Password.
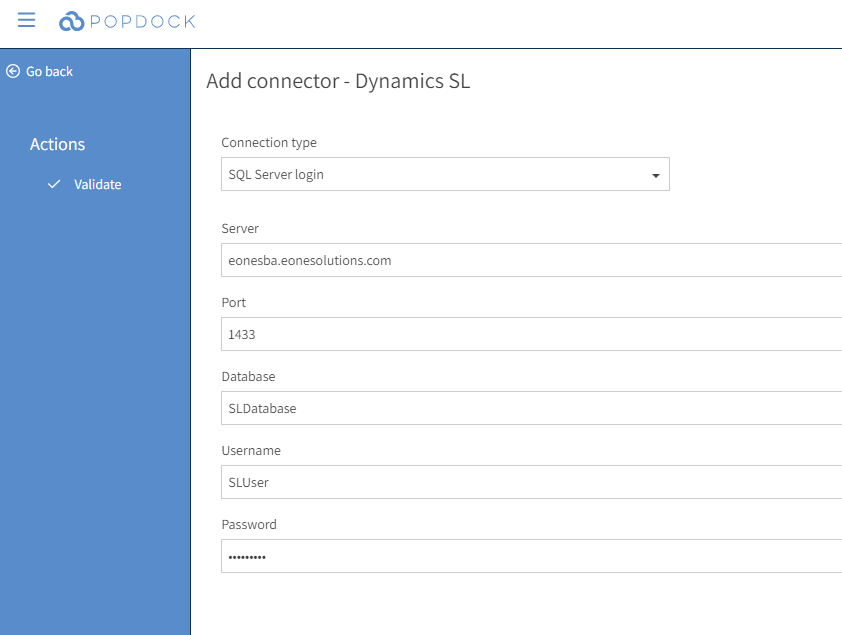
D) Select the Validate button from the Action menu to ensure that Popdock can connect to the SL Gateway.
E) Select the Connect button from the Action menu to start the process of creating the Dynamics SL lists in Popdock.
Having trouble adding this connector? Email support@eonesolutions.com