How to add a Microsoft Dataverse Connector:
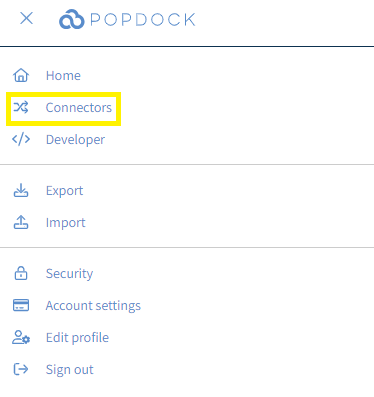
1. Click on the triple bar menu in the upper left corner of the Popdock homepage and select Connectors from the drop down menu.
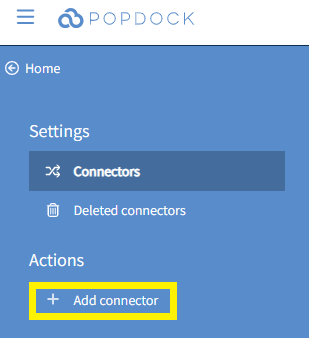
2. Select the +Add connector button under Actions.
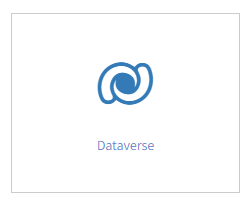
3. Select the Dataverse connector from the list of connectors.
4. In the Site Prefix field, enter your base Dataverse URL. Then click Validate.

5. Use the Sign in field to enter the email associated with your Dataverse account. Then click Next.

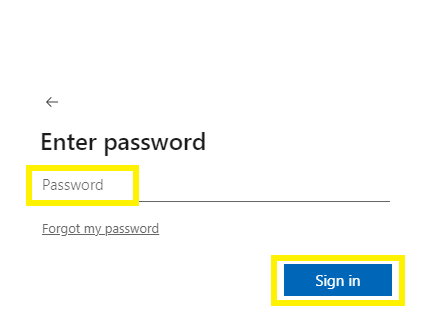
6. Enter the Password associated with your account. Then click Sign in.
7. Once validated, you will be redirected back to the Popdock Add connector – Dataverse page. Click Connect.

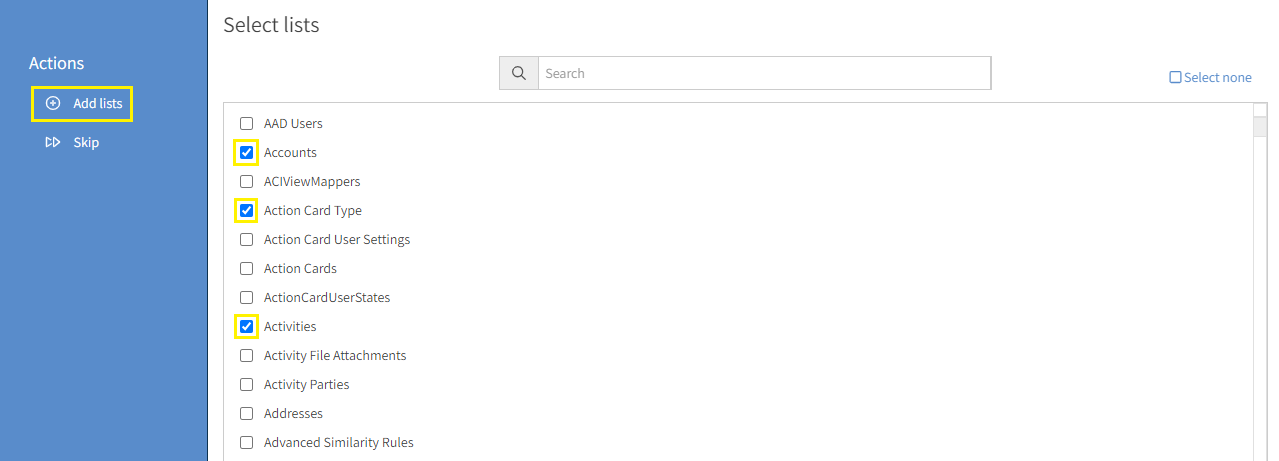
8. You will be prompted to recomplete steps 5 and 6. After entering your credentials, you will be directed back to Popdock to select which lists you want to add to your Dataverse connector initially. Click the box to the left of the individual lists to select your lists. Then click Add lists.
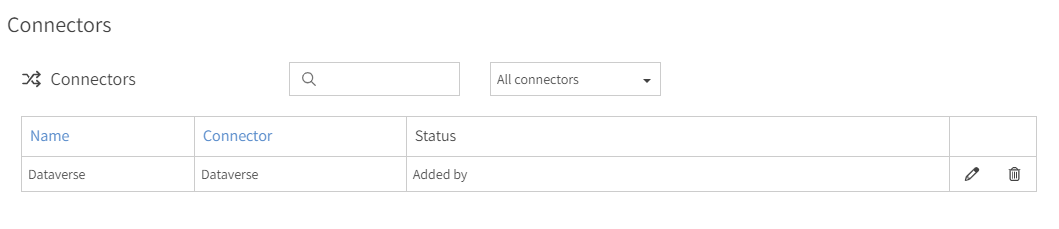
9. Once your Dataverse connector is installed, it will display in your list of Connectors.
Having trouble adding this connector? Email support at support@eonesolutions.com