How to add a Salesforce Connector:
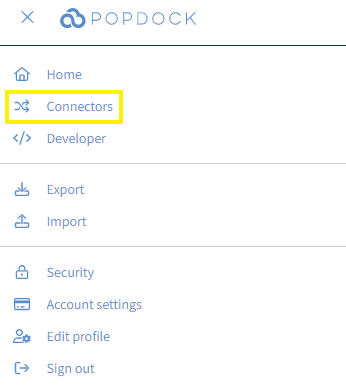
1. From your Popdock home page, click the triple bar menu in the top left corner and select Connectors from the drop down menu.
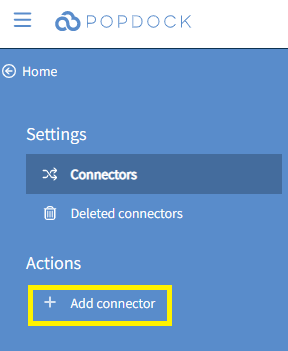
2. Select the +Add connector button under the actions menu.
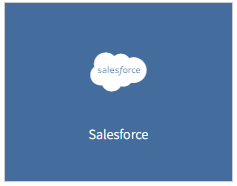
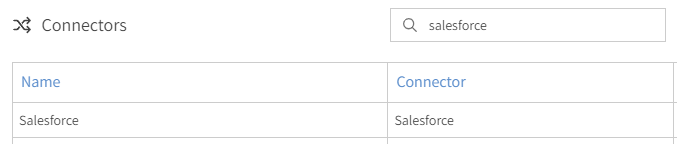
3. Locate and select the Salesforce connector from the list of connectors.
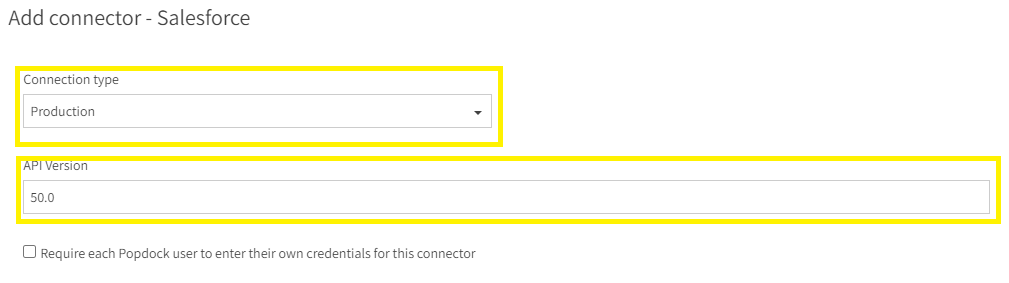
4 In the Add connector menu, select whether your environment is a Sandbox or Production from the Connection type drop down menu and input your API Version. To determine your Salesforce API version, visit how to Identify your Salesforce Edition and API Version.
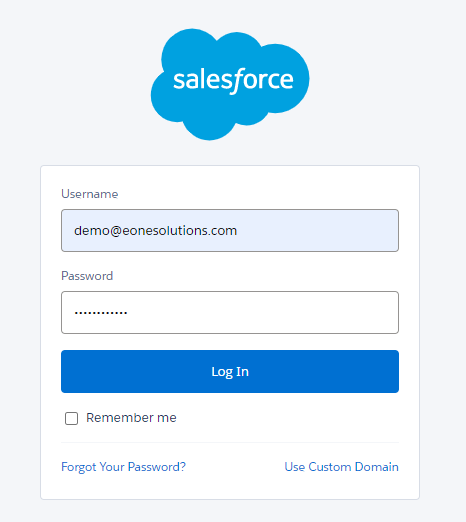
5. After making your selections, hit Validate under the Actions menu. You will be redirected to a Salesforce log in page to log into your Salesforce account. Enter your Salesforce Username and Password.
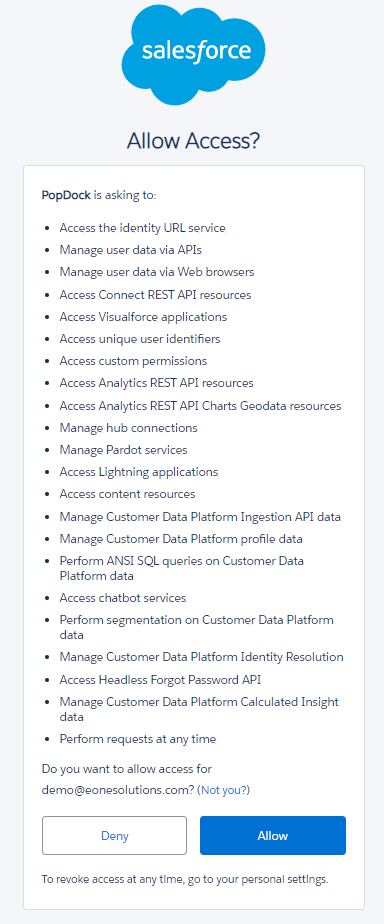
6. You will receive the following prompt asking if you want to allow access to Popdock. Select Allow.
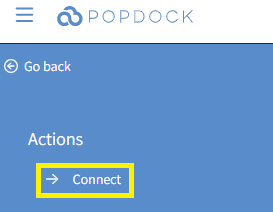
7. You will be redirected to the Add Connector – Salesforce page in Popdock. Next click Connect from the Actions menu.
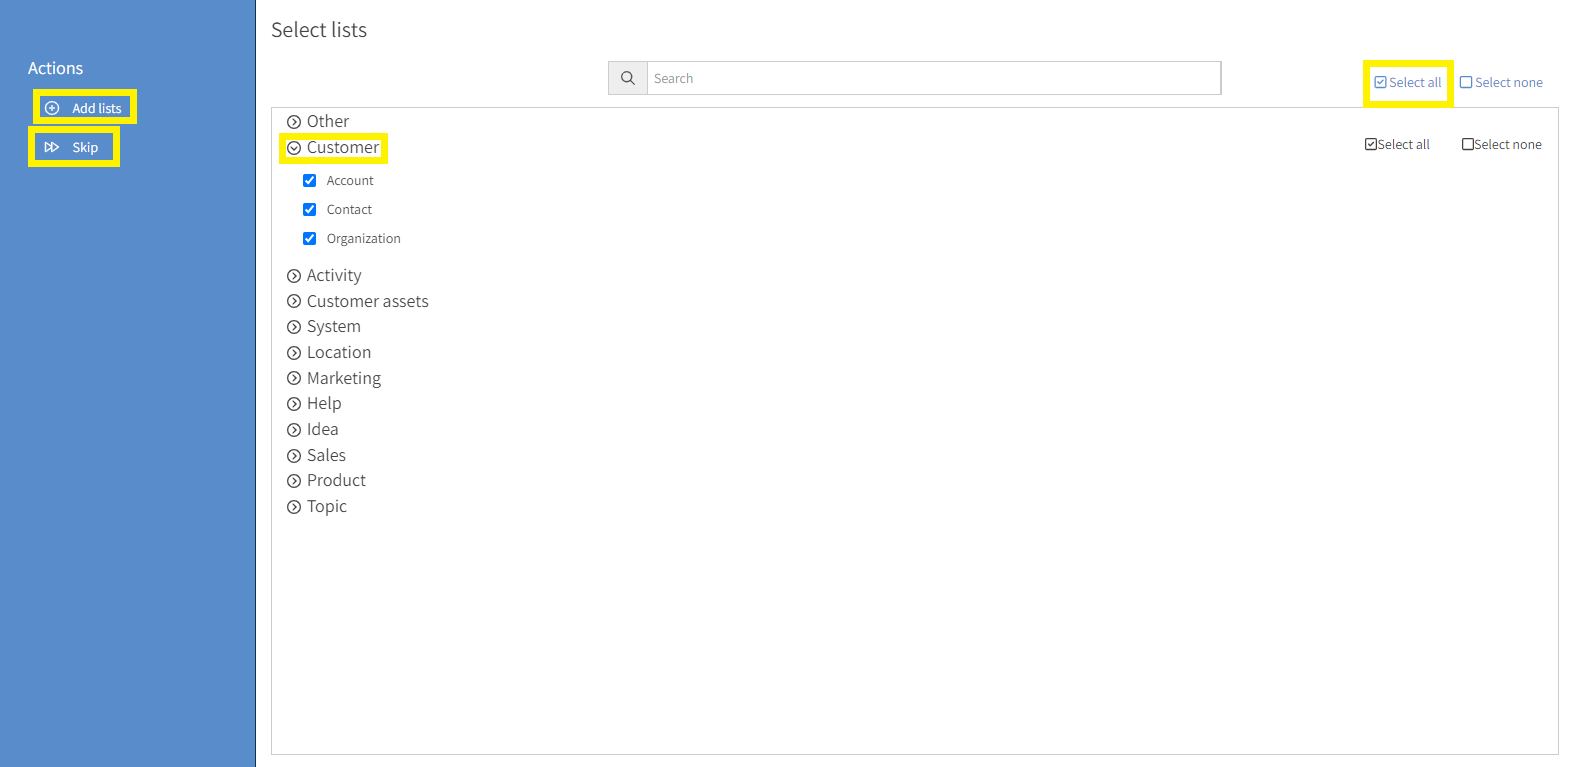
8. You will then be prompted to once again log into your Salesforce account and also allow access for Popdock to connect to Salesforce. After hitting Allow, you will be redirected back to Popdock to the Select lists page. You can either Select all (icon in the top right), select individual lists by hitting the arrows next to each category, or select Skip to add lists another time. Once you have made you selection, hit the +Add Lists button in the top left corner.
9. Your Salesforce Connector is now available in your list of Popdock connectors.
Having trouble adding this connector? Email support at support@eonesolutions.com