Things you will need to have:
- Site URL (ex. https://woo.mydomain.com)
- Consumer Key
- Consumer Secret
NOTE: The Consumer Key and Secret are generated by following these instructions provided here. When asked for the level of access, we require just Read access.
How to add a WooCommerce Connector:
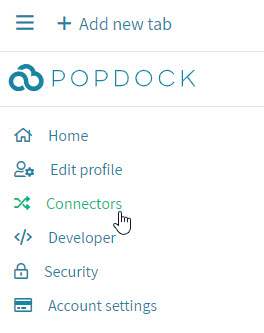
1. Select Connectors from the left navigation drop-down menu to open the Connectors page
2. Select the Add connector button
3. Select the WooCommerce connector
4. Enter your Site URL, Consumer Key, and Consumer Secret. Then click Validate.
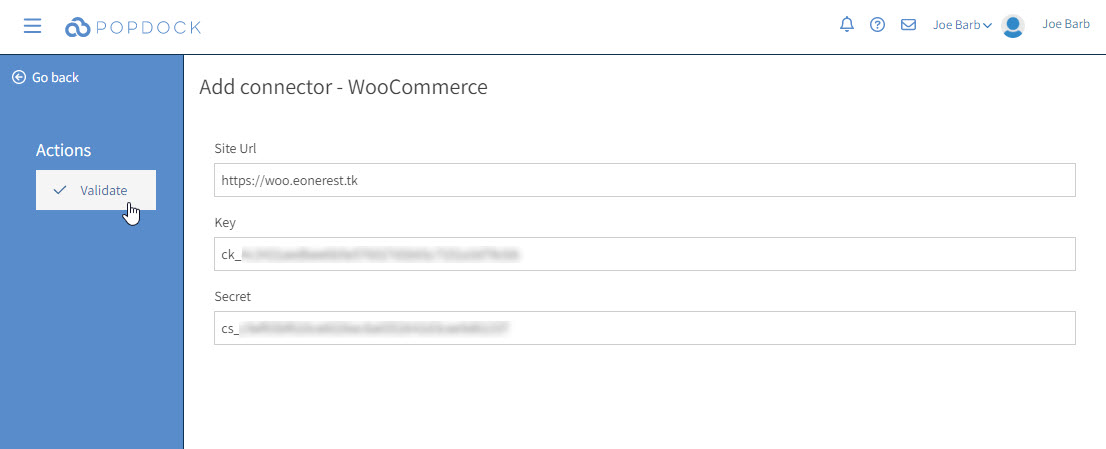
5. Once it has validated successfully, you should now see a Connect button. Click Connect.
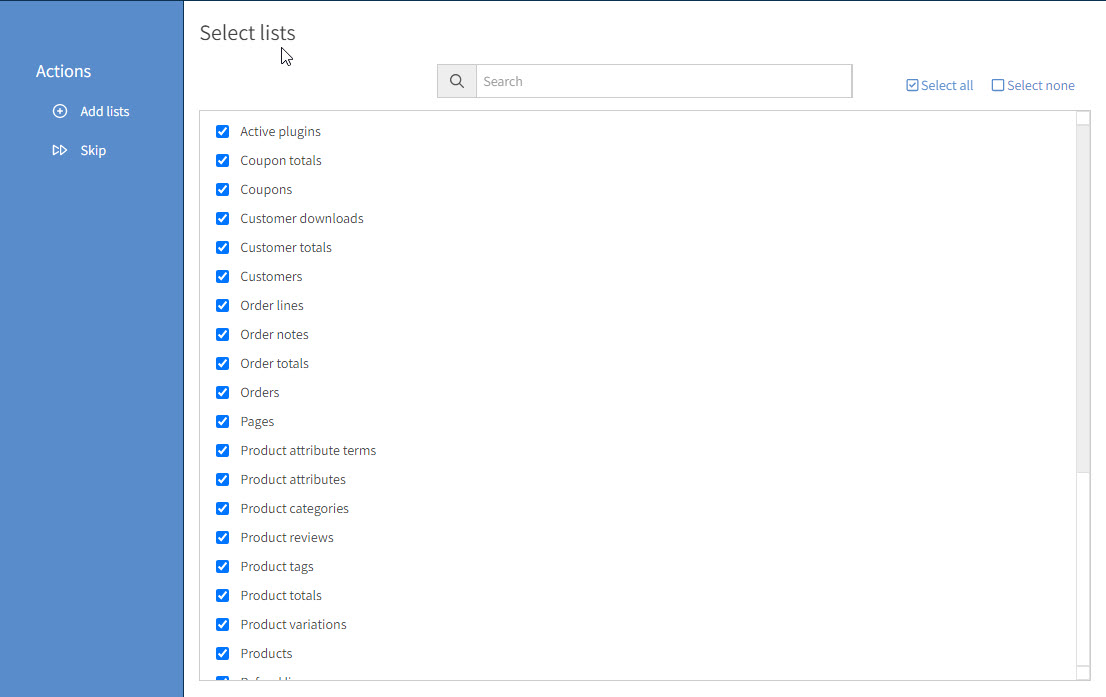
6. Next choose the lists that you want to see in Popdock. Then click Add lists.
7. Your WooCommerce connector will then continue to add your lists and complete the connector setup. Once it is ready, you will see the status of the connector update to the user who added it and the date. You can now go to your home page and add a new tab to choose your WooCommerce connector and choose a list to see the data come into Popdock.

Having trouble adding this connector? Email support@eonesolutions.com