How to add a Xero Connector:
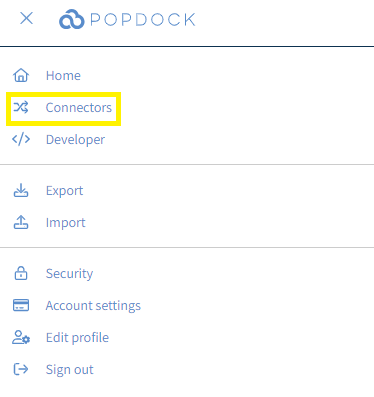
1. Click on the triple bar menu in the upper left corner of the Popdock homepage and select Connectors from the drop down menu.
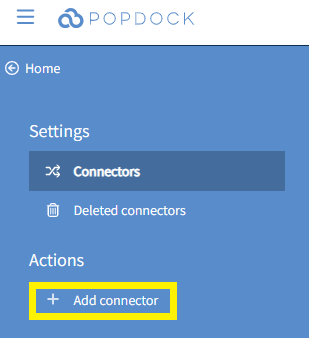
2. Select the +Add connector button under Actions.
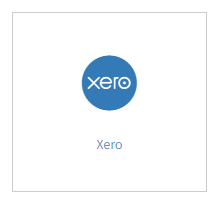
3. Select the Xero Connector from the list of connectors.
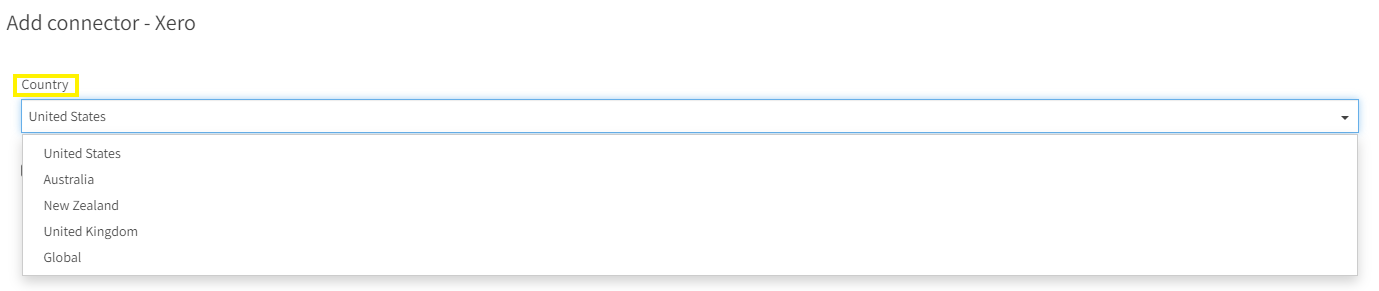
4. Use the Country drop down menu to select the region that your Xero environment runs on.
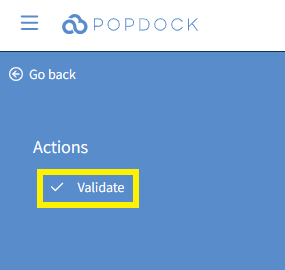
5. Once you have selected your Country, click Validate under the left Actions menu.
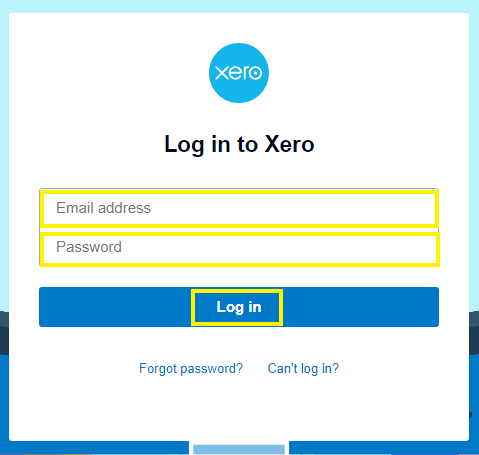
6. You will be redirected to the Xero login page. Enter your Email address and Password that are associated with your Xero account. Then click Log In.
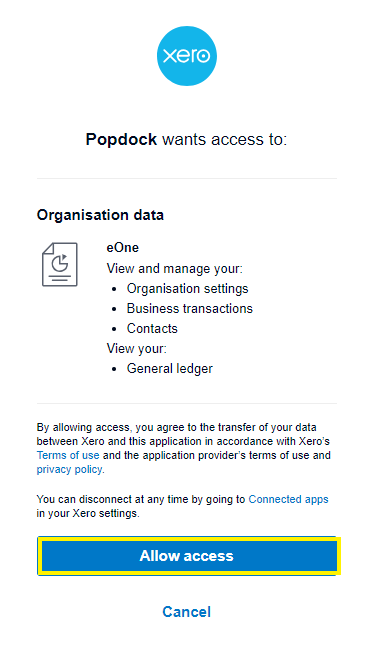
7. You will receive the following prompt. Click Allow access.
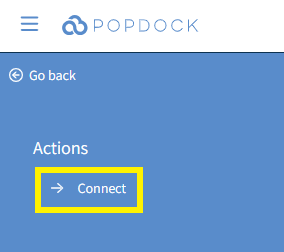
8. Once validated, you will be redirected back to the Add connector page of Popdock. Click Connect under the left Actions menu.
9. You will be asked to complete the following prompt again. Click Allow access again to provide Popdock access to your Xero environment.
10. You will be directed back to your list of Connectors and your Xero connector will begin installing. Once complete, you will see your Xero connector in your list of connectors and it will be available to use.

Having trouble adding this connector? Email support at support@eonesolutions.com