How to add an Azure Data Lake Connector:
When you add an Azure Data Lake connector, you can connect to data stored in Azure cloud storage, and access it through your business applications. An Azure Data Lake connector does require an existing Azure Data Lake to be set up.
NOTE: Before you add an Azure Data Lake Connector, setup an Azure Data Lake.
As part of your Azure Data Lake setup, we recommend you create two separate Azure Data Lake storage containers, one to store tables and the other for lists. Then, create two separate data lake connectors, one for tables and the other for lists and point them to each of these storage containers.
In this article, you will learn how to add an Azure Data Lake Connector:
Create a Popdock Azure Data Lake Connector for tables:
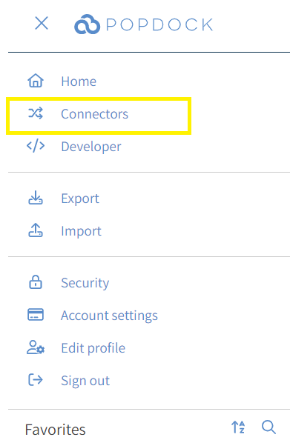
1. From the top left corner, select the menu bar then select Connectors.
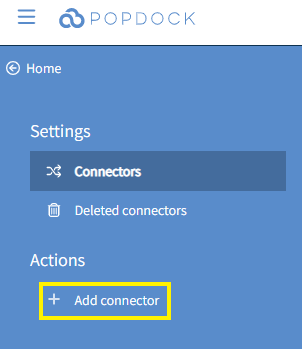
2. Select the +Add connector button to launch the list of available connectors.
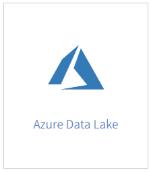
3. From the list of connectors, select Azure Data Lake connector.
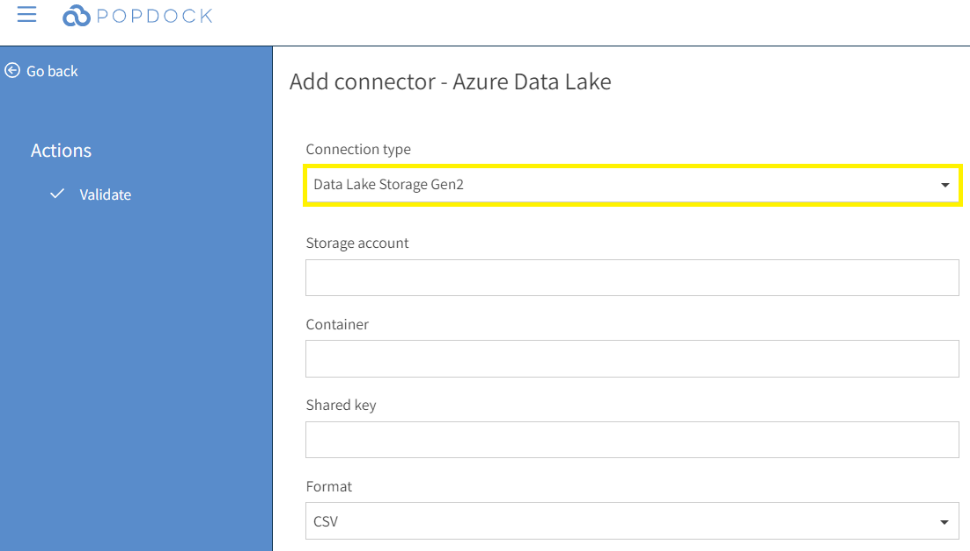
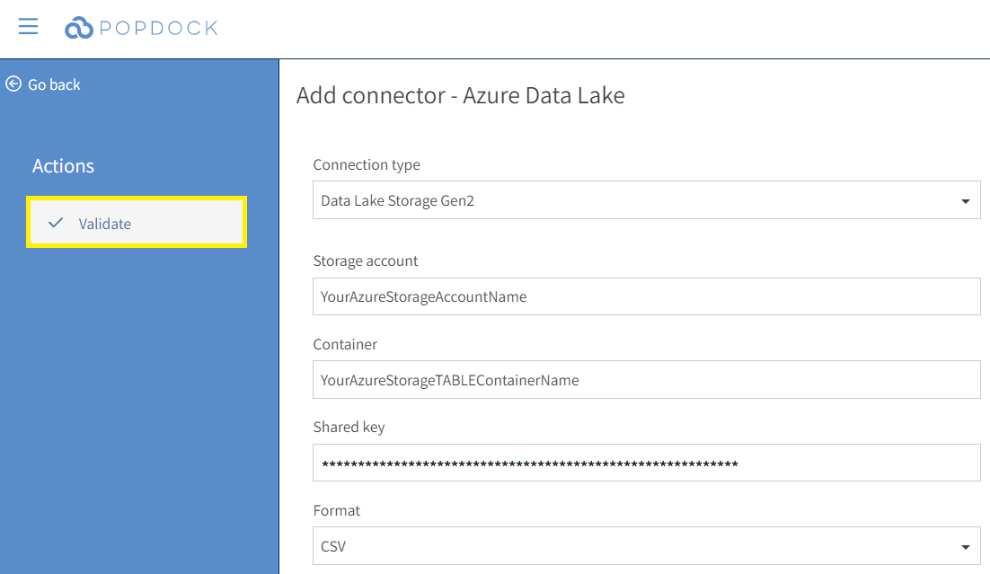
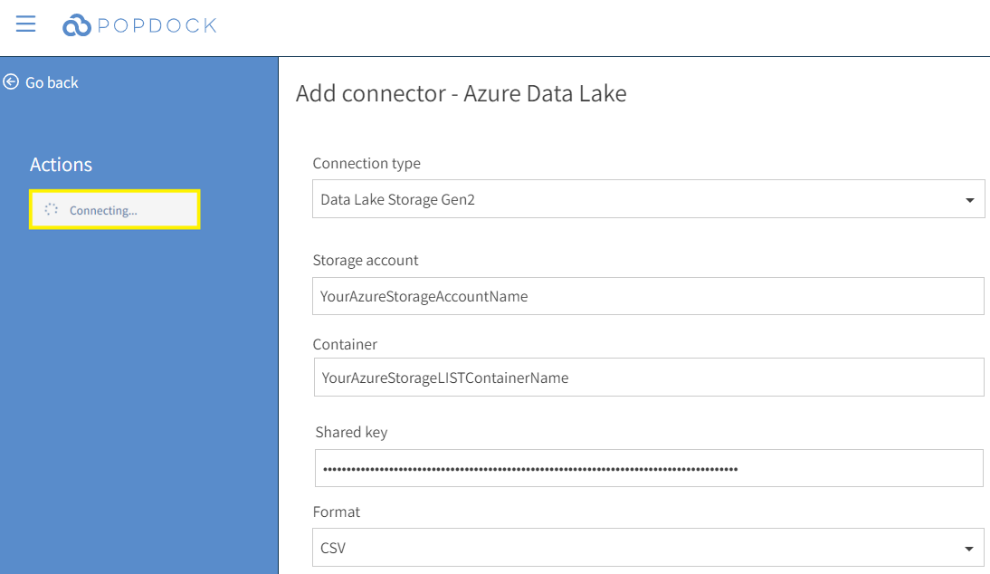
4. At the Add connector screen, enter connection information for your Azure Data Lake. To find your Azure data lake connection information, see how to connect to Azure Data Lake.
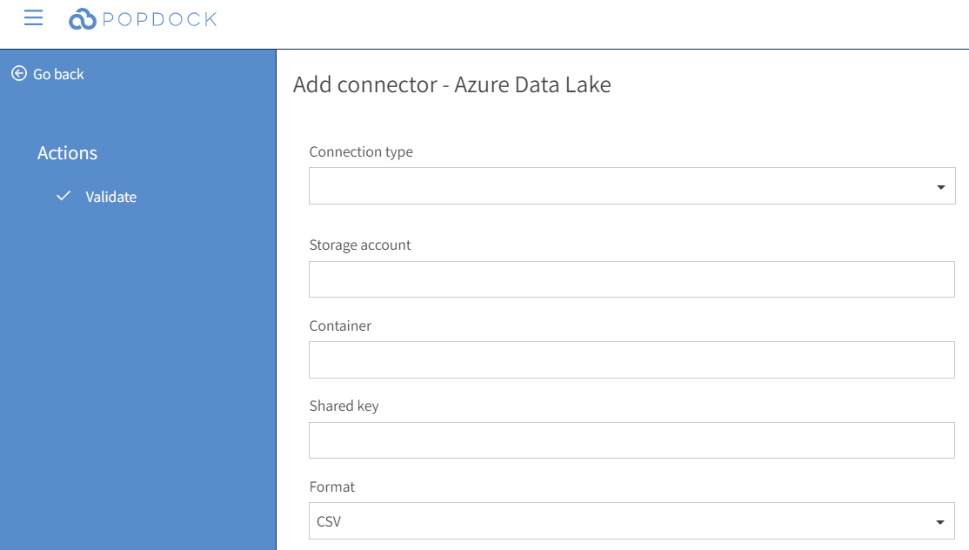
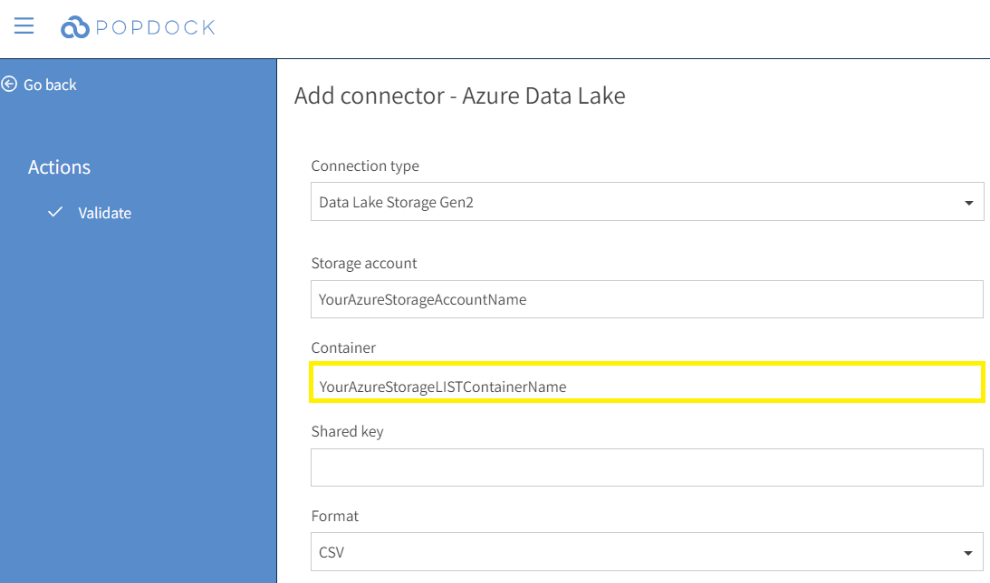
5. Under Connection type, leave the default connection type as Data Lake Storage Gen2.
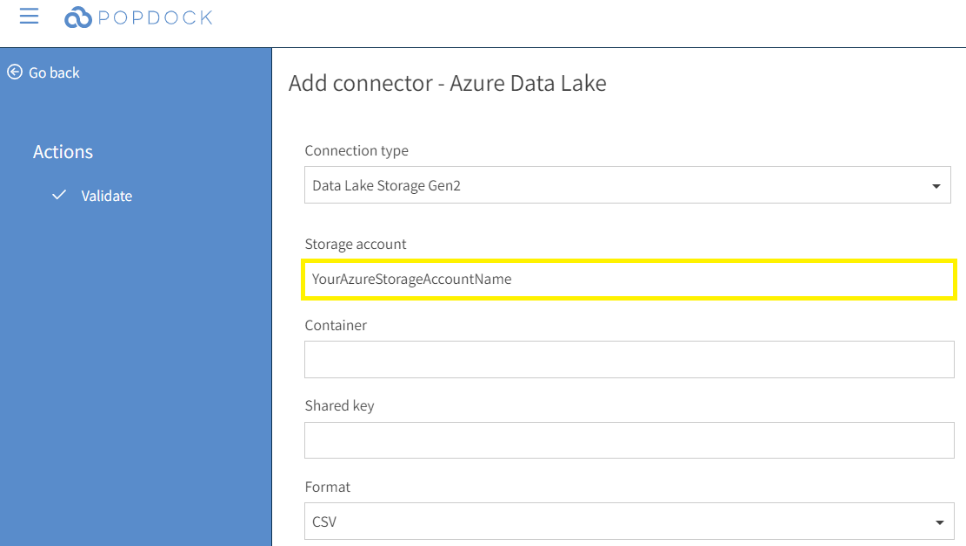
6. Enter the name of your Microsoft Azure Storage Account.
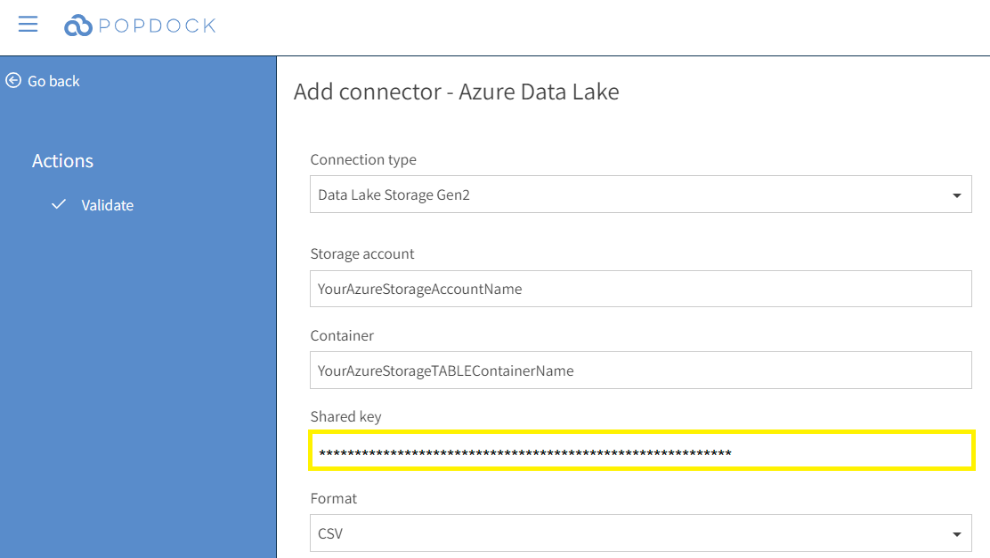
7. Enter the Microsoft Azure storage Container name. This will store your tables.

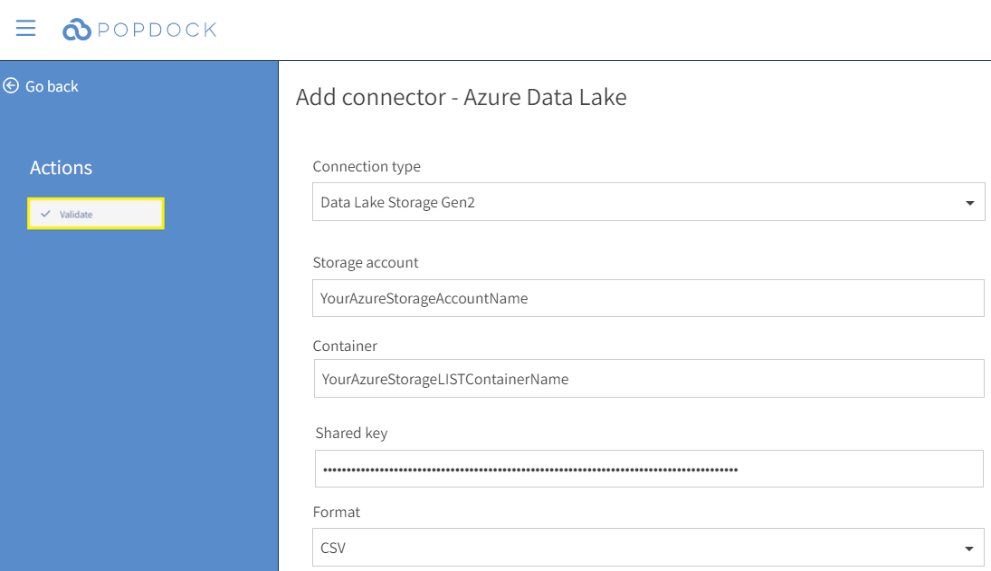
8. Go to your Azure console and copy the Shared key for the Microsoft Azure Storage Account entered in Step 5. Paste it into the Shared Key textbox.
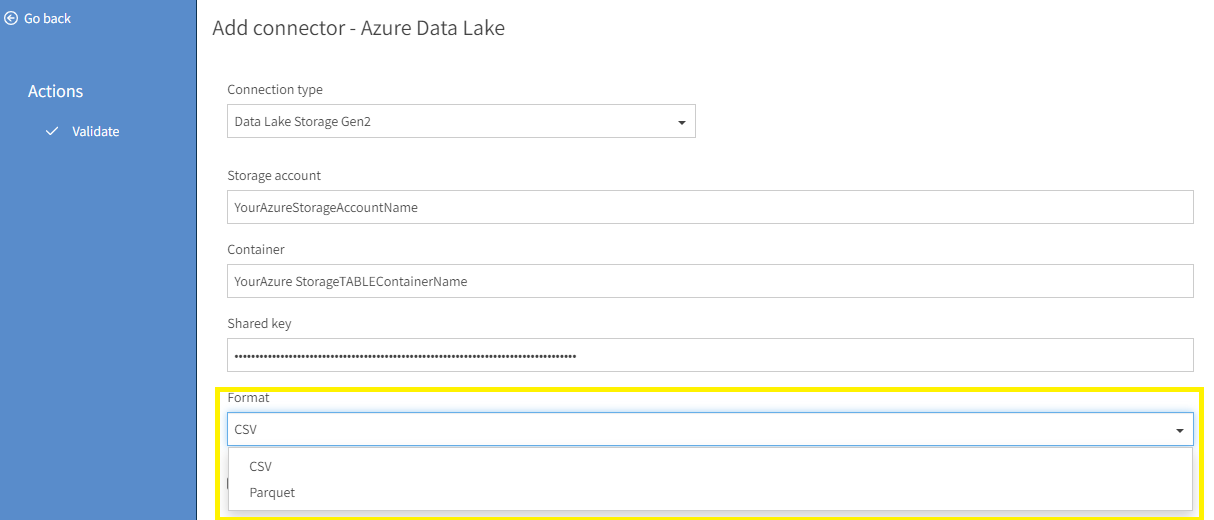
9. Lastly, use the Format drop down menu to select the format of the files that are stored within your Azure Storage Container. You will notice that Popdock can read both CSV and Parquet files from the Azure Data Lake.
10. Select the Validate button, from the left menu, to test the data lake connection.
11. A Connect button will appear, in the left menu under Actions, if the validation attempt to the data lake is successful. If the validation fails, check and re-enter your connection information and select the Validate button.
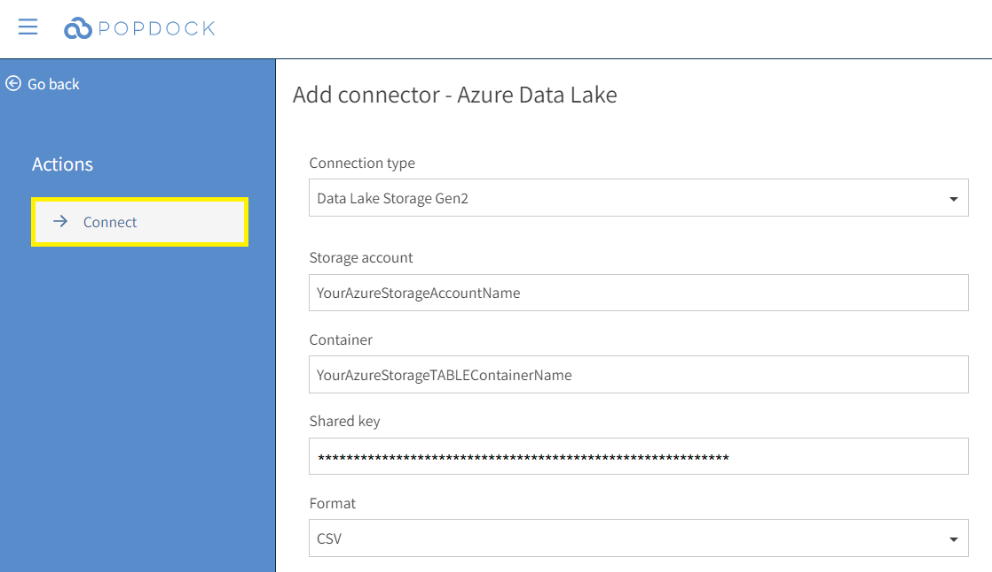
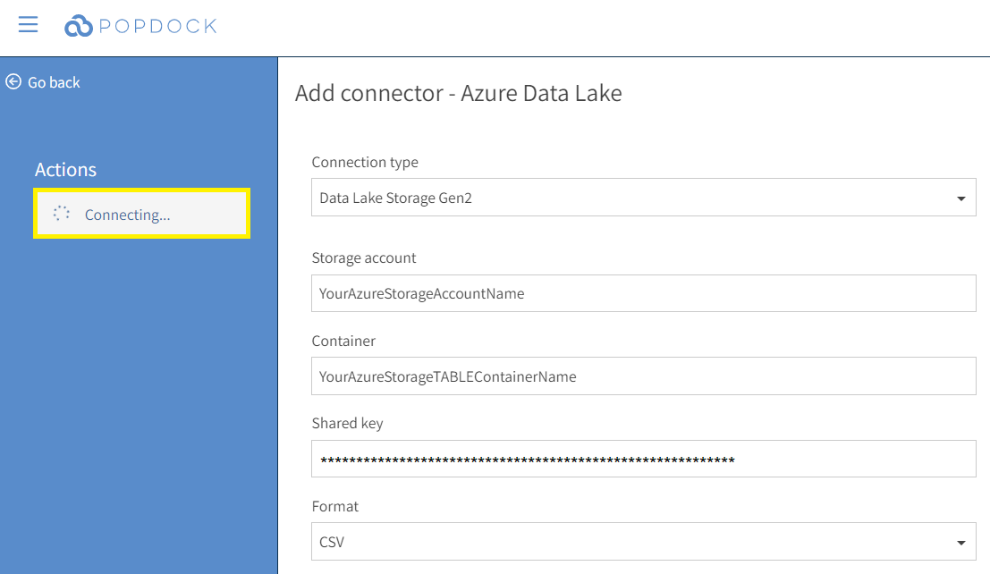
12. Select the Connect button to finish setting up the connector.
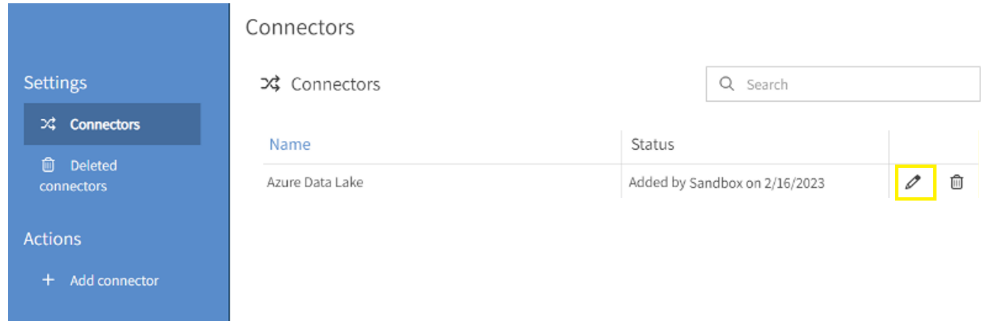
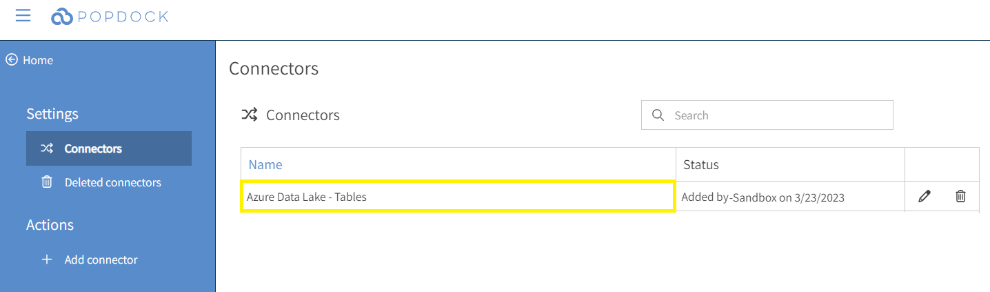
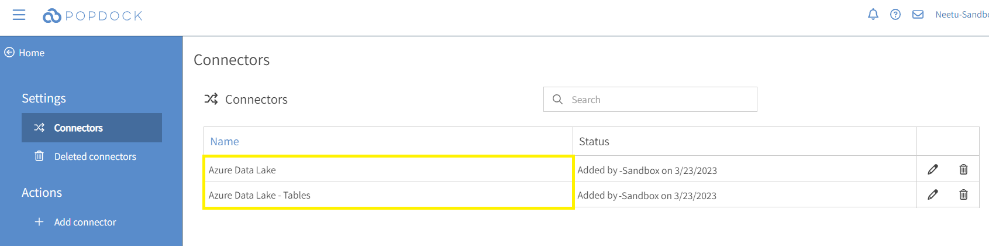
13. The new Azure Data Lake connector appears in the connectors list.
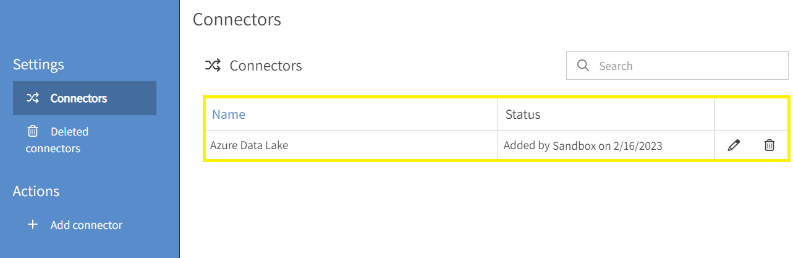
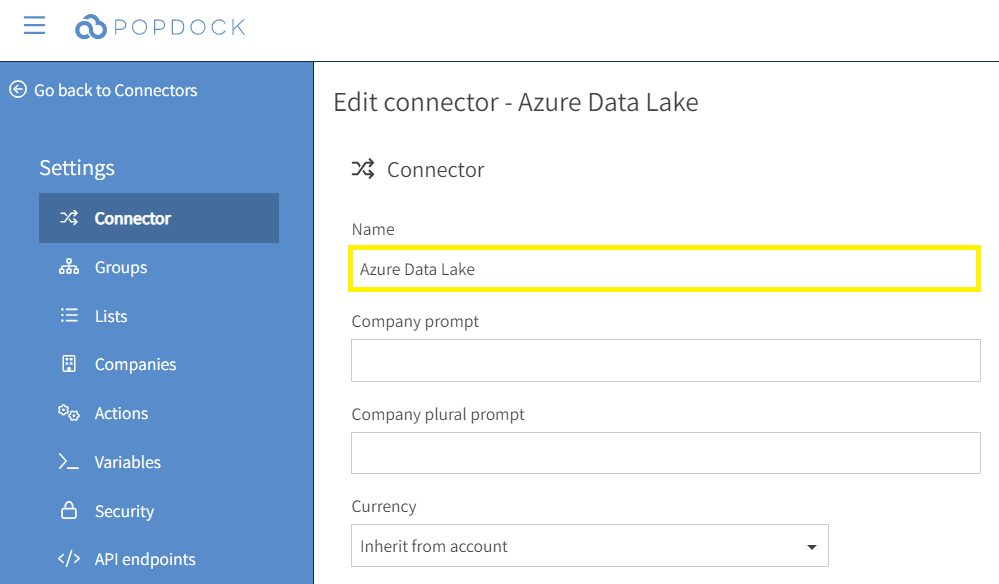
14. Select the edit icon next to the Azure Data Lake connector to customize the settings.
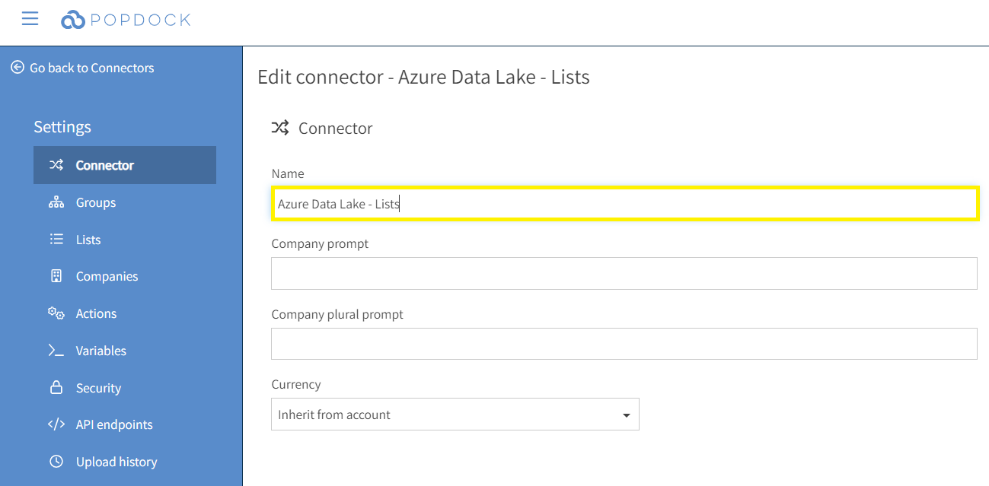
15. By default, this connector type is named Azure Data Lake. Modify the connector name so it describes the type of data it will contain.
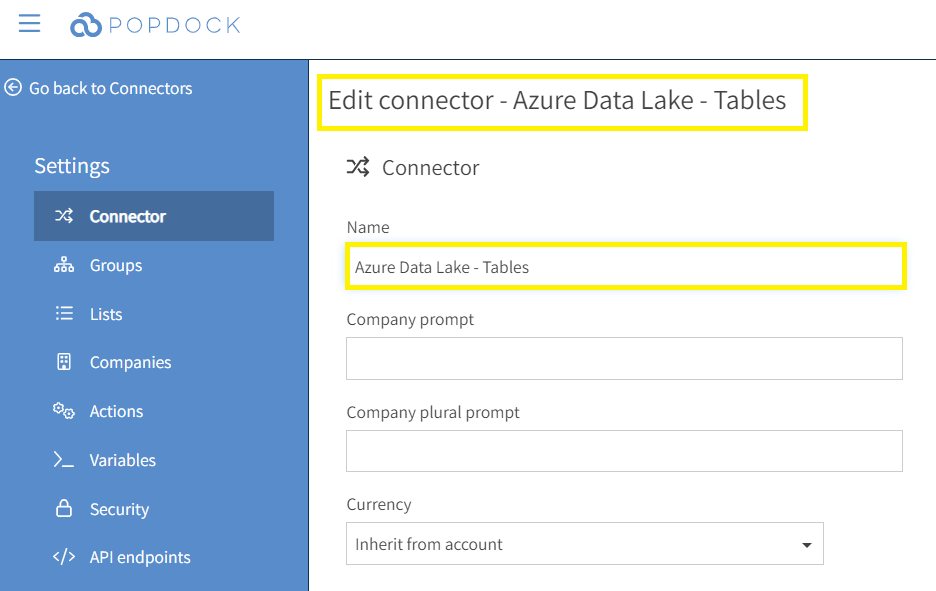
16. This connector will be used for tables, so rename the connector to Azure Data Lake – Tables.
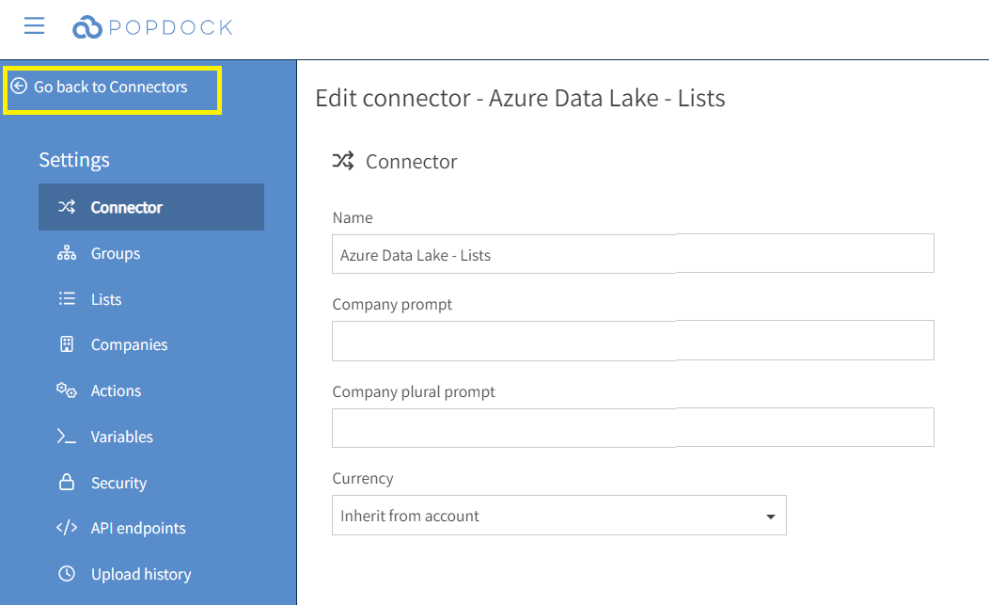
17. Select the Go back to Connectors link.
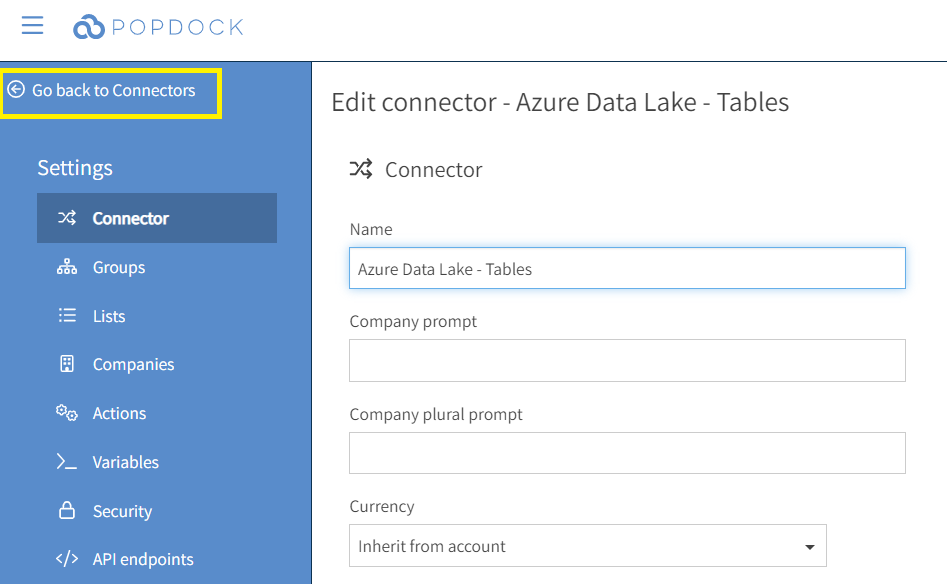
18. Confirm that the connector has been renamed to Azure Data Lake – Tables. The connector is ready to use.
Create a Popdock Azure Data Lake Connector for lists:
Repeat steps 1 – 6 to create a second Azure Data Lake connector.
19. For the Microsoft Azure storage Container name, enter the name of the container which will store your lists.
20. Go to your Azure console and copy the Shared key for the Microsoft Azure Storage Account entered in Step 6. Paste it into the Shared Key textbox.

21. Select the Validate button, from the left menu, to test the data lake connection.
22. A Connect button will appear, in the left menu under Actions, if the validation attempt to the data lake is successful. If the validation fails, check and re-enter your connection information and select the Validate button.
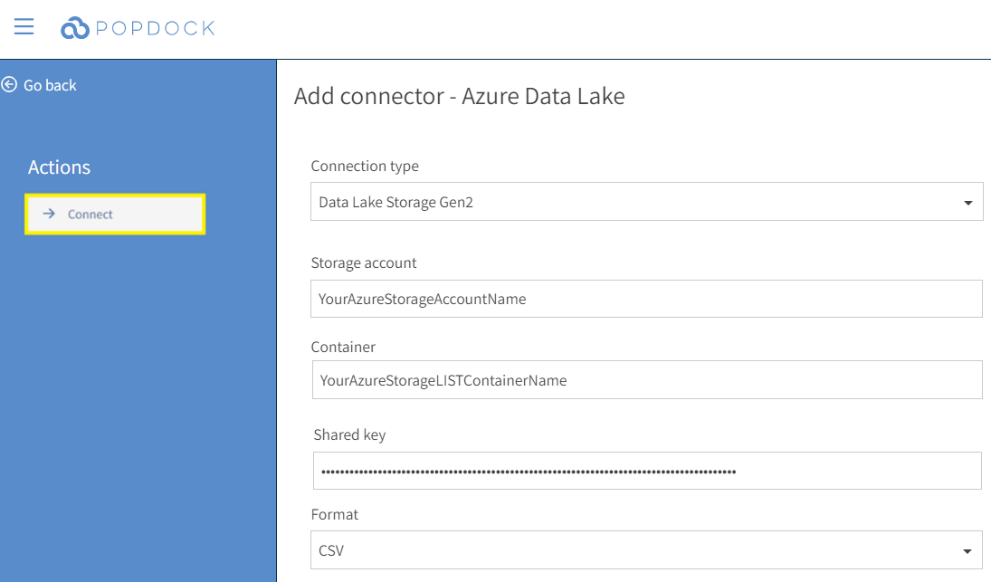
23. Select the Connect button to finish setting up the connector.
24. The new Azure Data Lake connector appears in the connectors list.
25. Select the edit icon next to the Azure Data Lake connector to customize the settings.

26. By default, this connector type is named Azure Data Lake. Modify the connector name so it describes the type of data it will contain.
27. This connector will be used for lists, so rename the connector to Azure Data Lake – Lists.
28. Select the Go back to Connectors link.
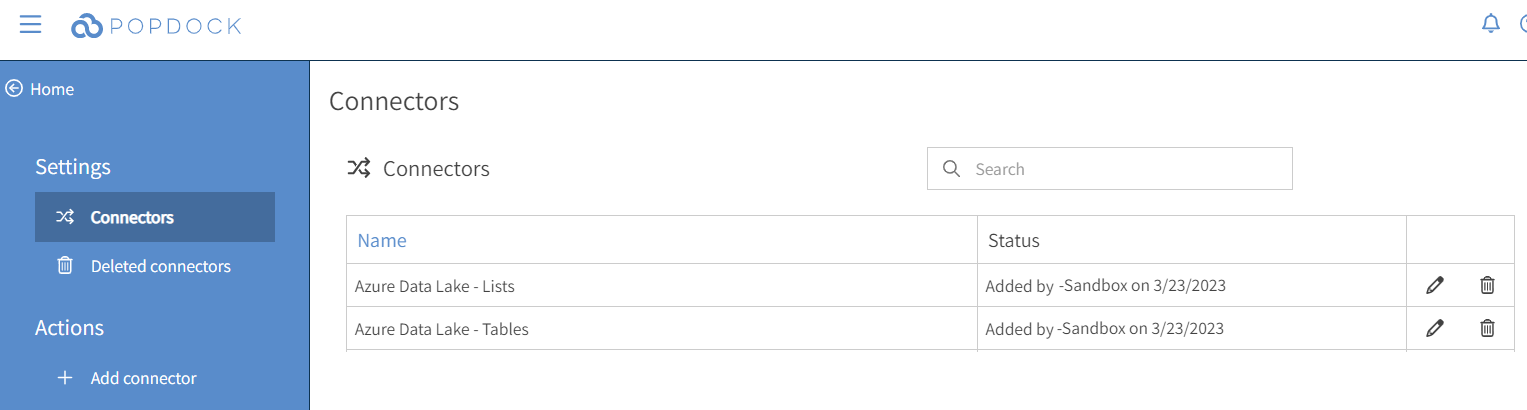
29. Confirm that the connector has been renamed to Azure Data Lake – Lists. There are now two connectors, one for lists and another for tables, ready to used.
Having trouble adding with your Azure Data Lake Connector? Email support at support@eonesolutions.com.