How to add a Oracle Database Connector:
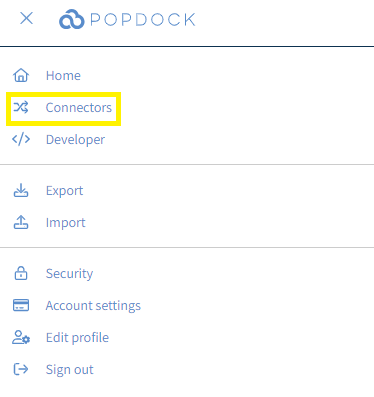
1. Click on the triple bar menu in the upper left corner of the Popdock homepage and select Connectors from the drop down menu.
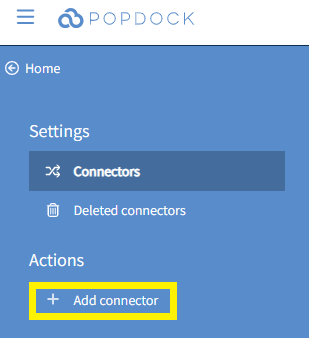
2. Select the +Add connector button under Actions.
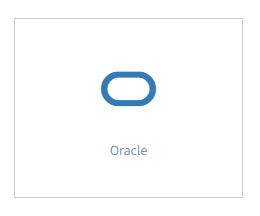
3. Select the Oracle connector from the list of connectors.
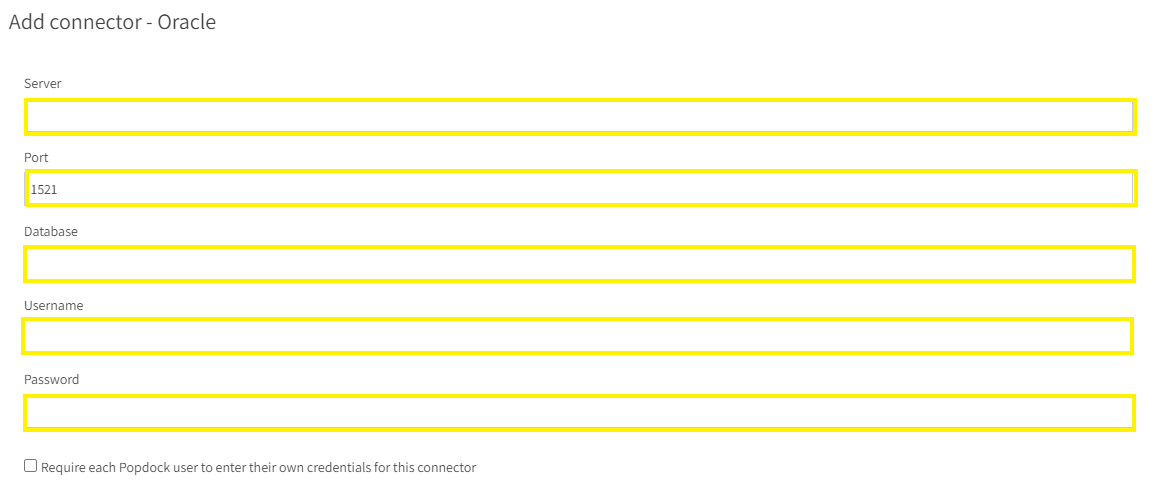
4. From within the Add connector – Oracle page, use the available fields to enter in the appropriate information regarding the Oracle database you are connecting to.
Server – The hostname of the Host system for the Oracle database.
Port – The listener port used by your Oracle database. The default port is 1521.
Database – The network service name of the database.
Username – Name of the database user for this connection. User must have read level access to the tables.
Password – Password associated with the specified database user.
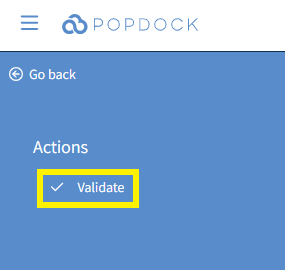
5. Once all fields are complete, click Validate in the left Actions menu.
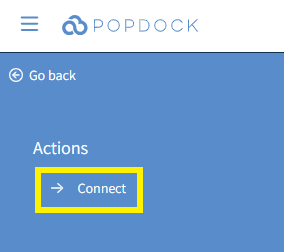
6. Once validated, click Connect in the left Actions menu.
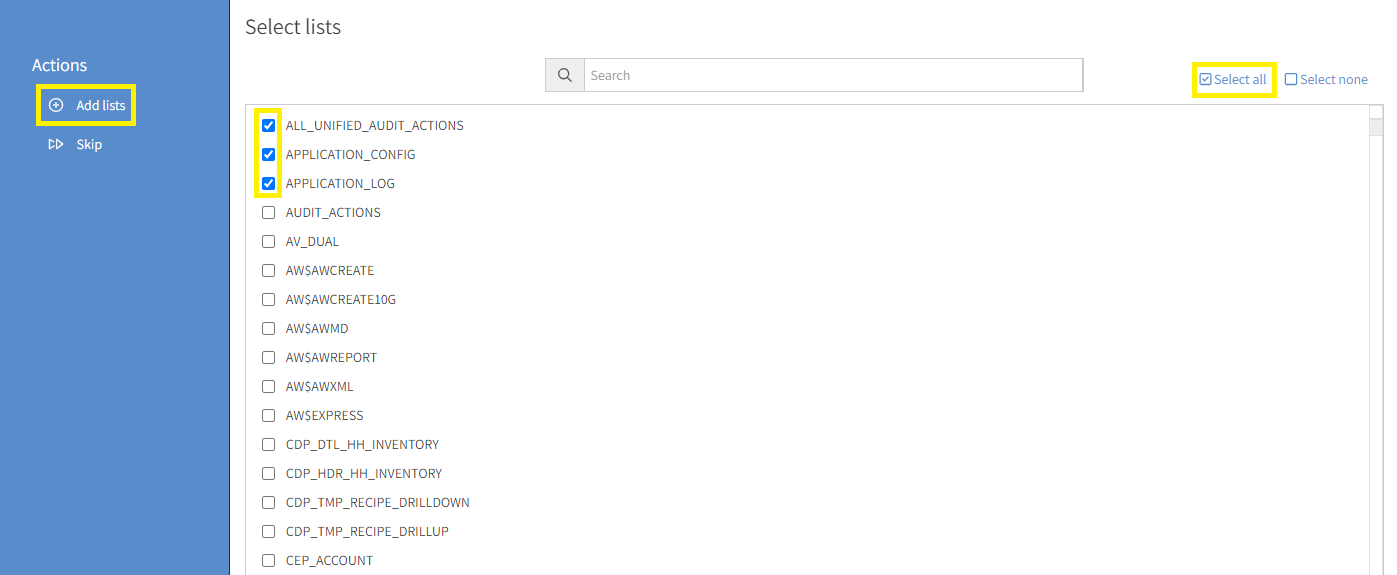
7. You will be directed to select which lists you want to add to your Oracle Database Connector initially. You can either Select All or Select Lists Individually by clicking the box to the left of each list. Once you have selected your lists, click Add lists.
8. You will be taken to your list of your connectors where your Oracle connector will begin installing with the lists you added. Once complete, your Oracle connector will be available within your list of connectors and available to use.

Having trouble adding this connector? Email support at support@eonesolutions.com