Adding Lists to Your Business Central Main Widget
The main Popdock widget inside Business Central comes prepopulated with lists that connect with your Business Central environment. You can customize the main widget by adding additional lists, whether that be historical lists from a legacy ERP or lists from other applications your company uses (CRM, Helpdesk Solutions, eCommerce Platforms, etc.).
NOTE: Before you begin customizing your Popdock main widget in Business Central, make sure you:
1. Install Popdock from AppSource in Business Central
2. Add a Dynamics 365 Business Central connector
3. Publish a Popdock widget in Business Central
To add lists to your main Popdock widget in Business Central:
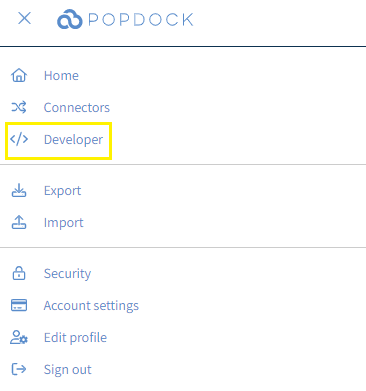
1. From the top left corner, click on the triple bar menu and select Developer from the drop down menu.
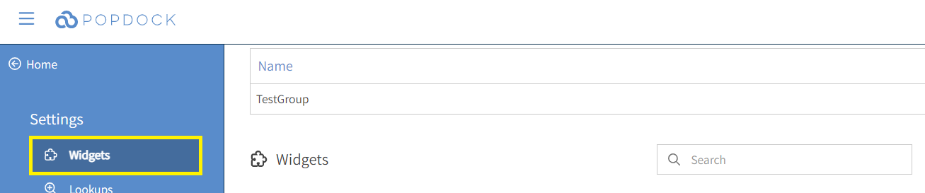
2. Under Settings | Widgets, scroll to the Widgets section in the left pane.
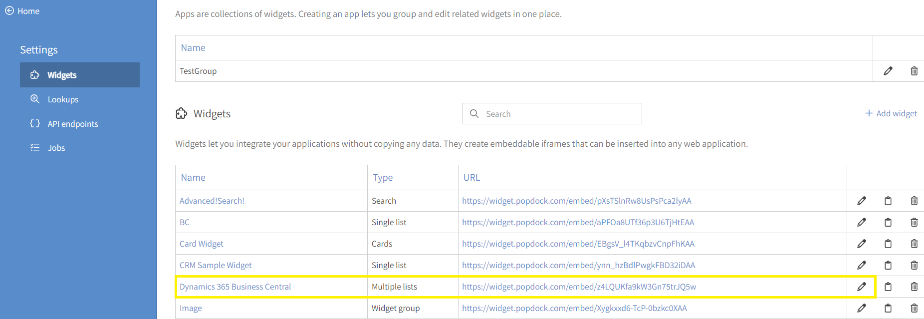
3. Scroll to the Dynamics 365 Business Central widget and select the Pencil icon (edit) on the right.
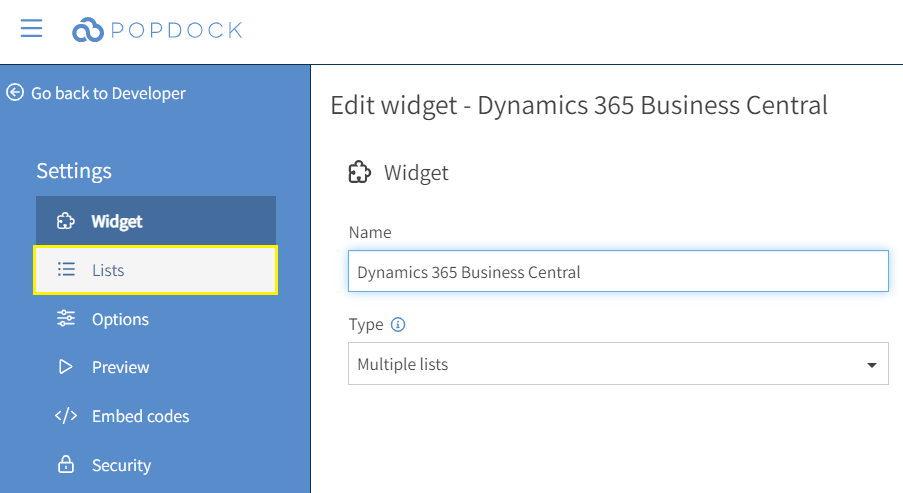
4. In the left pane, select Lists.
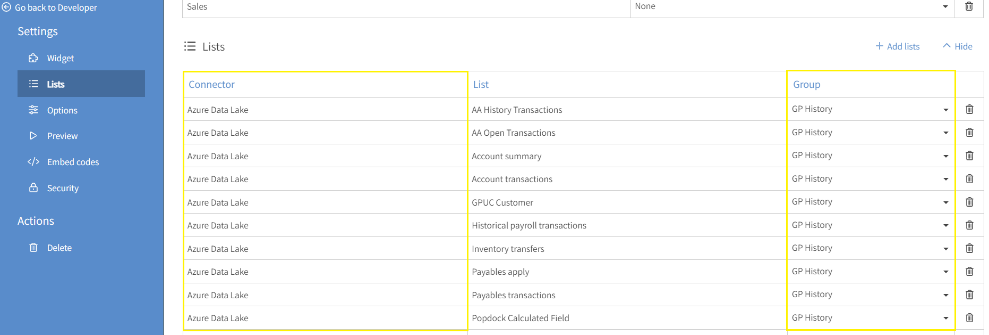
5. Select the + Add group link to create a new group.
NOTE: You can create multiple groups to help you organize your lists. In this example, we will create a group called GP History.
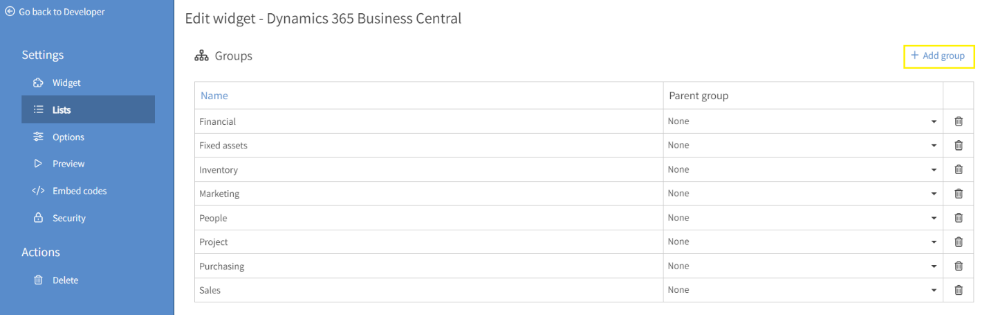
6. The new group will be created and placed alphabetically in the group list.
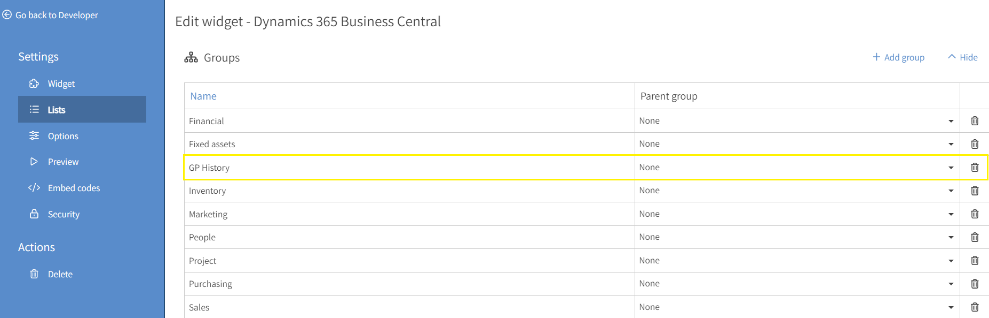
7. Scroll down to the Lists section and select + Add Lists.

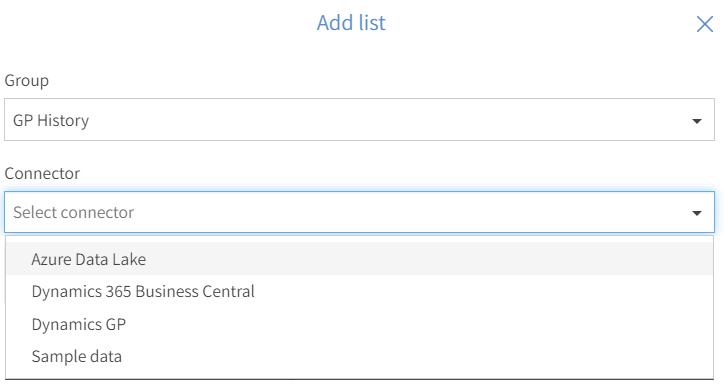
8. You have the ability to add lists from any connector. For this example, I will be adding historical GP lists that I have archived into an Azure Data Lake. These lists are made available to Popdock via the Azure Data Lake Connector. Select the dropdown arrow under Group and choose the GP History group.

9. Click the drop arrow under Connector to view the list of connectors. Select Azure Data Lake.
10. After the Azure Data Lake connector is selected, the lists available to add will be displayed. Choose the lists by selecting the checkbox to the left of the list title, then selecting the Add selected button.
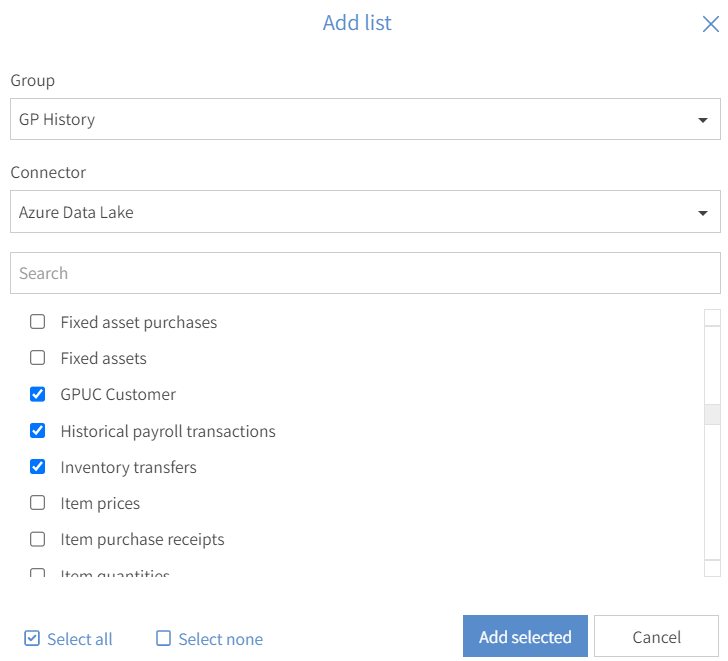
11. The lists selected from the Azure Data Lake connector are added to the GP History group.
Access uploaded lists in Business Central:
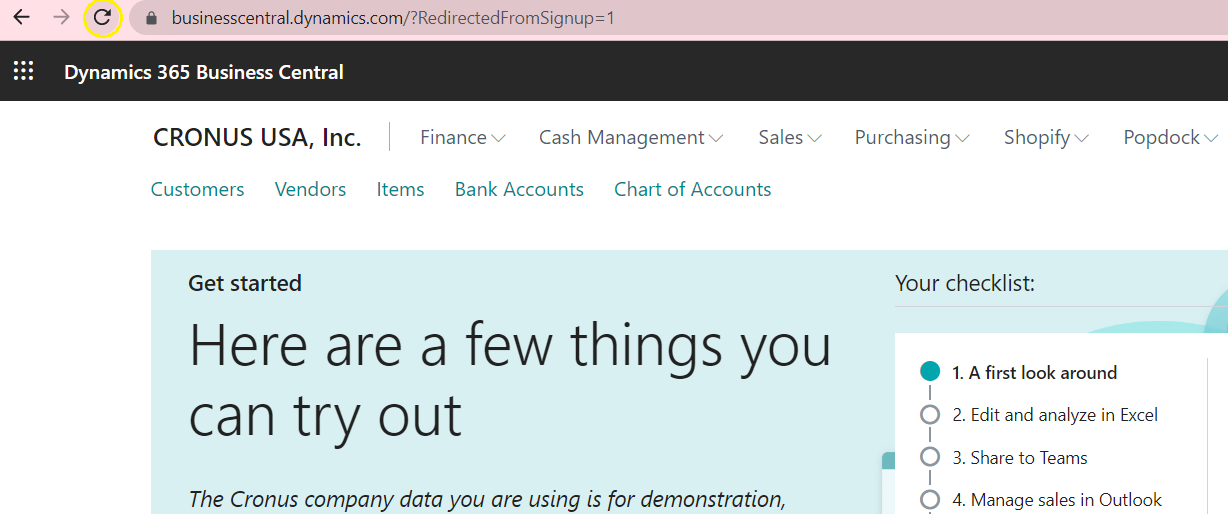
1. Test access to these lists by logging into Business Central. If you’re already logged into Business Central, then refresh the browser by pressing the F5 button.
2. After logging in, find the Popdock extension in the center of the page along with other extensions installed in Business Central. Select the dropdown arrow next to the Popdock extension.
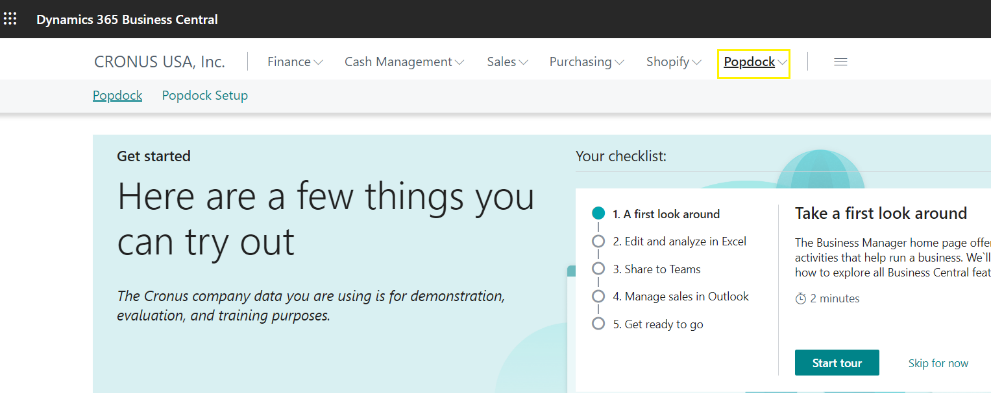
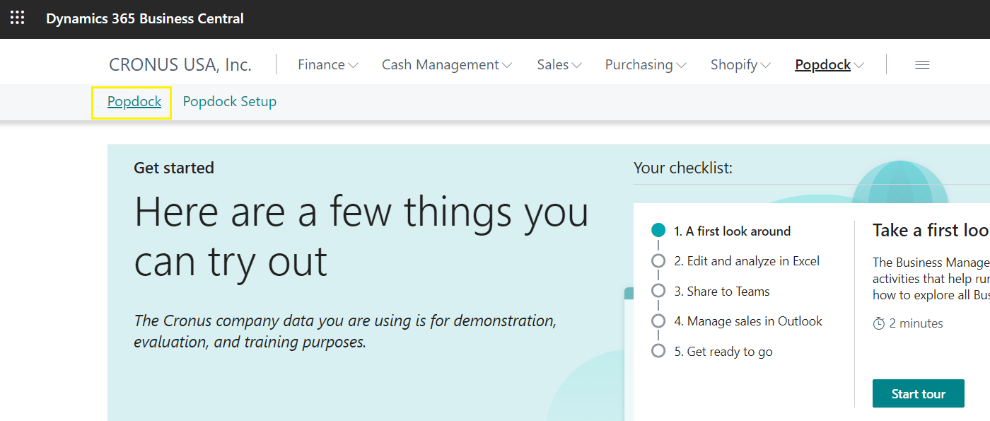
3. Select the Popdock link to load the widget.
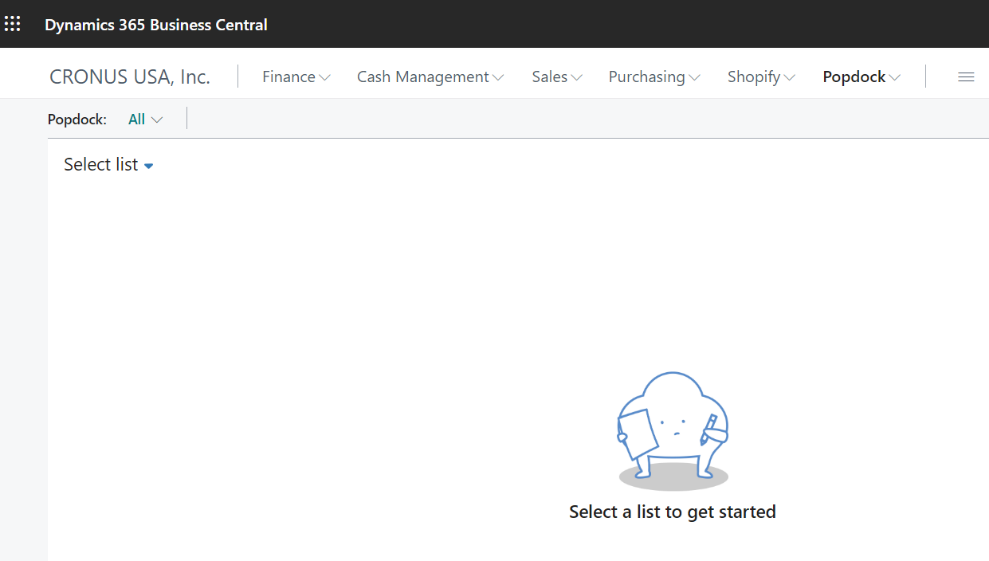
4. Press the arrow next to Select list to view the available lists.
5. Locate the GP History group and select one of the uploaded lists.

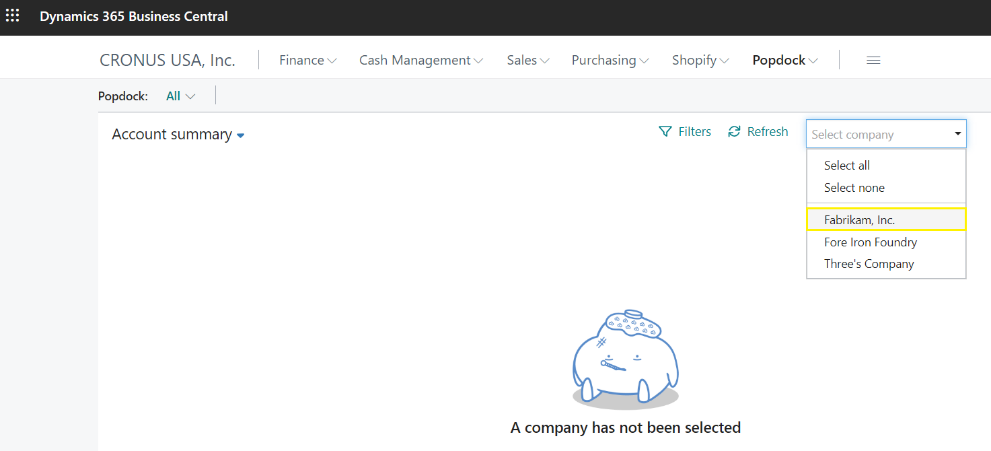
6. Press the arrow next to Select Company to choose a company.
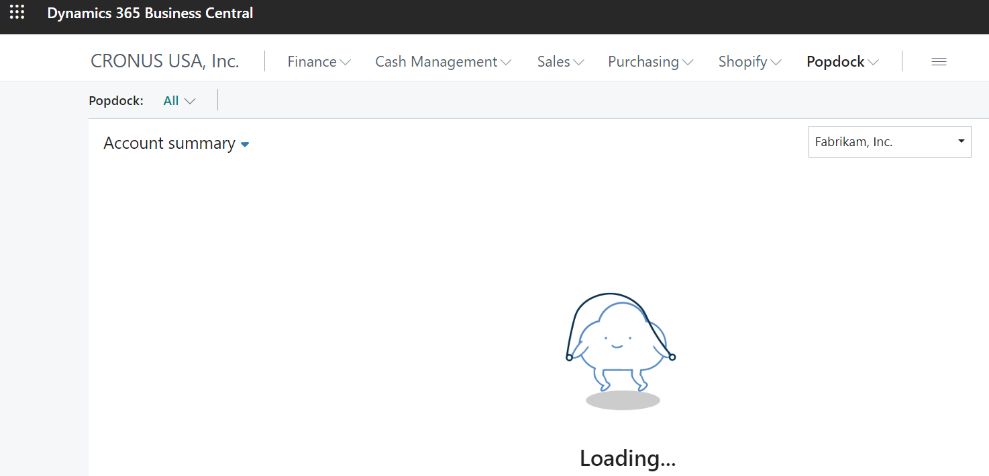
7. Once you have selected a company, click anywhere in the white space and Popdock will go query this data.
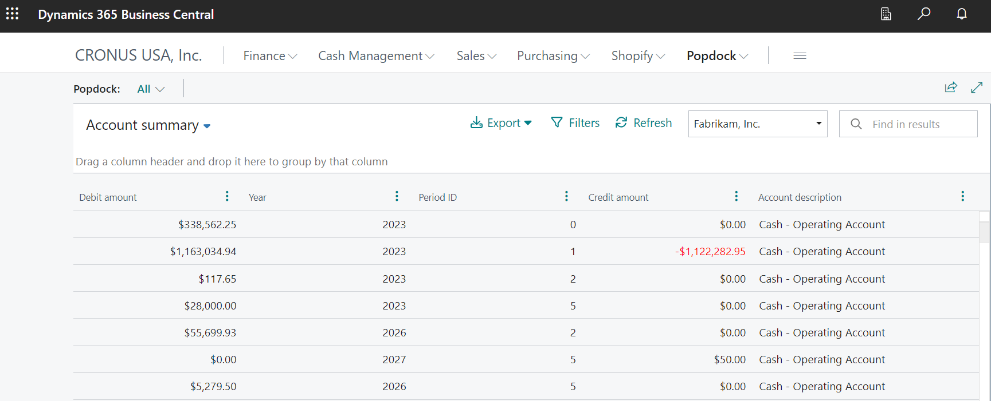
8. Now you can access, view and filter this list in Business Central.
Questions regarding adding lists to your Business Central widget? Contact support@eonesolutions.com.