Popdock widgets allow you to take current or legacy data from a connector, in list or graph form, and display it in applications you use daily like Business Central. You can add a widget to Business Central by entering the Popdock widget ID into your Popdock setup in Business Central.
NOTE: Before you can access the Business Central Main Popdock Widget, install Popdock from AppSource for Business Central first, then add a Dynamics 365 Business Central connector.
When you create a Popdock Dynamics 365 Business Central connector, it will automatically create a widget. Enter the Popdock Widget ID and Widget Region into your Business Central configuration to access your data.
1. Login into Business Central with an account that has access to the Popdock extension setup.
NOTE: Modifying an extension on Business Central requires that you are either a member of the D365 Extension Mgt. user group or have the Exten. Mgt. – Admin permission set. Check out this Business Central documentation for information on setting granular permissions.
2. Once you’re logged in, find the Popdock extension in the center of the page along with other extensions installed in Business Central. Select the dropdown arrow next to the Popdock extension.
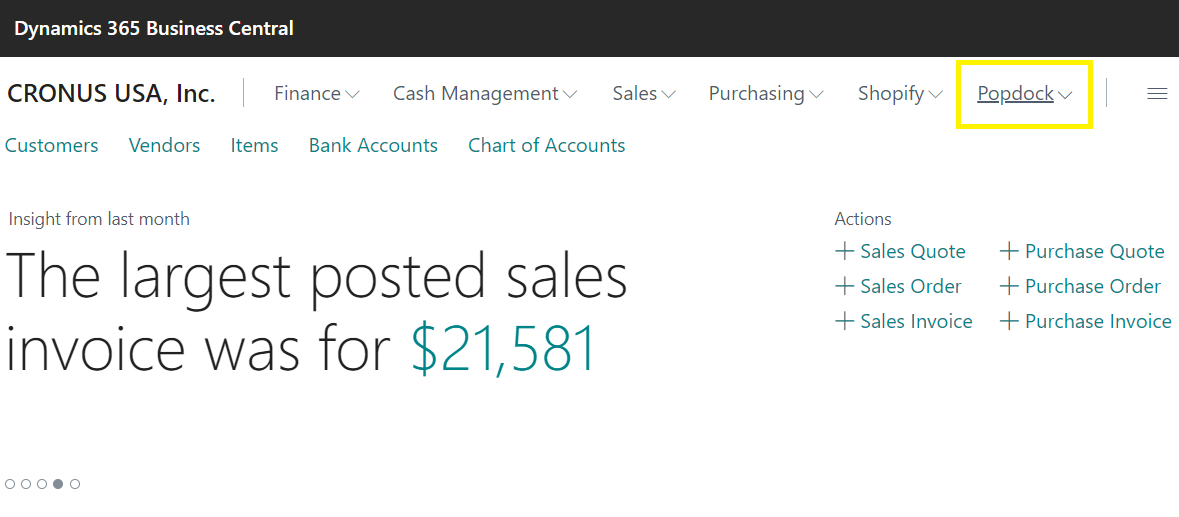
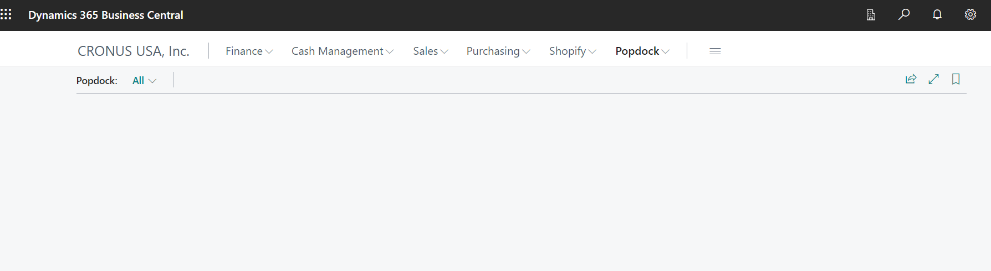
3. When you select the Popdock link, no data is displayed since a Popdock widget hasn’t been configured yet.
4. Select the Popdock Setup link to launch the widget configuration.
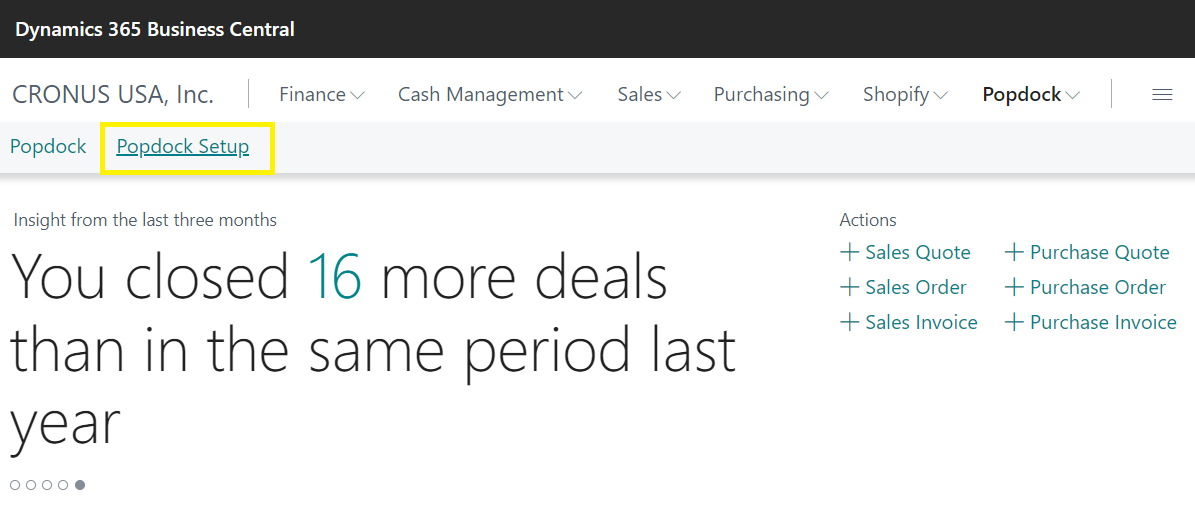
5. The Popdock Setup will launch, this is where you will enter the widget ID which connects to your Popdock lists.
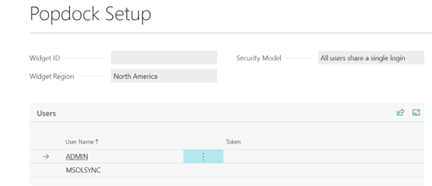
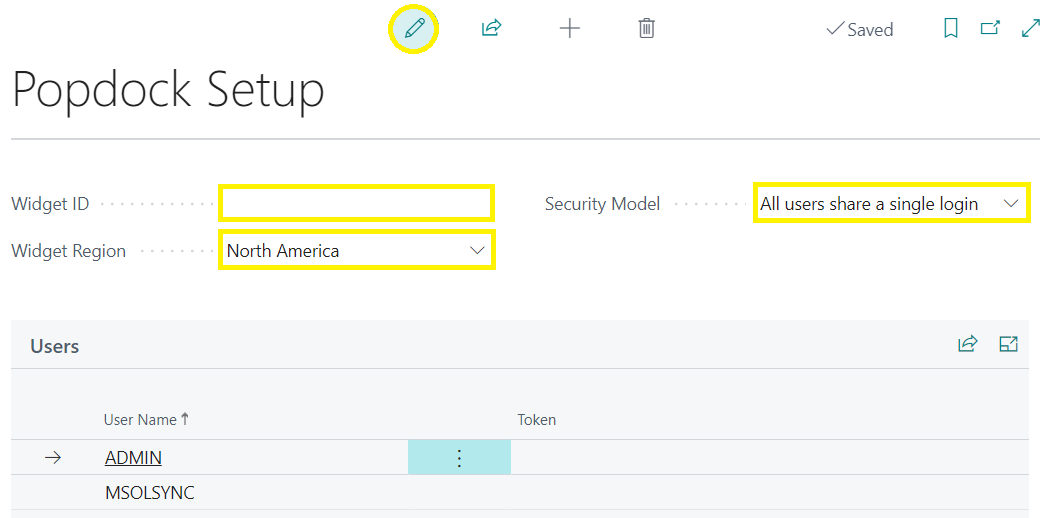
6. Select the edit icon, from the top center of the setup screen, to update the configuration. When you click the edit icon, the text boxes are enabled, and you will be able to edit these settings.
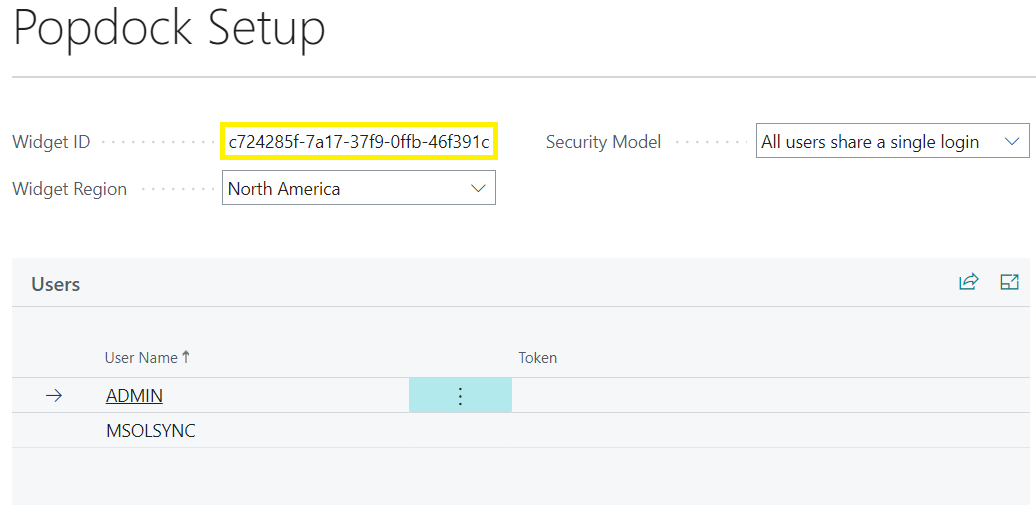
7. Use this article to get your Popdock Widget ID and Widget Region, then paste your Widget ID into the textbox next to Widget ID and use the drop down menu to select your correct Widget Region.
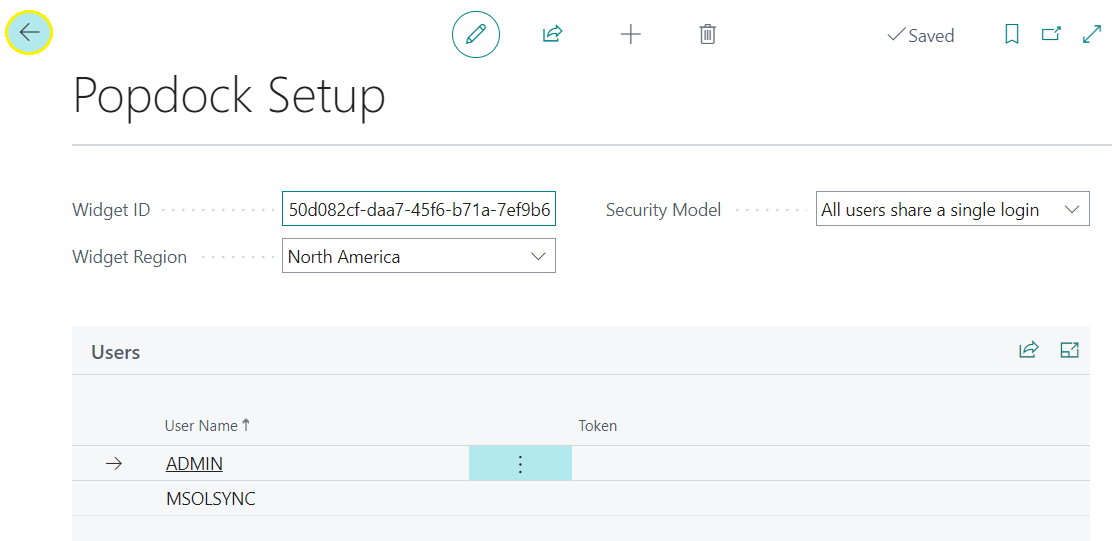
8. Click the back icon to return to the configuration screen, then press the F5 key to refresh the page.
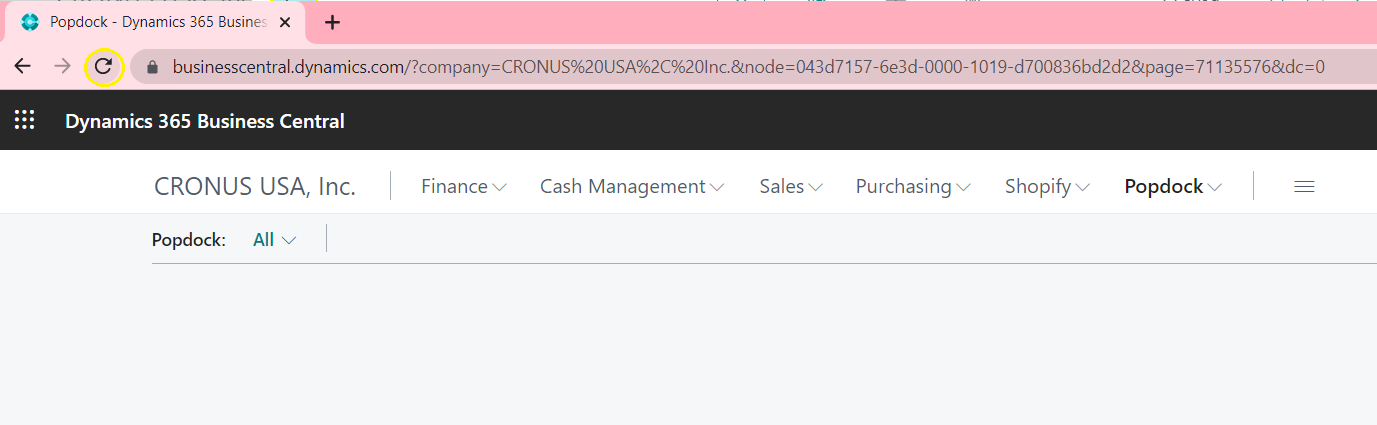
9. Select the refresh button on your browser to load the new widget.
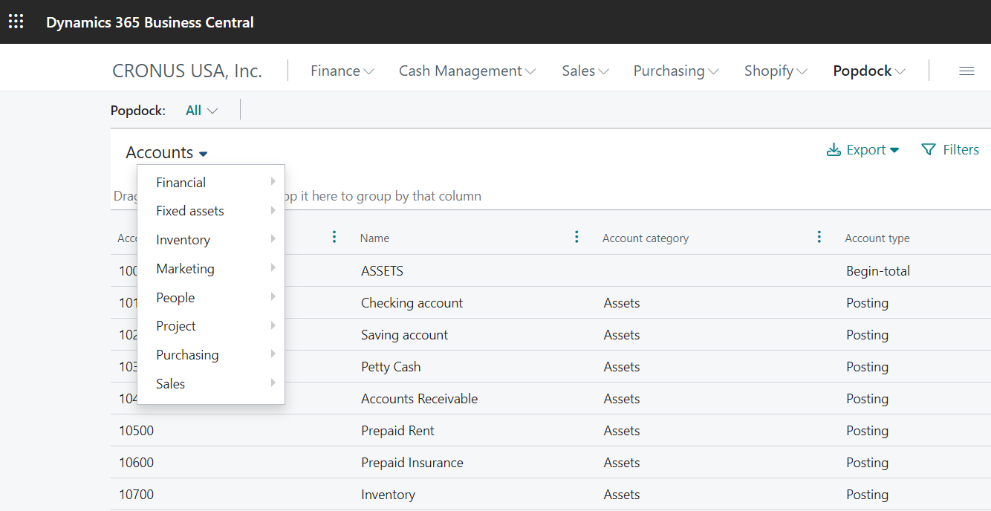
10. After the page reloads, you’ll see the Select list option. Select the arrow next to Select list to choose a list to display.
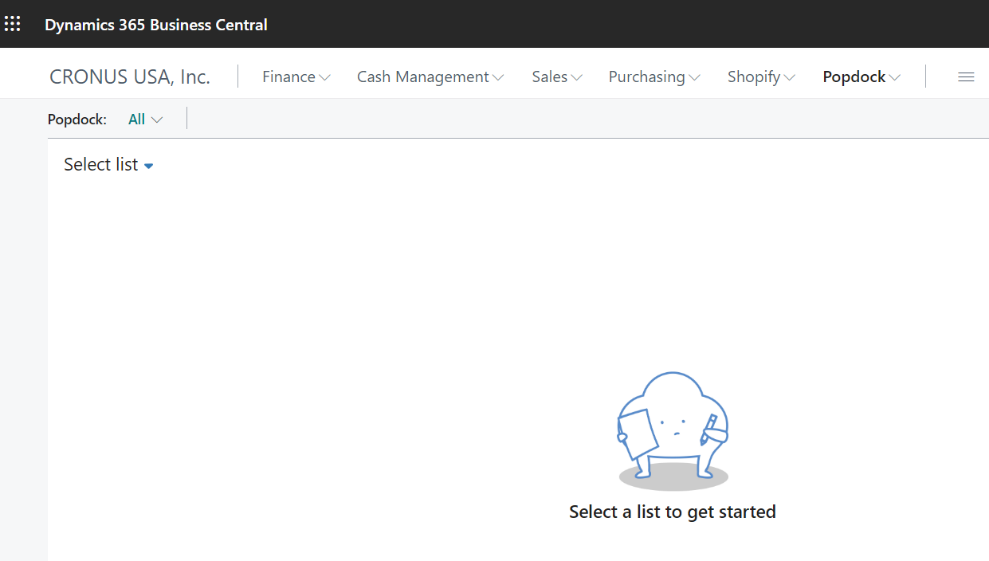
11. Your Business Central widget is configured, simply select lists to view them.