- From the main Navigation Menu, select Data Sources>>Realtime Triggers.
- On the Realtime Triggers page, click the Create Realtime Trigger Button.

- On the New Realtime Trigger page, click MSSQL Table Real-Time Data Source.

- The page to configure the MSSQL Realtime Data Source opens.
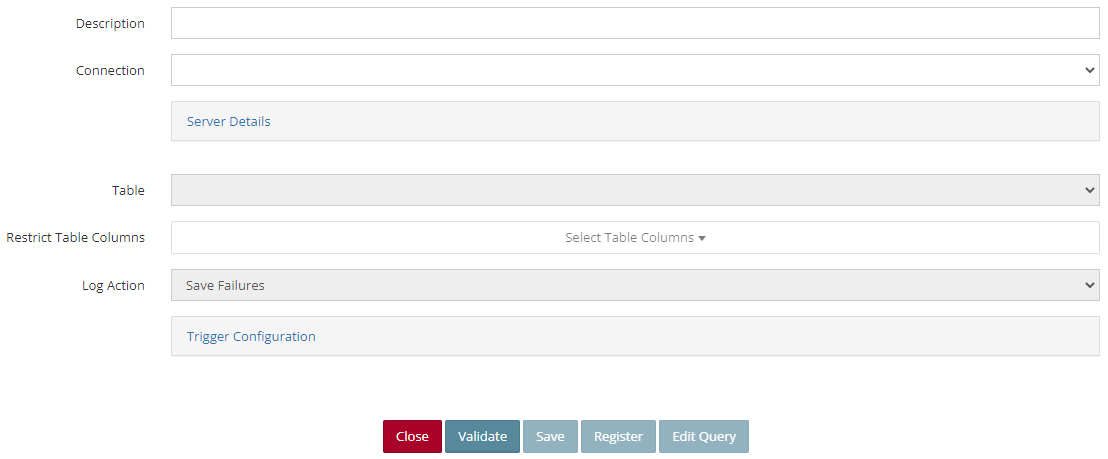
- Enter a Description for the MSSQL Table Real-Time Data Source.
- Connection – Select the MSSQL connection to be used from the dropdown list.
- Server Details – Click the Server Details button to show the details of the SQL Server.
- Click Validate.
- Table – Select a table to add a real time trigger to.
- Restrict Table Columns – If you only want to trigger the source on certain columns, mark those here.
-
Log Action – Set the Log action as needed.
- Save Failures: Will log only failed records.
- Always Save: Will log successes and failures.
- Save Successes: Will log only successes.
- None: will not log any records.
- Click Save. This will save the source with all columns from the table. If you do not need to modify the query the real time source is ready to be used on an integration.
- If you need to modify the query, click the Edit Query.
- By default, the chosen table from step 7 will automatically be loaded with all columns selected. Any modification to the query can be done at this time. See query builder use here. Needs to link to article on query builder.
- Click Save Query.
- Click Validate.
- Click Save.