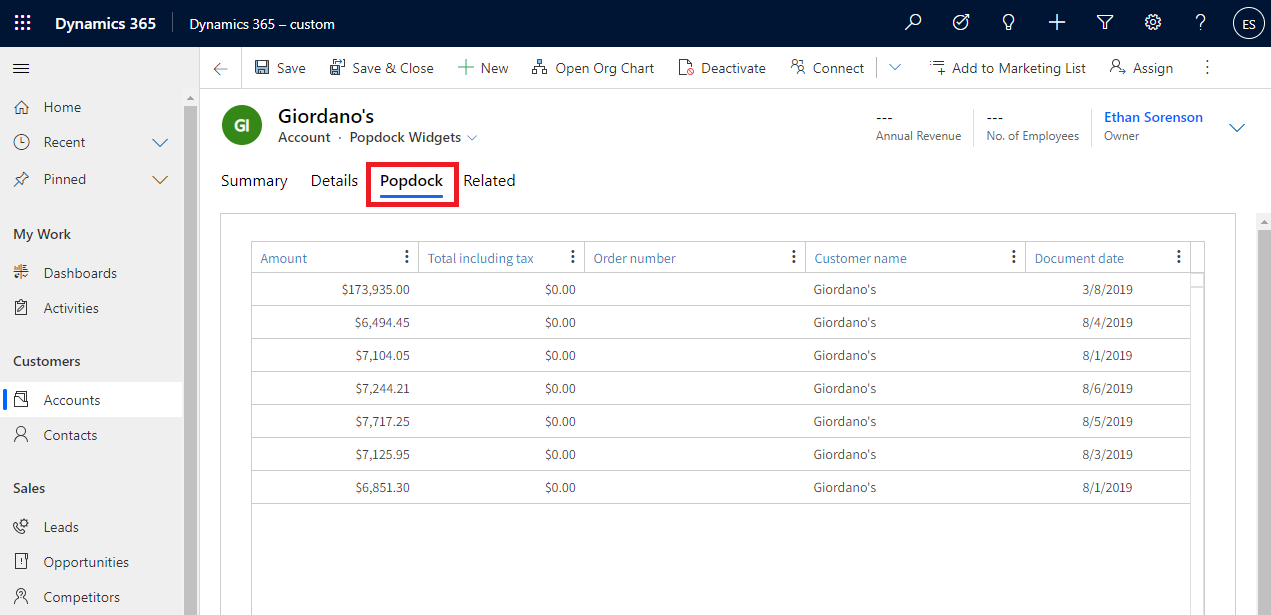
With the use of a Popdock widget you can integrate a Popdock list or multiple lists directly into your Dynamics 365 Customer Engagement user interface as an Iframe. The following example is a common scenario we see for embedding widgets in CE.
Important Tip
A Popdock widget will need to be created prior to following these steps because you will need the widget URL. Click Here to learn how to create a Popdock widget.
A sample solution with a widget can be downloaded here.
Adding a Popdock Tab:
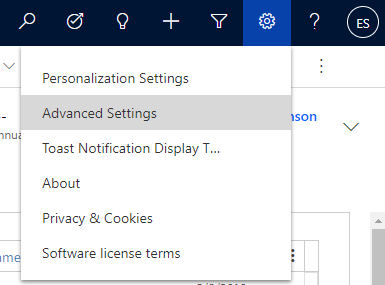
1. Click the gear icon at the top right next to your profile icon, then select “Advanced Settings”.
2. In the top navigation bar go to Settings > Customization > Customizations > Customize the System
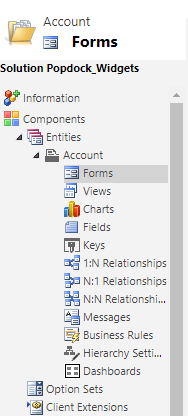
3. Select > Entities > Account (or any other entity you want to use) > Forms > Account (Or any form you want to modify)
4. Click the tab you want the Popdock tab to come after, and go to the Insert tab in the Toolbar and click “One Column”.
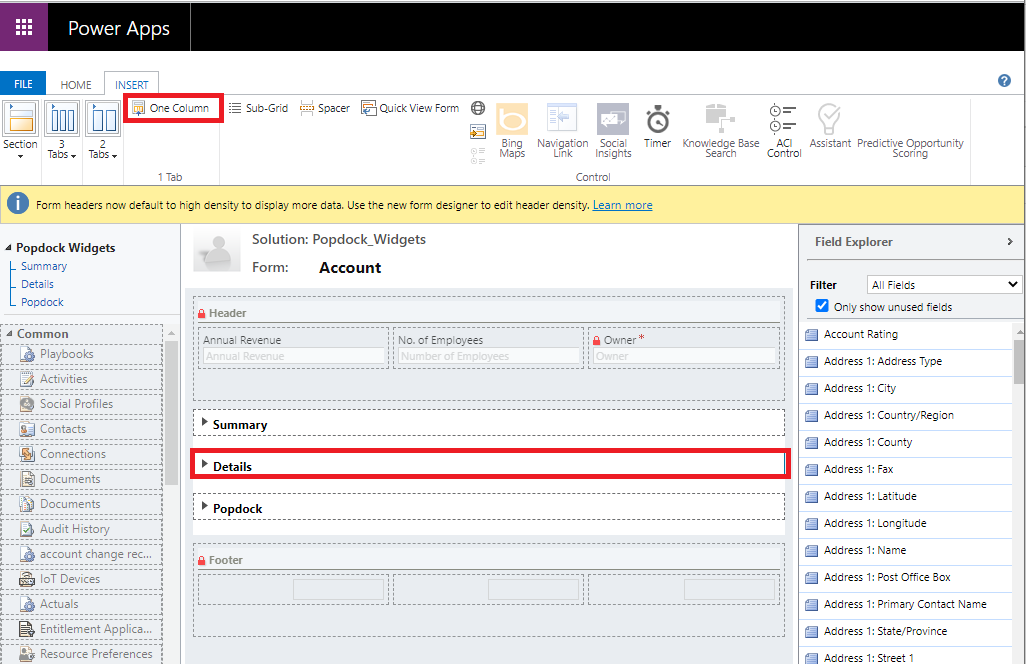
5. Give the tab a Name and Label

6. Select the section on the new Tab > Add IFRAME from the Insert menu
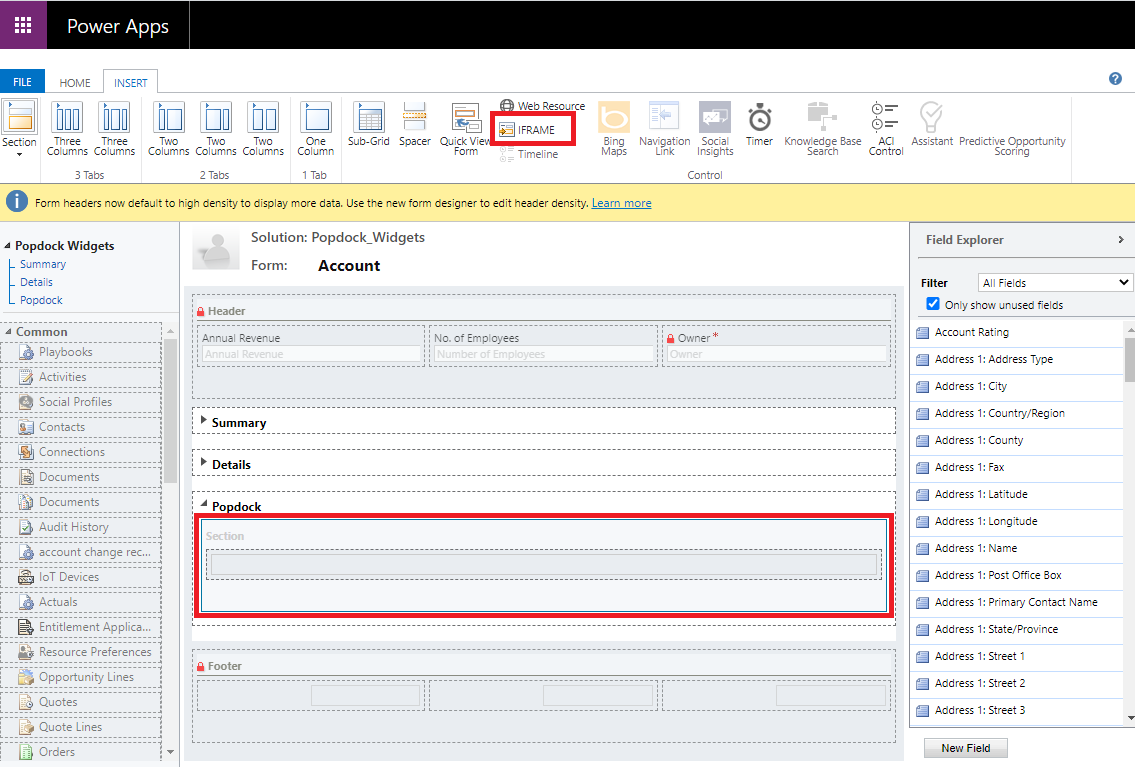
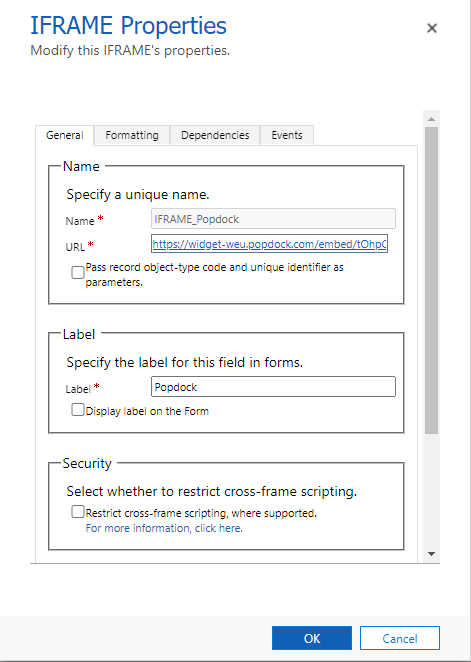
7. Enter the below settings
- Name: Enter “IFRAME_Popdock”
- URL: The URL for your widget as generated in Popdock
- Display label on the form: False
- Restrict cross-frame scripting: False
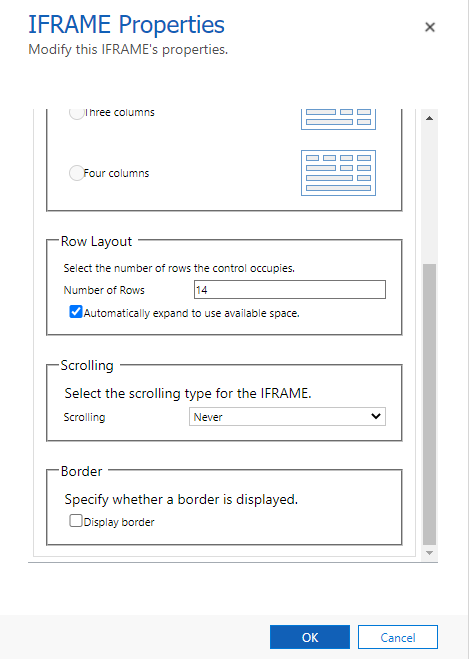
8. Go to the Formatting tab and enter the below settings
- Number of Rows: 14
- Automatically expand to use available space: True
- Scrolling: Never
- Display Border: False
9. Click Save on the Iframe window, then Save and Publish form
10. In another window open the Account form and validate the Iframe is now embedded and showing data.
If you need to filter the widget to only show records for certain data, continue below. If you don’t need to filter the data in the widget, you can stop here.
Adding Filter Parameters:
1. Click Web Resources > and create a new Web Resource > Give the Web Resource a name and set the type to “Script (JScript)”
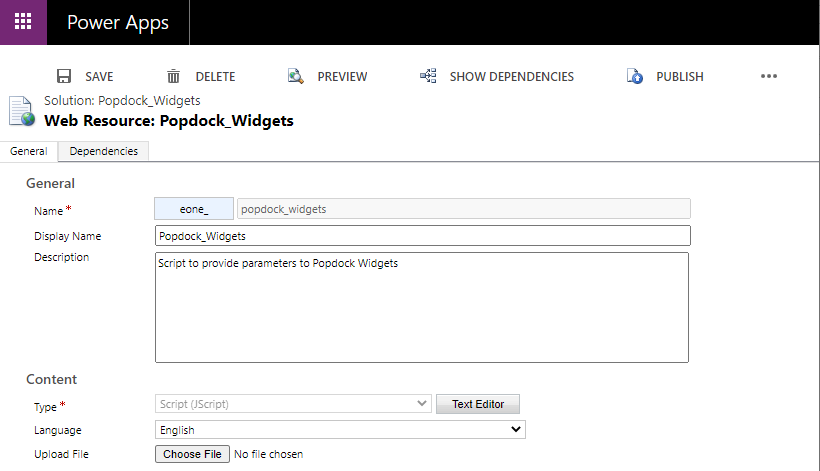
2. Click “Text Editor” and enter the script to apply the parameter filter based on a form field.
- If you want to filter with a different CRM field, replace the technical name on line 5 from “accountnumber” to your field.
- If your Iframe has a different name, replace the Iframe name on line 7 from “IFRAME_Popdock” to your Iframe name.
- If your parameter in Popdock has a different name, replace the parameter name on line 11 from “customer_number” to your parameter name.
3. Click the “Save” button, then “Publish”
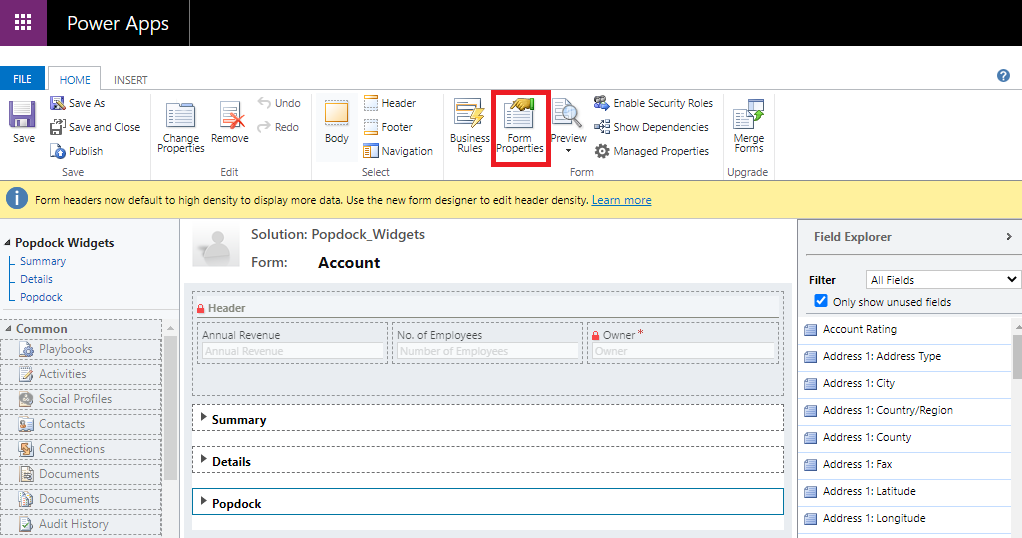
4. Open the form with the Iframe > Open Form Properties.
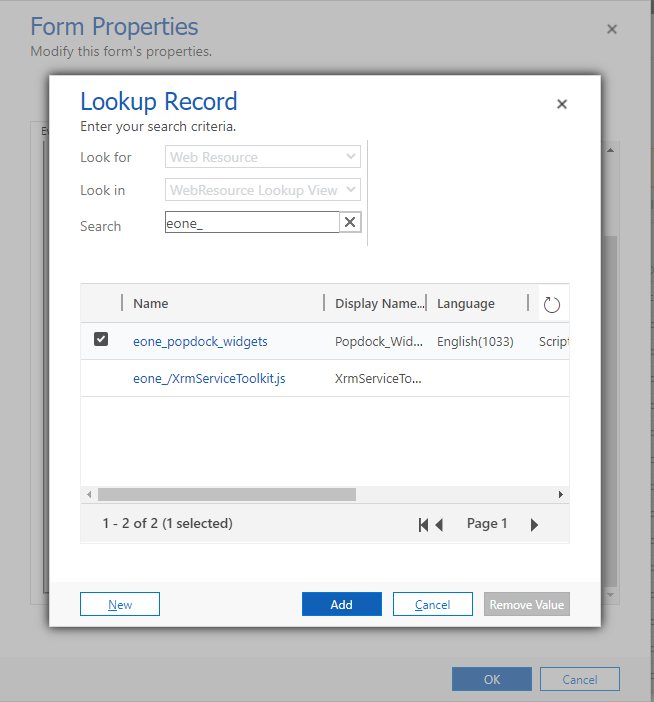
5. Add a new Form Library by clicking “Add” and looking up your Web Resource.
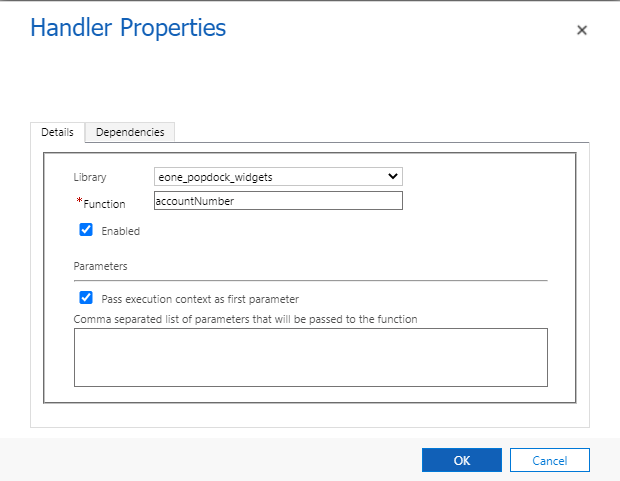
6. In the Event Handlers Section on the Control “Form” and Event “OnLoad” click add and select the following.
- Library: Your Web Resource
- Function: The name of your function in the JaveScript Web Resource
- Enabled: True
- Pass Execution Context: True
7. Click Save and Publish on the form.
8. In a new window open the Account form and validate the Iframe is now embedded and filtered based on your field.