If you have the Popdock Extension installed and connected to your Business Central environment, you will see a Popdock and Popdock Setup options in your Popdock Menu. If you have any users that cannot access the Popdock option or receive the below error when trying to view the widget, you may need to add a new permission set to give them permissions to access this feature.

Adding A New Permission Set in Business Central:
- Download the Popdock Permission Set – DOWNLOAD HERE.
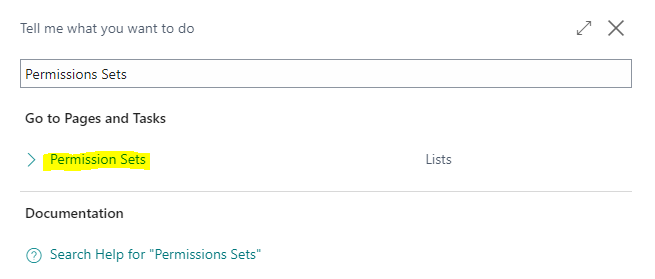
- Inside of Business Central, click on the search icon in the upper right corner of the page and do an universal search for Permission Sets in your Business Central environment. Then click on Permission Sets.

- Select Import Permission Sets.

- Locate the Popdock Permission Set you just downloaded and select this file to import.
- Click Yes when you receive the below pop up window to update existing permissions and permission sets.

- The Popdock Permission Set has now been added into your Business Central Environment. Follow the instructions below to assign the Popdock Permission Set to your users.
Assigning a Permission Set to a User:
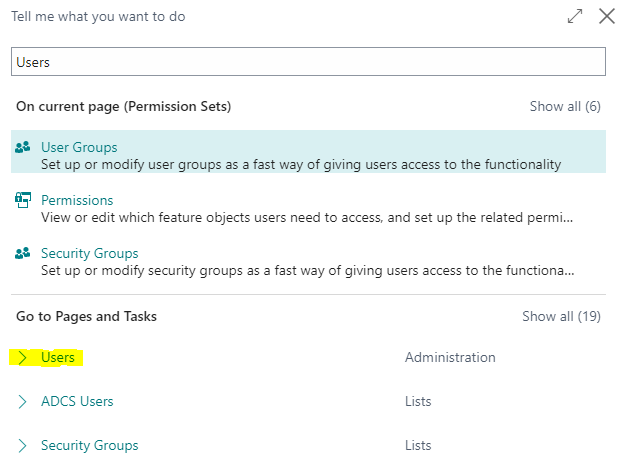
- Click the search icon in the upper right corner of the page and do a universal Search for Users. Then click on Users.

- Click on the name of the user you want to give this permission set to.
- Scroll down to the User Permission Sets section of the User Card and select New Line.

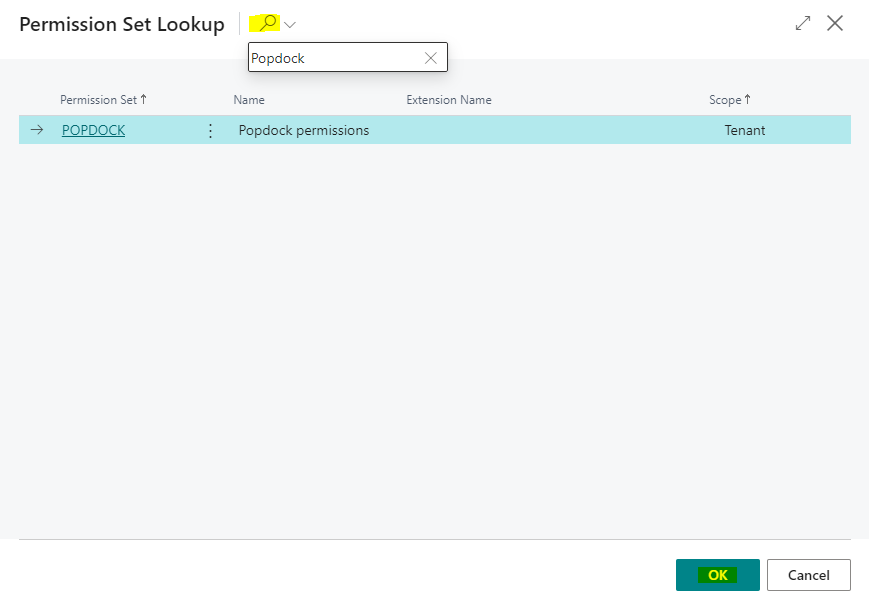
- Click the three dots that appear on the right side of the Permission Set field to open the Permission Set Lookup.

- In the Permission Set Lookup, click on the search icon at the top of the window and type Popdock in the search window. Select the Popdock permission set when it appears and click OK.

- The Popdock permissions are now active for that user. Complete steps 2-5 for all users who need the Popdock permission set.
Your users will now have access to the Popdock main widget within their Business Central environment and can begin exploring the functionality that Popdock provides to Business Central.