If you have a local Dynamics GP or SQL database that you configured on your computer and you want to add it to Popdock, there is some configuration that needs to be completed before Popdock will be able to connect to it. Depending on your network setup you will need to open up your outward-facing IP address and port number of the database so that Popdock can connect. Everyone’s network configuration and IP address are different so these first steps of opening your port number will vary on your internet modem or router provided by your internet service provider or your company’s network.
Important Tip
You will first need to know what port number your database instance is set to. By default, it is normally 1433, but please confirm by following the steps on this KB Article: How to find the TCP Port number your SQL Instance is listening on.
Configuring a Router for Port Forwarding
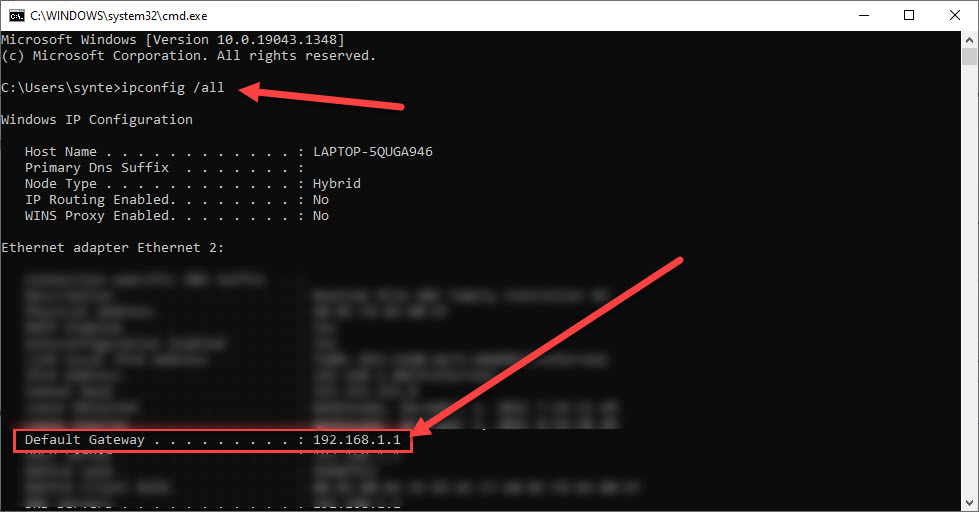
To configure a router for port forwarding you will require to know how to log into it. Some of the most common routers use a default IP Address of 192.168.0.1 or 192.168.1.1. One way that you can confirm is by opening a command prompt and using the “ipconfig /all” command. The default gateway shown in the returned data is normally your router’s IP.
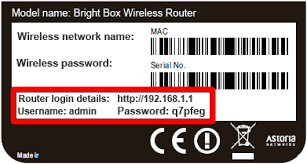
Using this IP Address and entering it in your browser will normally take you to a login for your router.

This information for the login can also sometimes be on a sticker on your router.
Once you are logged into your router, you will want to look for your Port Forwarding settings. Here is an example of where a Linksys router has it under Security > Apps and Gaming > Single Port Forwarding.
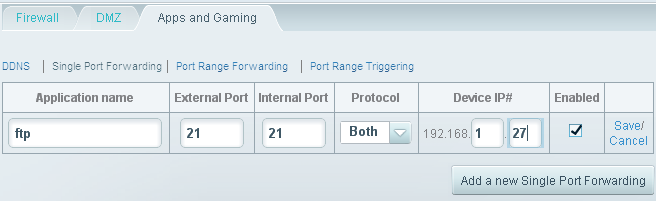
Here you would add the application name, which you can name Popdock if you like. The External and Internal Port would be the port number of your SQL database, the default port number is 1433. Protocol, is TCP and UDP, for this one leave on Both. Then if it requires the device’s IP address, this is the IP Address that your router is assigning your device. This can also be found by doing the “ipconfig /all” from a command prompt. Once you have it all completed, just be sure the save the settings. Then you now need to configure your windows firewall.
Configuring Windows Firewall
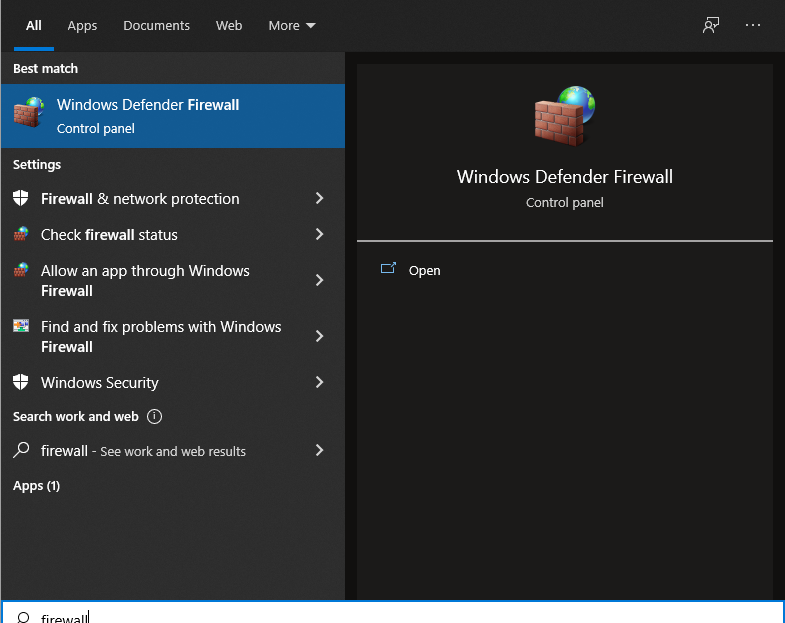
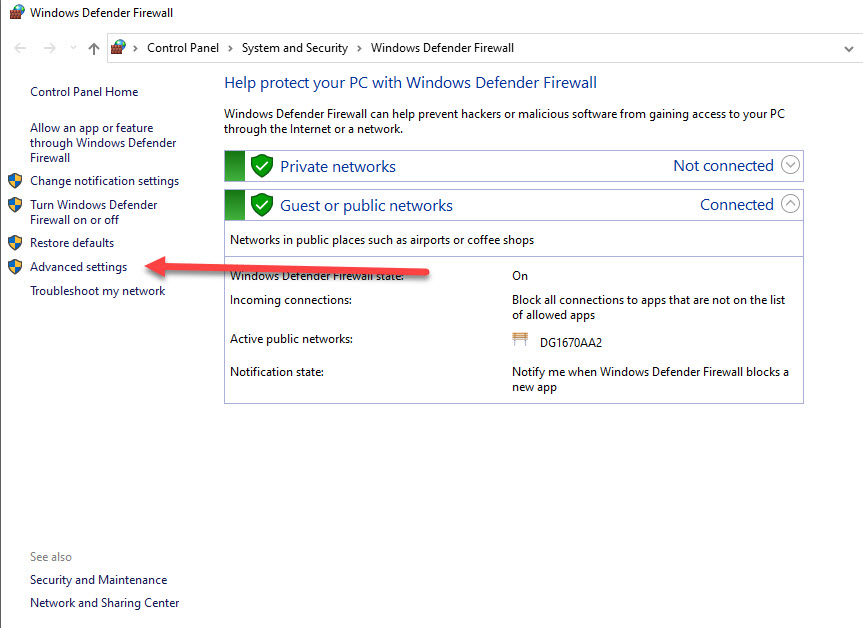
Open your windows menu and begin typing “firewall”. You should see the Windows Defender Firewall as an option, then click on it.
Next, you will need to go Advanced settings.
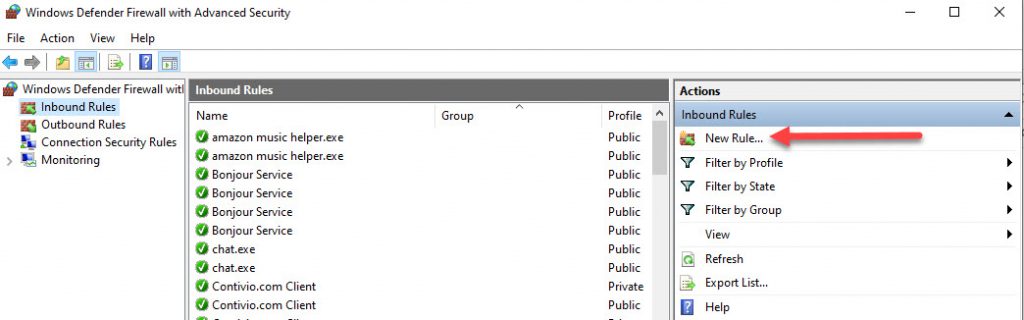
Here you will then go to Inbound Rules to create a new rule.
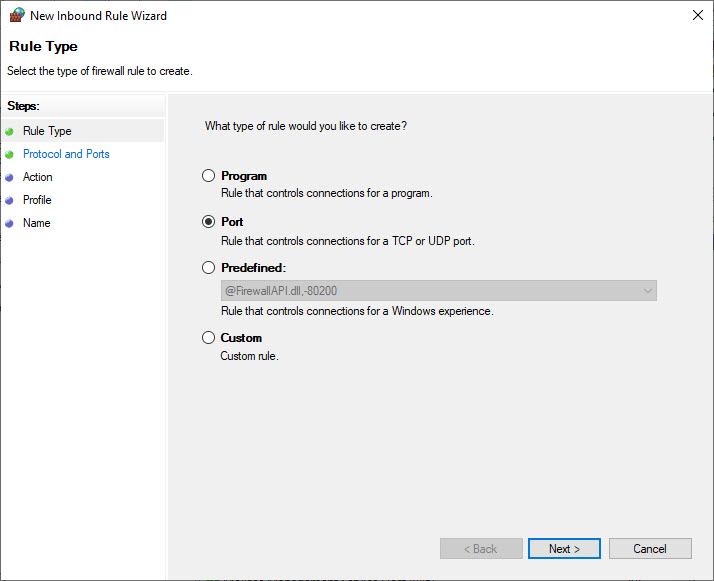
From the New Inbound Rule Wizard window that appears, you are to select a Rule Type. This would be the option called Port. Then click Next.
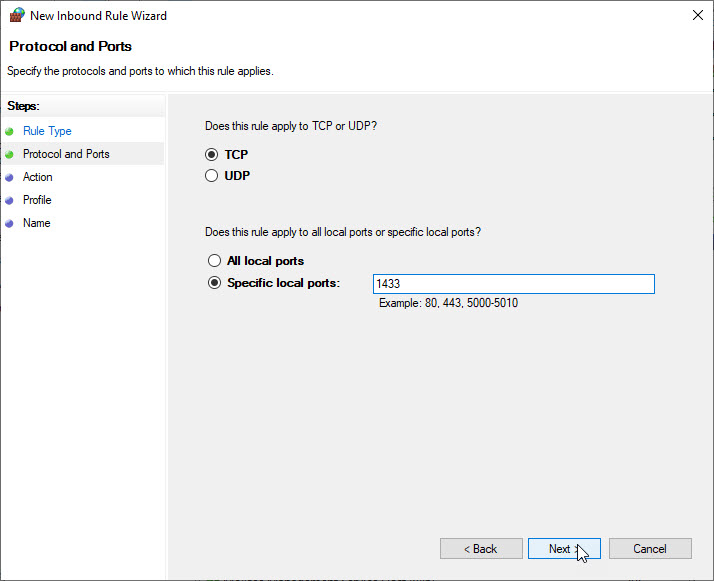
Now for have the Protocol and Ports options. For the protocol choose TCP and for the port options, choose “Specific local ports” and in the field enter your port you are using for your database or enter 1433 for the default port number. This is the port that should match what you have configured in your router port forwarding. Once you have these configured, click Next.
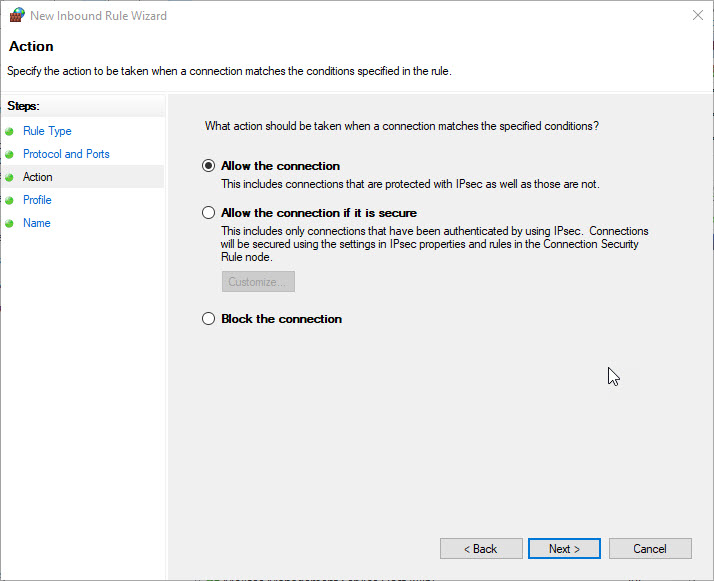
For the next step, it is the action being allowed. Leave the default of “Allow the connection” and click Next.
Next will be the specify profiles options, you can leave the default selection and click Next.

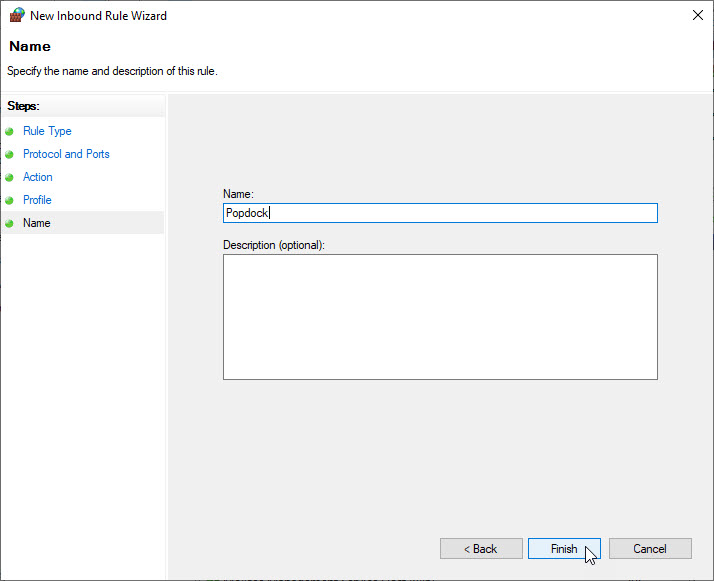
Last give the inbound rule a name and then click Finish.
Configuring your Popdock Connector
You should now be ready to connect your local database to Popdock using your computer internet facing IP Address (not the 192.168.1.27 assigned by your router), along with the port that you have opened up on your network for Popdock to connect through. Easiest way to get your internet IP Address is to Google “What is my IP4 address”.
Important Tip
Your internet IP Address is issued by your Internet Service Provider or ISP. Sometimes it is static, but most of the time it is dynamic and could change when your ISP does an update or forces it to change.
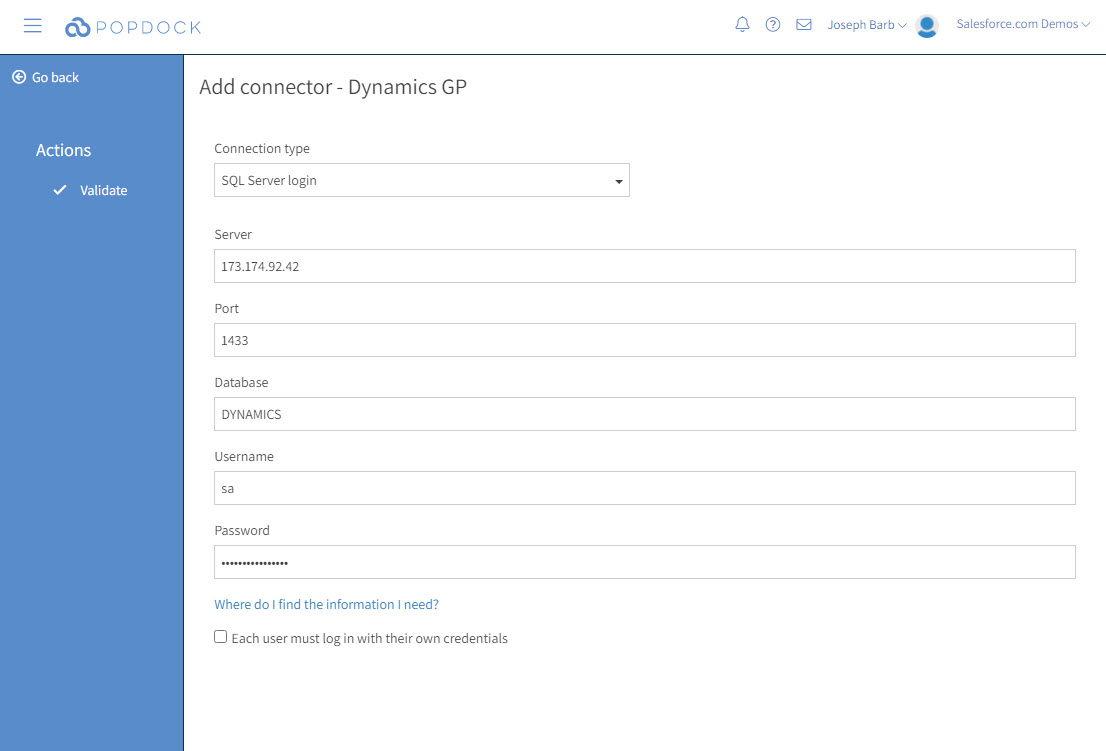
After entering all the information required, click on Validate. If there are no errors, you should see a Connect button under Actions. If you do receive an error and do not know where to go from there, please reach out to our support team for some help support@eonesolutions.com.