A joined list combines records from 2 or more lists into a single record based on a relationship, allowing you to select fields from all joined lists. Joined lists can join together lists from the same system, or two or more disparate systems using a unique identifier. In this exercise, we will join Invoice Header information to the Invoice Lines from our Sample Data Connector.
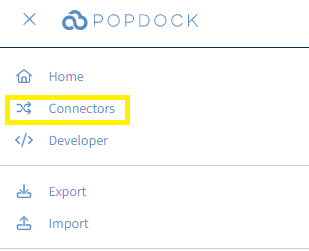
1. Click on the triple bar menu from your Popdock home page, and select Connectors from the drop down menu.
2. Click the edit icon (pencil icon) next to the connector you would like the joined list to show up under. In this example, we will be selecting the Sample Data Connector.
Best Practice:
Select the Connector you view as the ‘master’ source of data for your joined list.
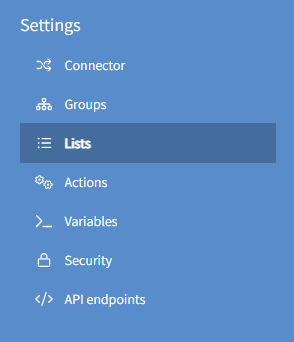
3. From the left navigation menu, click Lists.
4. Scroll down to the Custom Lists section, and click the link that says. “Joined: Click here to add a custom list that joins multiple lists.” If you have already created custom lists for the connector you will see your custom lists here and a +Add custom list button. In that scenario, click the +Add custom list and select from the menu.

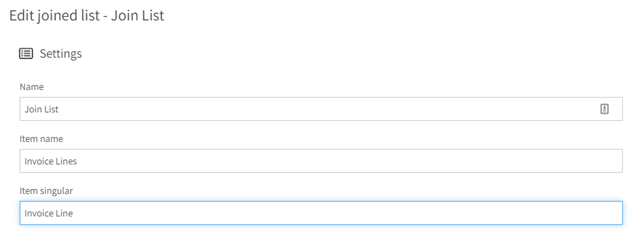
5. Give the list a name and fill out the Item name and singular fields. In this example, we will name the list “Join List” and for the Item name and singular, enter Invoice Lines and Invoice Line. If you have created groups in your connector, you will also have a Group dropdown to choose which group you would like the list to appear in.
Note: Item Name and Item singular should describe the data in your list. These descriptions will be used while users interact with the data. For example, the list we are creating will show the number of “Invoice Lines” in the bottom left of the list.
6. From the left settings menu, select Lists.
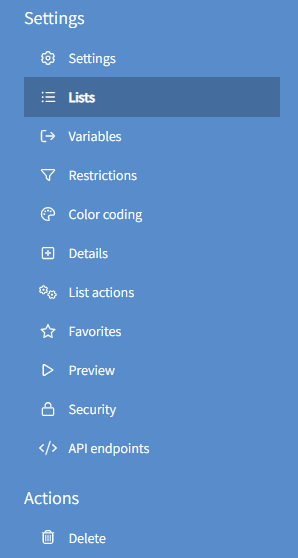
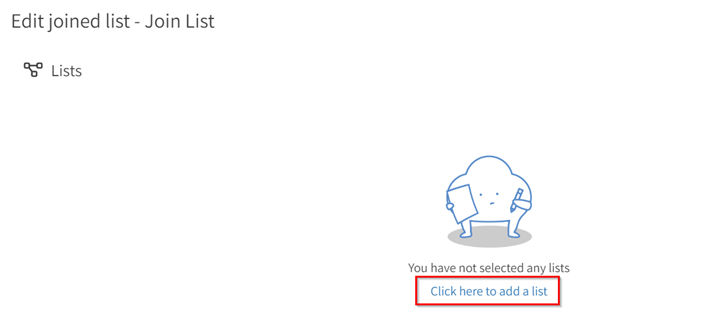
7. Click “Click here to add a list.”
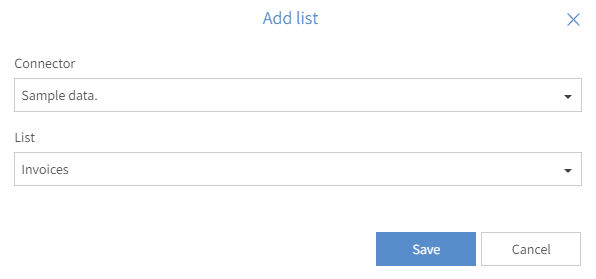
8. We will select Sample data from the Connector drop down menu and select Invoices from the List drop down menu. Then click Save in the Add List window.
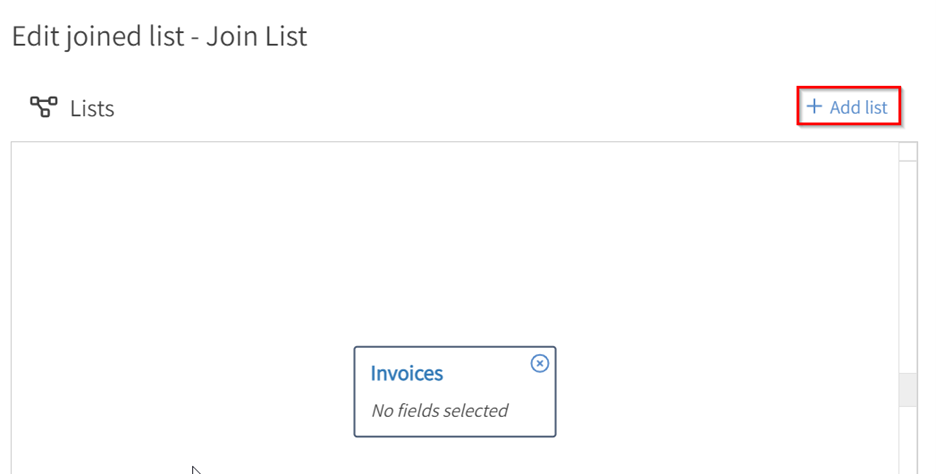
9. We have added our first list. Now we will add our second list and select the fields we are joining together. Click +Add List in the upper right corner.
10. Choose the Connector and List you will be joining. Next select the list that you are joining it with in the “Link to list” drop down. In our example, we will select Sample data from the Connector drop down, Invoice line items from the List drop down, and Invoices from the Link to list drop down menu. The next two drop down options identify the unique identifiers/fields you are joining together in both lists. In our example, the From field is Invoice Number and the To field is also Invoice Number. Once all drop downs are completed, click Save.
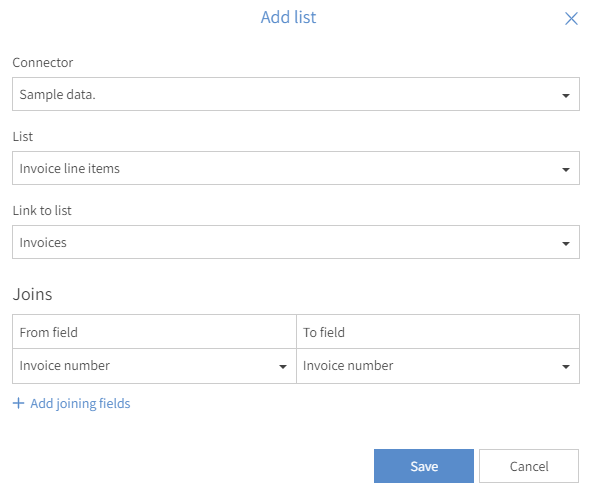
Note: The second Add List window allows you to define the relationship between the Link From list and the Link To list. The example above uses only 2 lists, so the link from and link to is obvious. In a production setting, you may find that you are joining more than 2 lists. In that case, you could join the third list to either the first or second list, depending on the correct relationship.
11. Click the Join arrow between the 2 lists. This opens the Edit Join menu on the right hand pane. Select Left Outer from the Join type drop down menu.
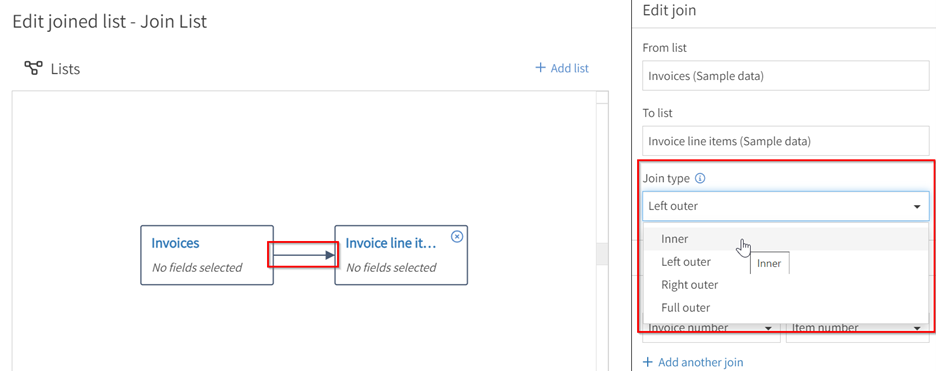
Note: When you first create the join list, Popdock will assume a Left Outer Join – meaning select all of the rows from the first list and then get data from the second list where the relationship is true. Other support joins include:
Inner Join– Select data from both tables only where the relationship is true.
Right Outer Join – Select all of the data from the second list, and records from the first where the relationship is true.
Full Outer Join – Select all of the records from both tables, and line up rows where the relationship is true.
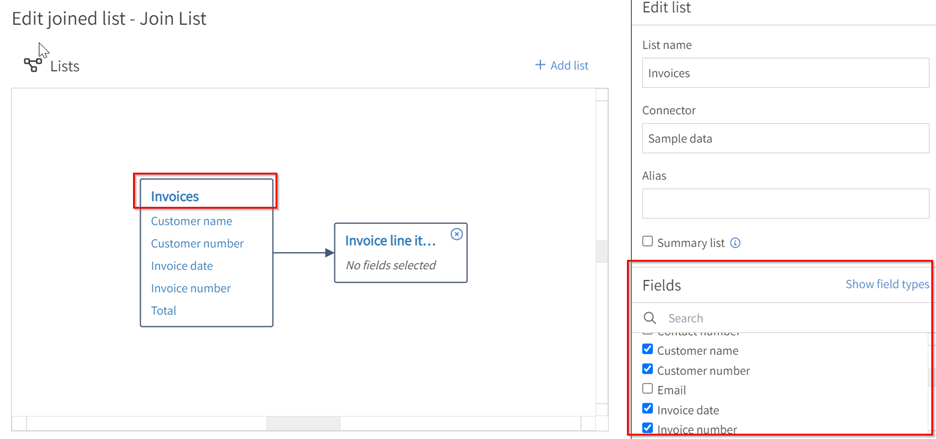
12. Click the Invoices box. This opens the Edit List menu in the right hand pane. Choose Customer Number, Customer Name, Invoice Date, Invoice Number, and Total from the Fields list.
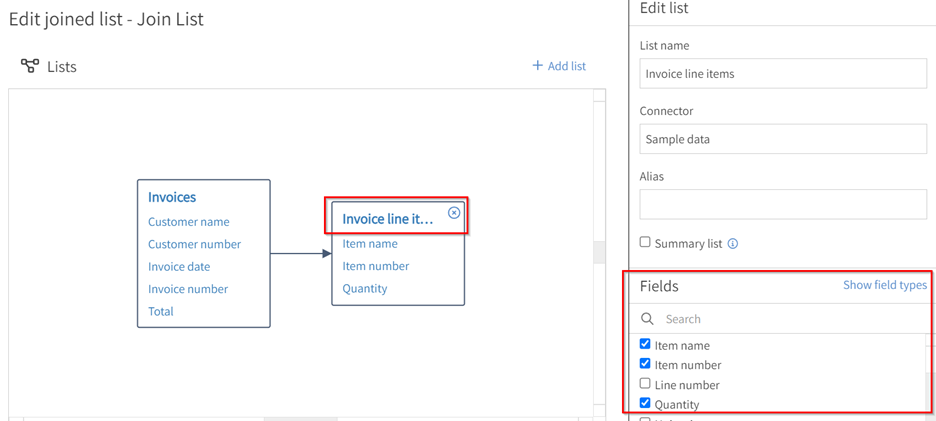
13. Click the Invoice Line Items box. This will change the context of the Edit List menu in the right hand pane. Choose Item Name, Item Number, and Quantity from the fields menu.
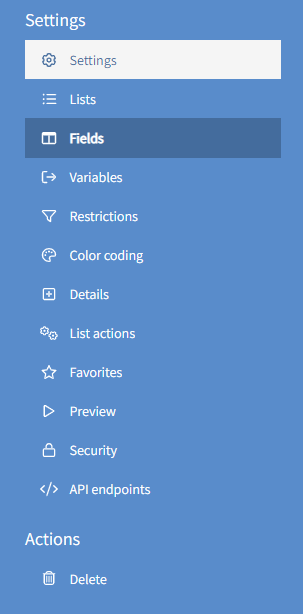
14. From the left Settings menu, click on Fields.
15. Locate the Default fields section, and click Show to the right of section. Then click the link that reads, “Click here to add default fields.”

16. We will select all of the fields and then will click Add.
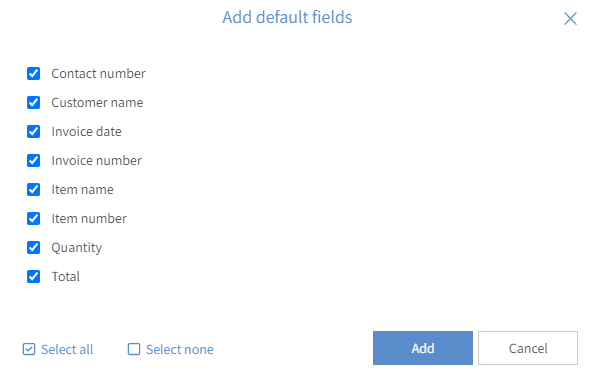
Note: Default fields are the fields in the list when the user clicks on Default. You do not always have to select all fields here, but you should always choose some.
17. Our list is now available to use in Popdock. To view the list click the Popdock logo in the upper left corner.

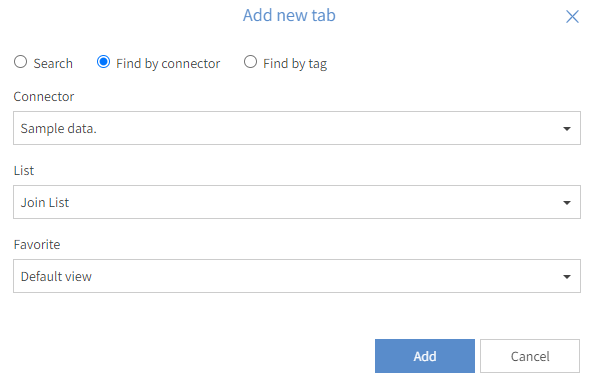
18. Click +Add new tab in the top center of the page. Then click the Find by Connector option button.
19. Select Sample data from the Connector drop down menu and select Join List from the List drop down menu. Once those two fields are populated, click the Add button.
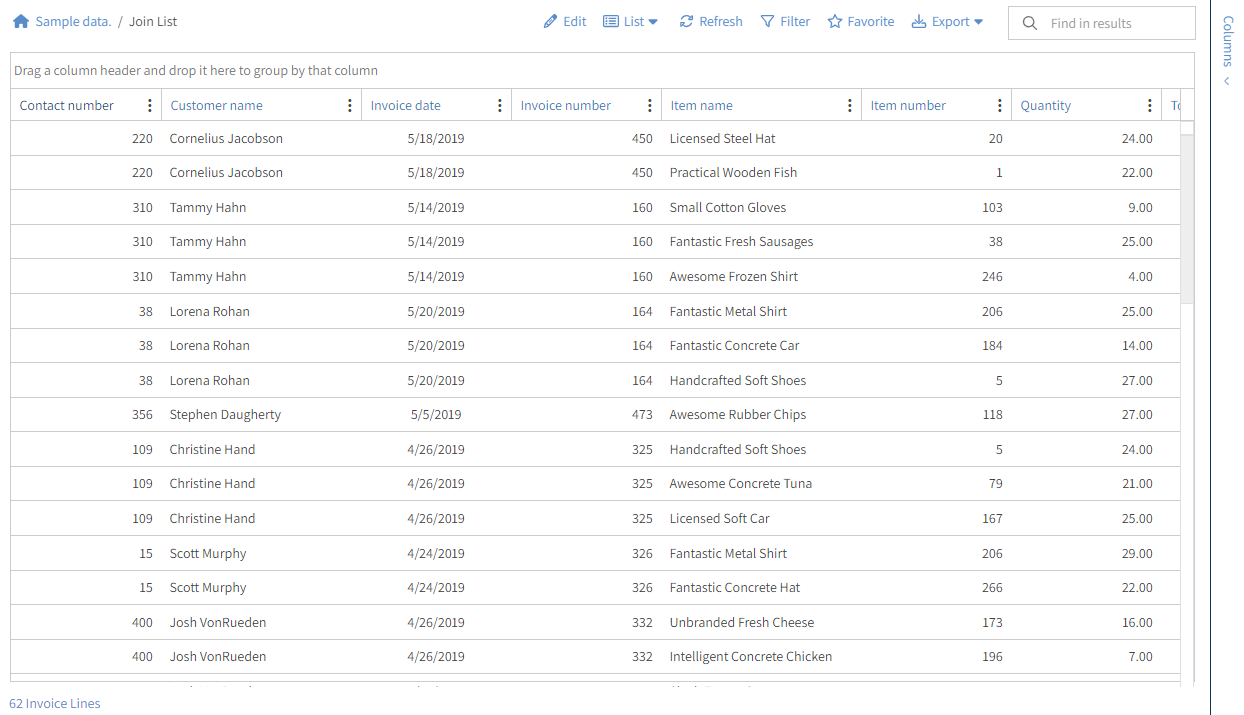
20. The join list will open as a new tab.