Depending on the data you are wanting to summarize on a list, you have several options that this feature is capable of. For example you can take the data on your list and summarize it by showing an Average, Count, Distinct Count, Maximum, Minimum, and Sum. Follow these steps to summarize your list.
Important Tip
A summarized list gives you the ability to customize an existing list to summarize your data.
In this example we will be summarizing Dynamics GP’s Sales line items list by Item type and showing the sum of the extended price and quantities of each Item type.
The steps below detail how to summarize this list using the Custom List feature.
First, you will create the Summarized List Container. Next, you will select which list you are summarizing. Finally, you will configure your summarized list to show the data important to you.
1. Click on your “Home” tab.
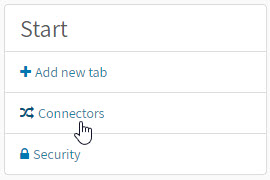
2. Then click on “Connectors” on the left navigation under Start.
3. Next click on the edit icon next to the connector that you would like the summarized list to show up under.

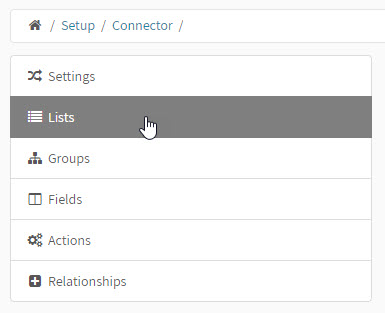
4. Now you click on “Lists” on the left navigation menu.
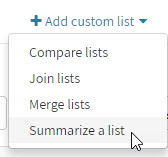
5. Your default lists available for the connector are listed on the List page. In addition, you have a Custom lists section. If you have not created a custom list for this connector yet, you will have the four links as options as shown here in the first image. Click the option that says “Click here to add a custom list that summarizes a list”. If you have already created custom lists for the connector you will see your custom lists here and a “+ Add custom list” button. Click the “+ Add custom list” and choose “Summarize a list” from the dropdown. For more information on each type of list, please see the following Knowledge Base article: “Getting to know custom lists.”

6. Now you are ready to create your Summarized List. Start by completing the List settings:
Best Practice:
When naming your list, it is recommended that you develop a naming convention for your lists such as: Date, Description, Use, Initials for future reference/use.
For example: “Summarize_Sales_Line_Items_By_ Item_Type_March2018_JB
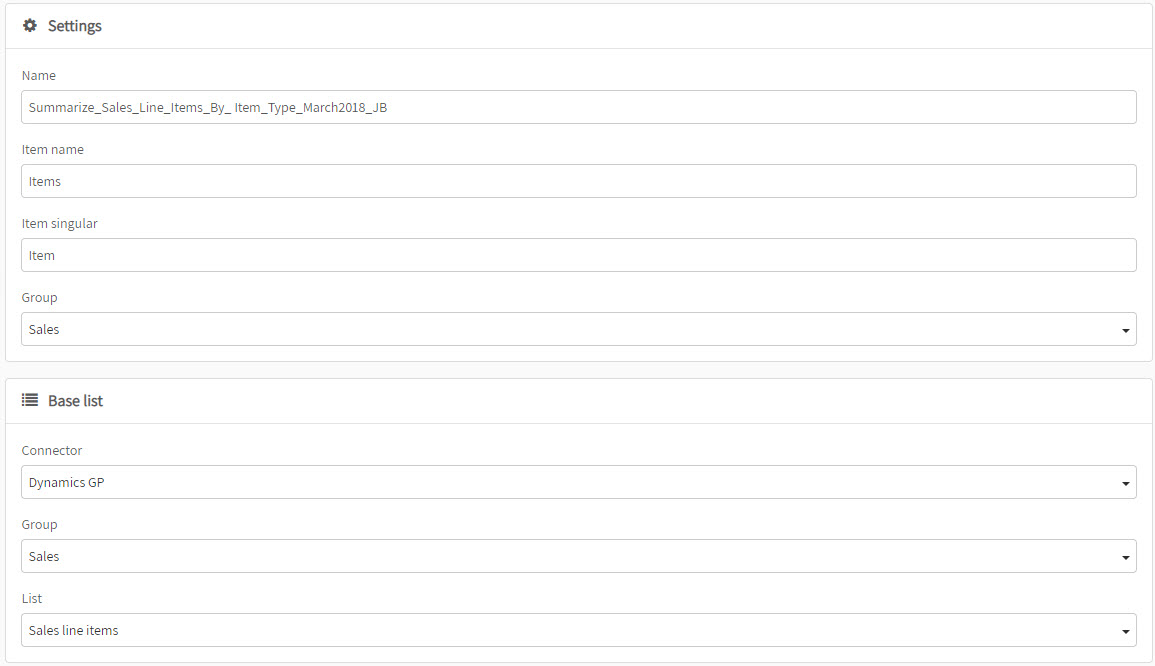
The data you input on this screen will save automatically.
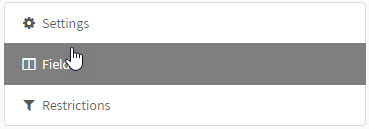
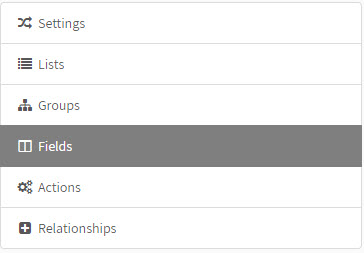
7. Now you will configure how you want to summarize the list. Next click on “Fields” on the left navigation menu.
8. Now click on the link “Click here to add a group field”. A window will pop-up where you will select the field. In our example, this would be the “Item type”. Then click the “Add field” button.
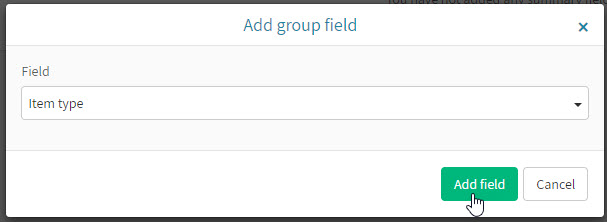
Now you will see the “Item type” field added to the Group fields. If you wanted you could add more fields to group by, but we will continue with just this one field.
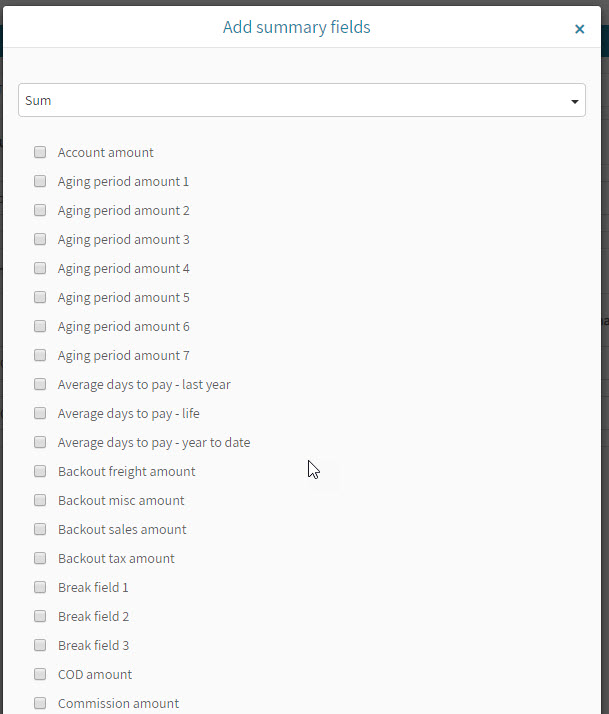
9. Now click on the link “Click here to add summary fields”. A window will pop-up where you will select the type of summary you want for a field. In our example, we will get the sum of the quantities of line items as well as the sum of the extended price so select “Sum” from the dropdown. Then all the fields that are available in the list to be summed will display. Here I check the fields for extended price and quantity, then click the “Add field” button at the bottom.
10. After you have completed adding fields, you can now set your default fields for your list so that they automatically show when you add your new compare list to a new tab. From the breadcrumbs, click on “Connector” to go back to the edit options for the connector.

11. Click Fields in the Left Navigation.
12. From the “Select list” drop down, choose the name of the summarized list you just created and select which fields you would like to see as the default.
After you selected your default fields, your list is ready to be used.
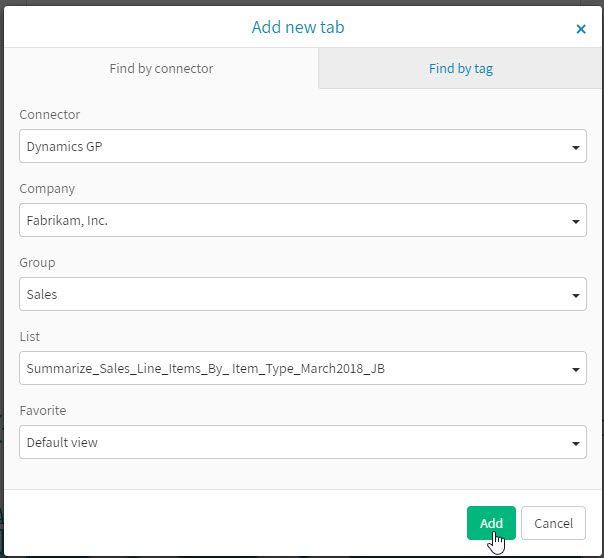
14. Click the “+ Add new tab” button.
- Select the Connector in which you added the joined list. In my example, it is housed within the Dynamics GP Connector.
- Then select the Company that you would like to run the report on if you have multiple companies.
- Next, select the Group if you added your list to a group. My example was in the Sales group.
- Then select your summarized list from the dropdown list.
Click the “Add” button.
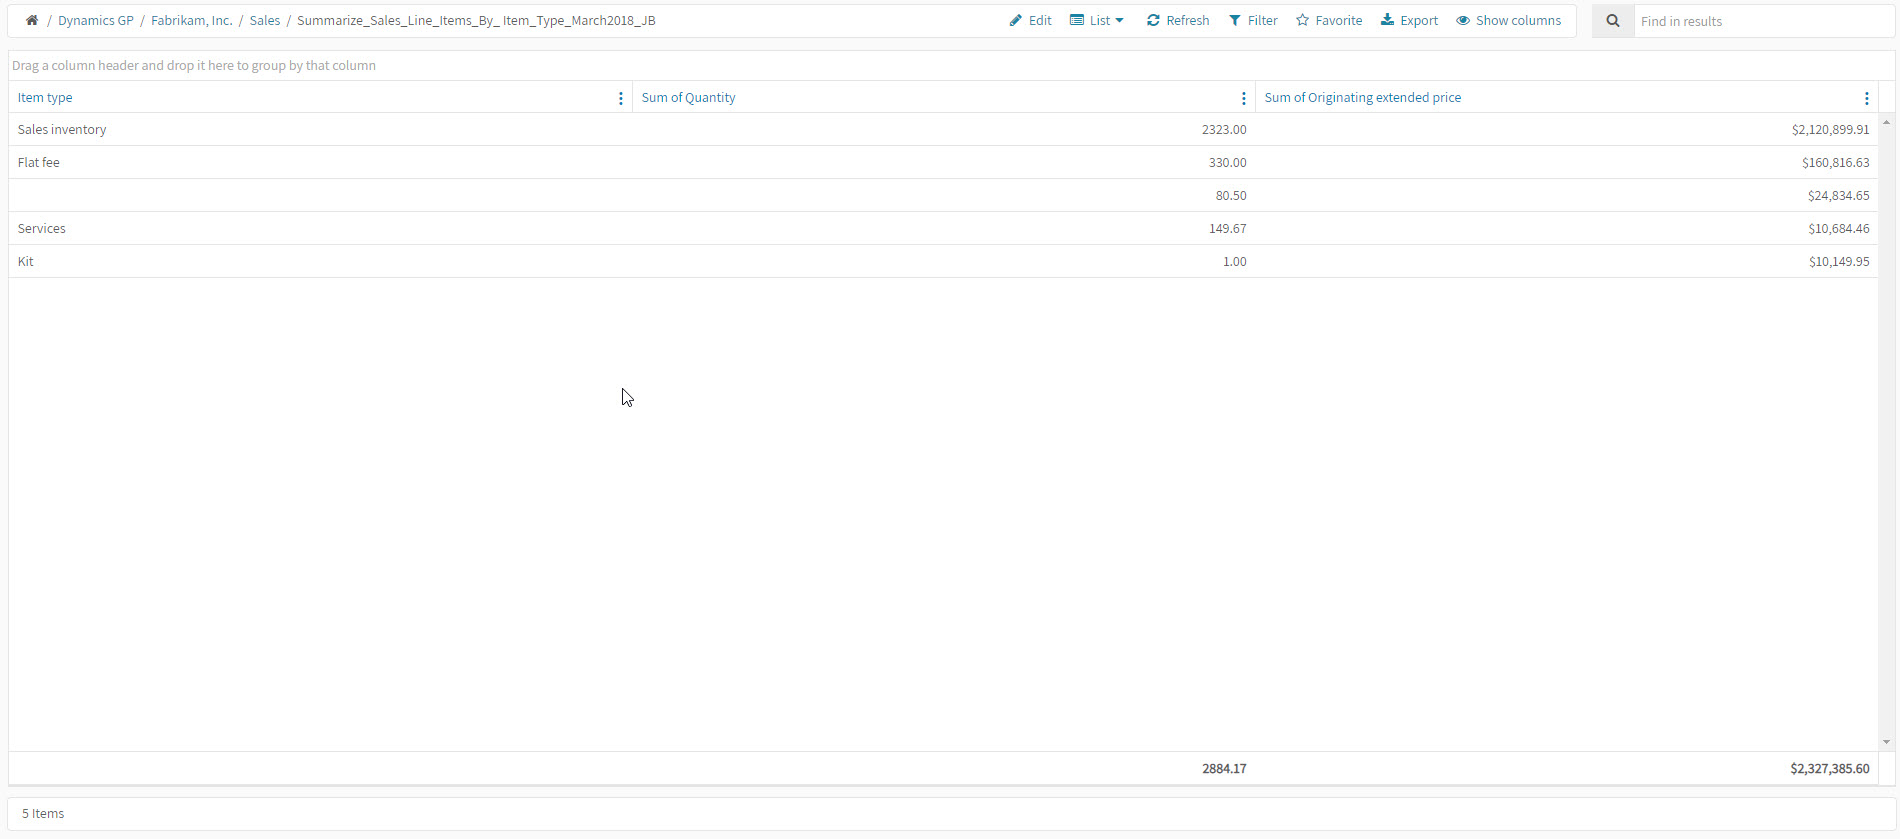
You have now created a summarized list that shows the sum of the extended price and quantities for each Item type. You can filter, sort or take action from your report. Or export for your needs.