With the use of a Popdock widget you can integrate Popdock right into your Acumatica dashboard with just a URL.
Important Tip
A Popdock widget will need to be created prior to following these steps because you will need the widget URL. Click here to learn how to create a Popdock widget.
Adding a Popdock widget:
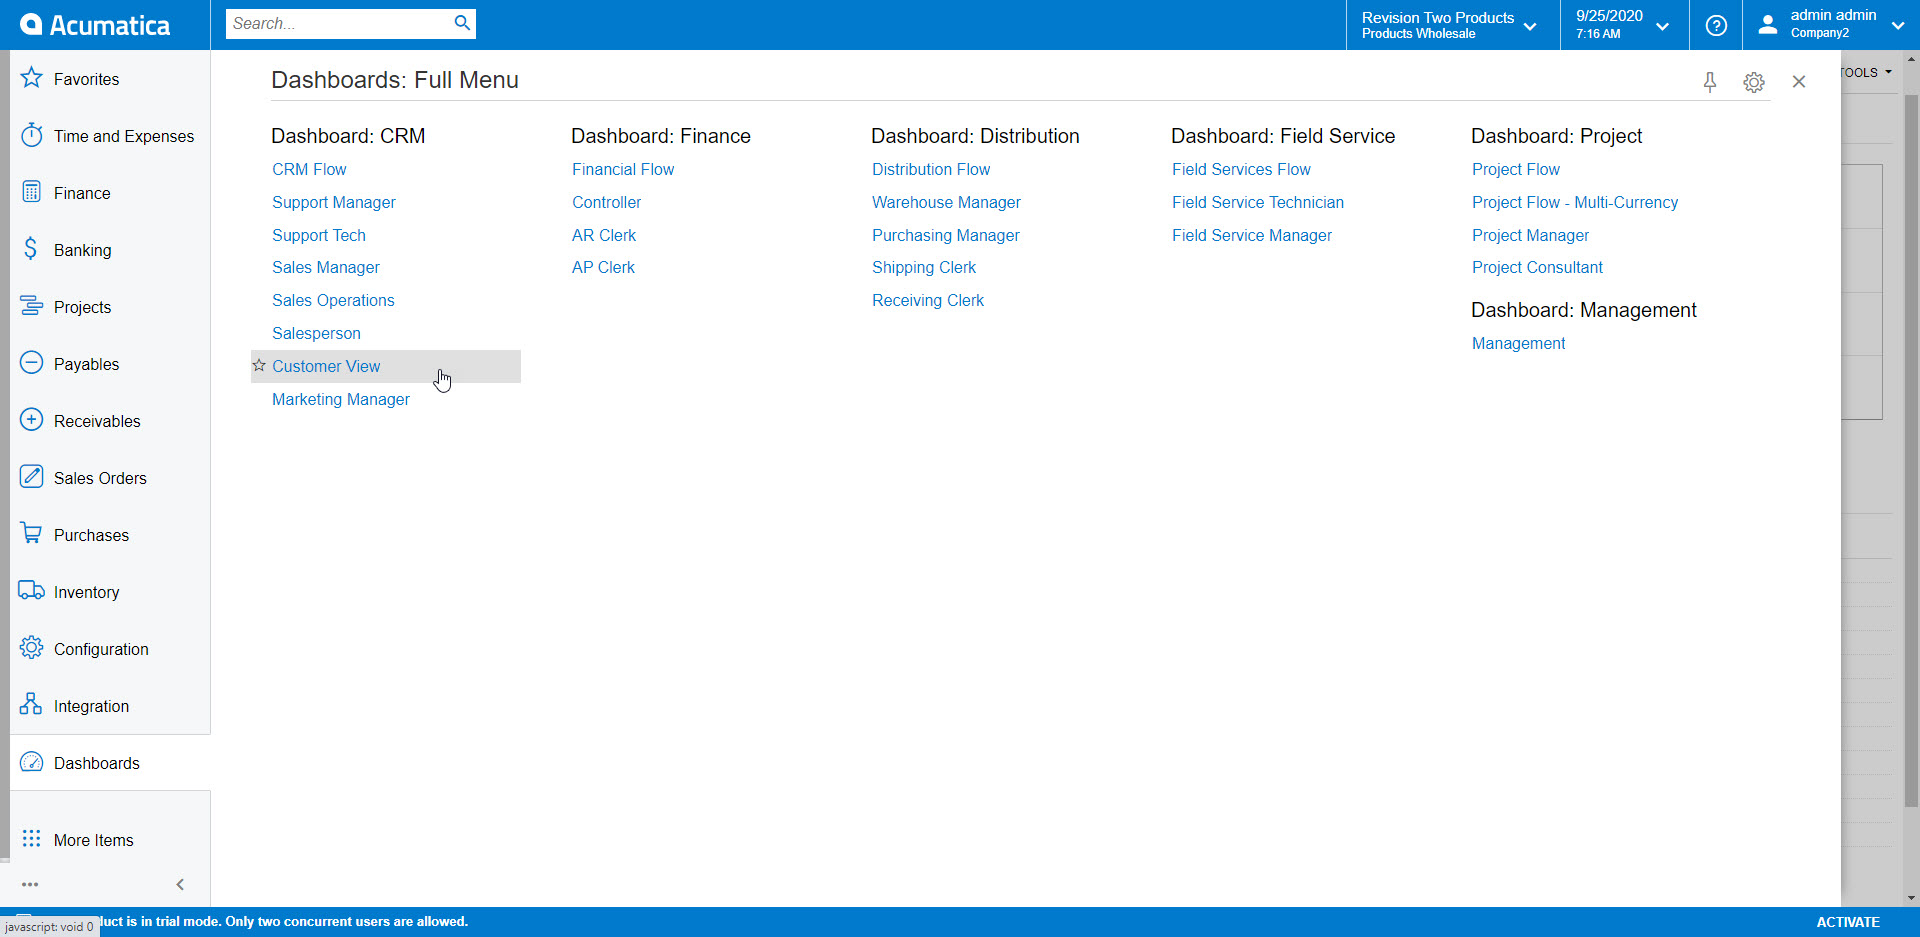
Step 1. Login to your Acumatica and go to Dashboards on the left navigation menu, then choose the Dashboard you would like to add Popdock to. Here I am choosing the Customer View dashboard.
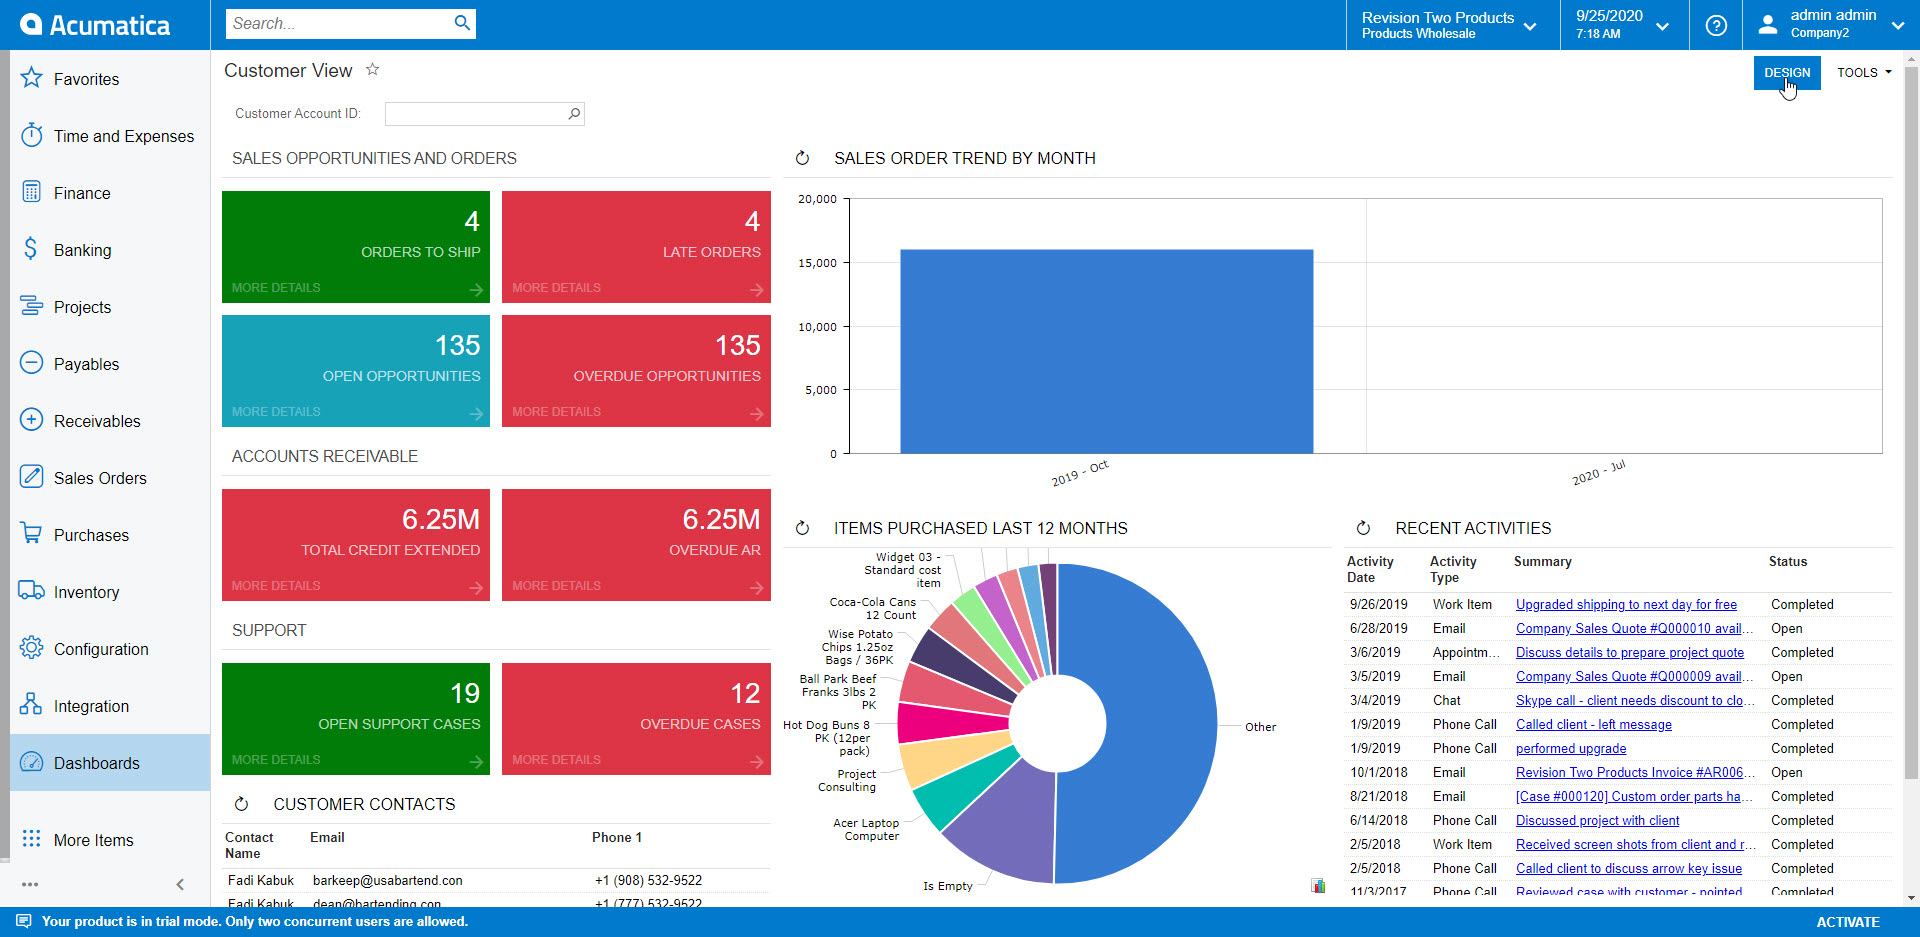
Step 2. At the top right of the dashboard will be a Design button, click on the button to switch the dashboard to design view.
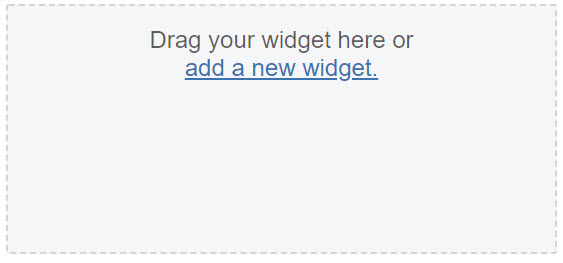
Step 3. In the Design view, you should now see some boxes with a link to click to add a new widget.
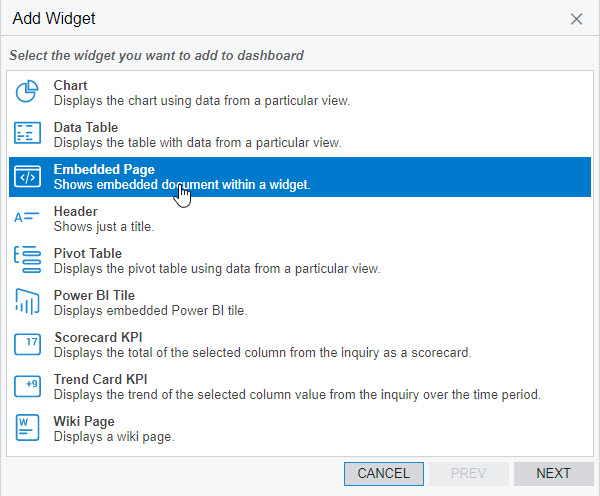
Step 4. Click the link to add a new widget and it will open a window with a few options to choose from, choose Embedded Page. Then click Next.
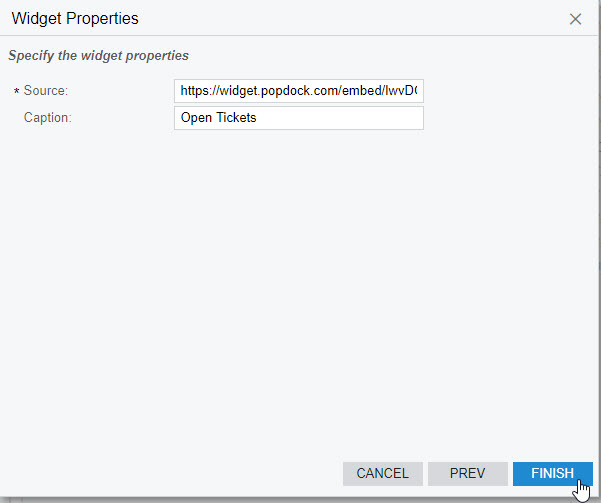
Step 5. The next screen will ask for the Source and Caption. Source will be the URL for the widget and Caption is if you would like a title above the widget showing. Here I have pasted a simple Zendesk Open Tickets widget and given it a caption. Click Finish when you are done.
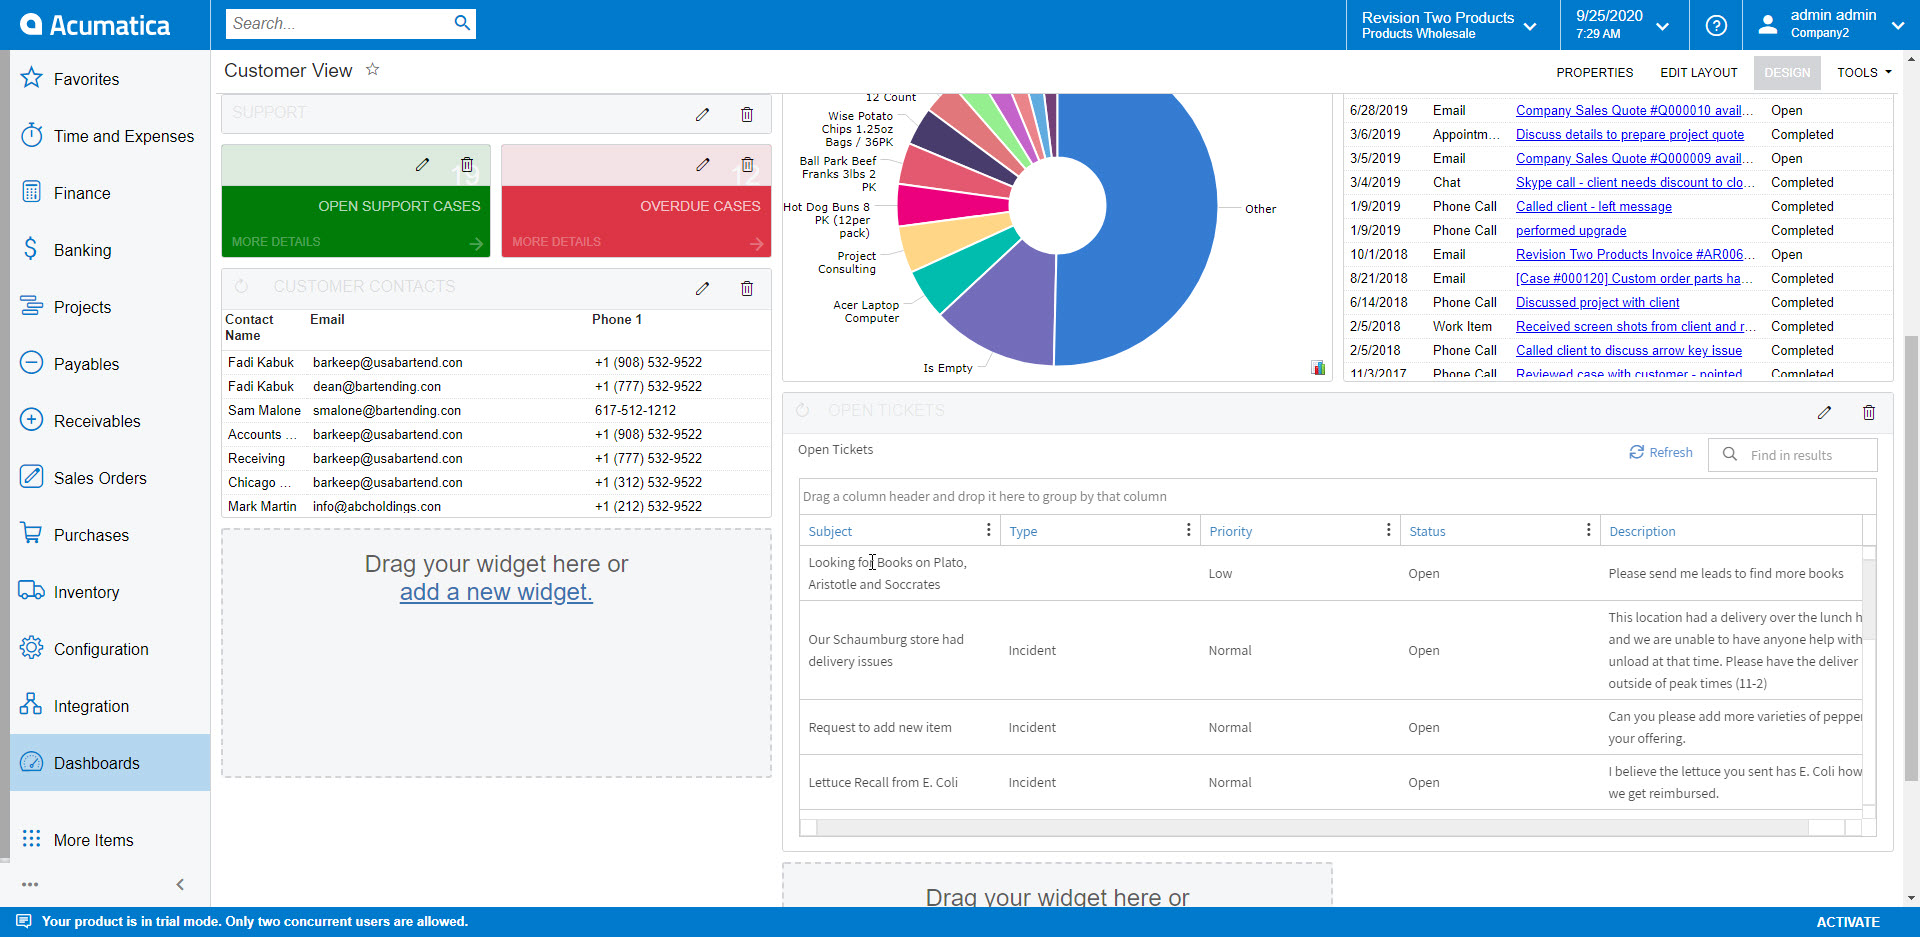
Step 6. Now the widget will appear on the dashboard in the design mode still, adjust the size if needed. I have expanded this widget to the right to expand over two columns so it can be more easily read in the dashboard. After you have it the way you like, you can click on Design again to exit the design view and see how it looks on your Dashboard.